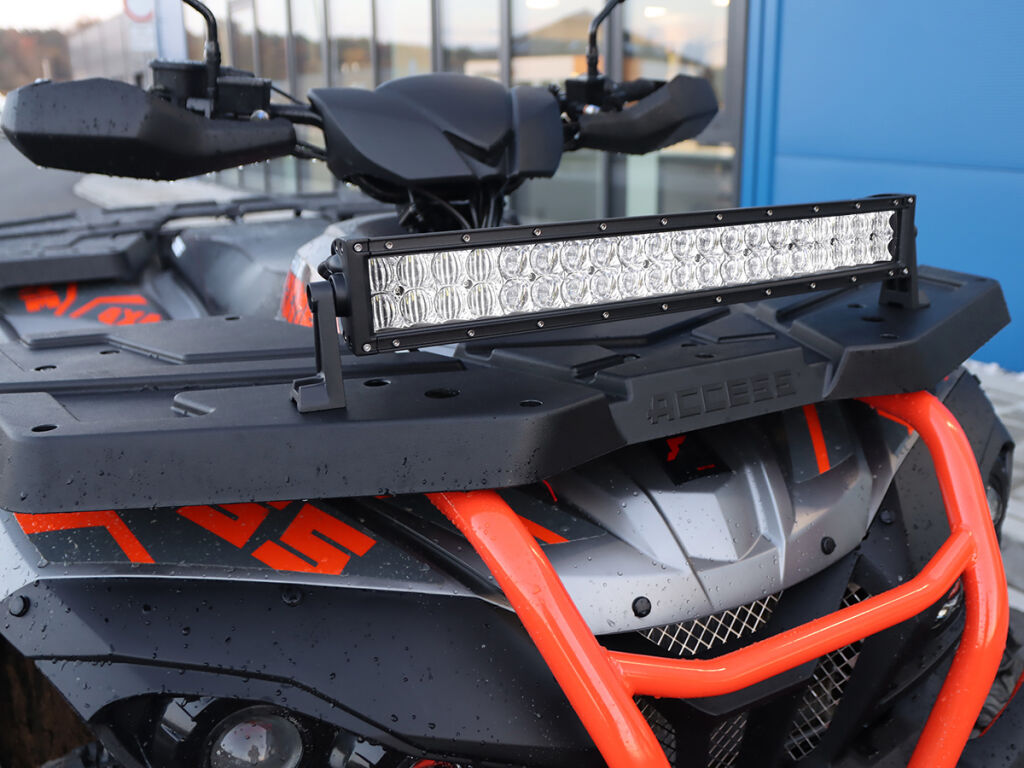
USE OF THE PRODUCTDear customer, thank you for purchasing SHARK Led Lights / LED Bars. These lights are intended for retrofitting to vehicles with a 12V electric system. Read instructions in this manual carefully before installation, and follow the guidelines. SHARK LED Lights and LED Ramps are water resistant, with IP protection level indicated on your product packaging. The lights shall be mounted and used in accordance with the regulations and this manual. Neither manufacturer nor seller shall be liable for damages caused by improper installation, or using the light in contrary to these instructions. With improper installation, improper interference with or modification of the lights you are taking risk of damage to the lighting or machine, and loss of warranty. It is recommended to entrust assembly to a specialized service workshop. This light is not approved for the road use.
IMPORTANT SAFETY AND OPERATIONAL INFORMATION
- Read the instructions, warnings and recommendations in this manual carefully before using the product.
- Do not expose electric switches of LED lights to rain, humidity, snow, etc.
- Use of non-original LED light holders which are not recommended or approved by the manufacturer may result in fire, electric shock and injury.
- Do not use damaged LED light or its power switch again; replace them immediately.
- Do not use LED light/LED ramp or switch if it has been subjected to a heavy impact, fall, or is damaged in any other way. Consult a qualified technician in case of any damage.
- Do not disassemble LED light/ ramp / switch. Ask qualified technician or professional service for repair.
- Improper installation may result in a risk of electric shock or fire.
- To reduce the risk of electric shock, disconnect the LED light ramp / LED light / switch before any maintenance or cleaning. Simple switching the light off will not reduce the risk.
- No part of this product may be altered or replaced by other components.
- From time to time inspect the LED ramp / light, including mount and connections, for damage.
WARNINGWhen installing and using SHARK LED lights, follow applicable regulations and laws. This light is not approved for the road use; is designed and intended for off-road use, outside of public roads.Do not install or use this light if it interferes with safe operation of the vehicle. Make sure that the light is mounted correctly and safely. Neither the manufacturer nor the seller shall be liable for any direct or indirect damage to persons or property caused by improper assembly or use of the product.
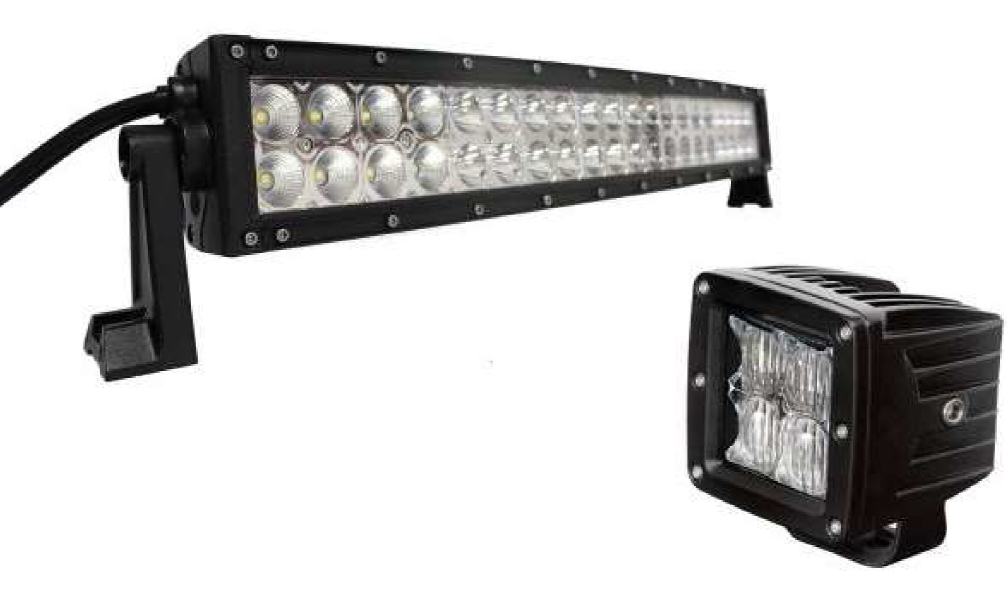
Scope of delivery:
- LED light / LED ramp with brackets and power cord
- Power switch
- Mounting hardware
Technical specifications:
- Voltage: 9 – 32V
- Lifetime: more than 50,000 hrs
- Working temperature: -45°C to +85°C
- Other technical parameters: see product packaging
Installation:
Note: It is recommended to leave the installation to a professional service workshop.
- Find a suitable mounting location that will allow for running wires and mounting the LED light / ramp. Make sure the selected location has sufficient structural strength to reliably hold the LED light / ramp even during hard off-road hits.
- Place the LED light/ramp on the selected place and mark where the hole(s) for mounting brackets will be. Check behind drilling locations to ensure nothing will be damaged.
- Drill appropriate-sized holes with a suitable drill and rust-proof them to reduce the risk of corrosion.
- Route all wiring from the switch to the light in a safe, secure manner, respecting correct polarity.
- Mount the lights with the provided hardware. Be sure not to over tighten the hardware (you will need to adjust the light beam in the final step).
NOTE: INSTALL THE LED LIGHTS / LED RAMPS ONLY ON METAL SURFACES, AND ON MECHANICALLY AND HEAT- RESISTANT MATERIALS.
Electrical wiring
WARNING: It is recommended to leave the installation to a professional service workshop.
A. WIRING WITH THE ACCESSORIES SOCKET CONNECTOR(if your vehicle is equipped with this connector and you have the correct counterpart connector).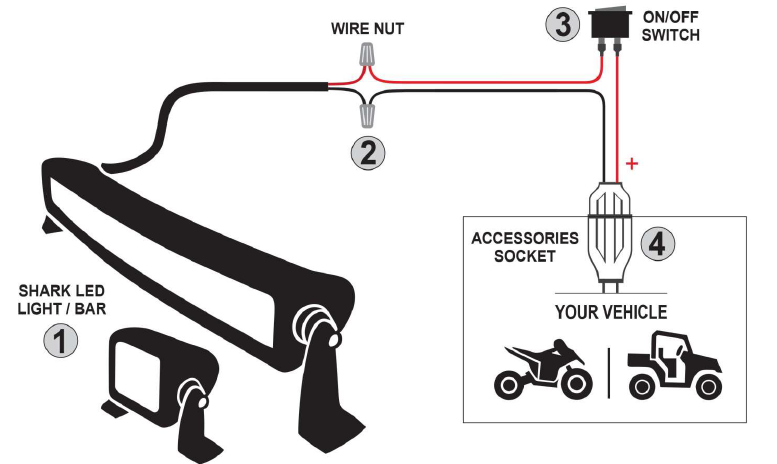
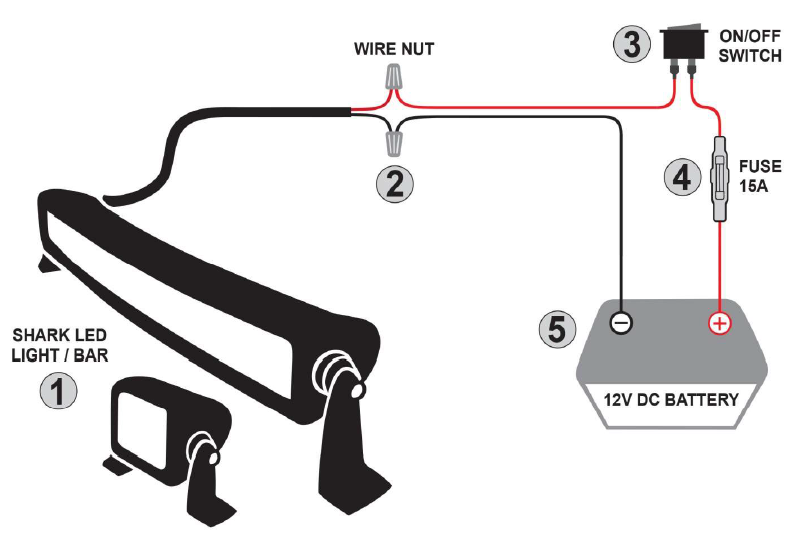
B. WIRING WITH 15A FUSE
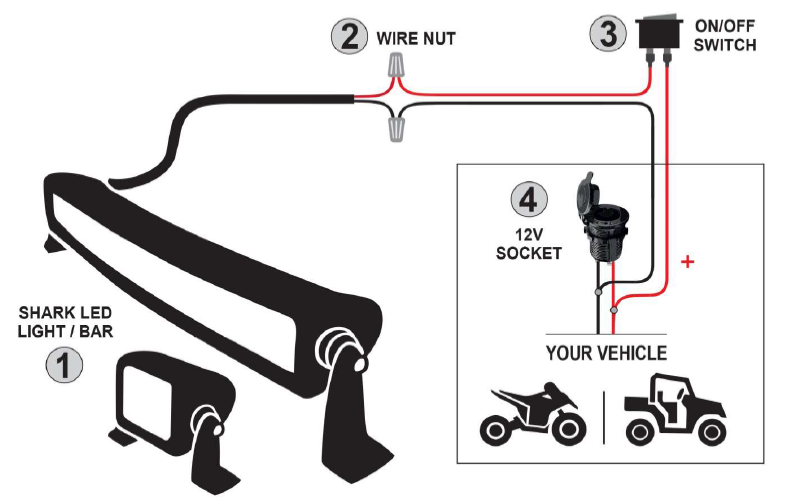
C. WIRING WITH 12V ACCESSORY SOCKET
Remarks:
- All wiring must be carried out in such a way as to be well insulated against moisture and humidity.
- After mounting and wiring, aim the lights in the proper direction and tighten all mounting hardware.
This product is designed and manufactured with high quality materials and components, which can be recycled and reused. Please do not dispose of this product with your normal household waste. This product should be returned via a separate collection system.Protect the environment!
ASP Group s.r.o. reserves the right to change specifications and product design without prior notice. In case of questions, please contact your local dealer or directly ASP Group s.r.o. © Copyright ASP Group s.r.o. 2020All rights reserved. No part of this manual may be reproduced, reprinted, stored in data processing systems, or transmitted in any form or by electronic, mechanical, photographic or other means, transcribed, translated, modified, abbreviated or distributed in whole or in part without specific prior written consent of ASP Group s.r.o.![]()
References
[xyz-ips snippet=”download-snippet”]