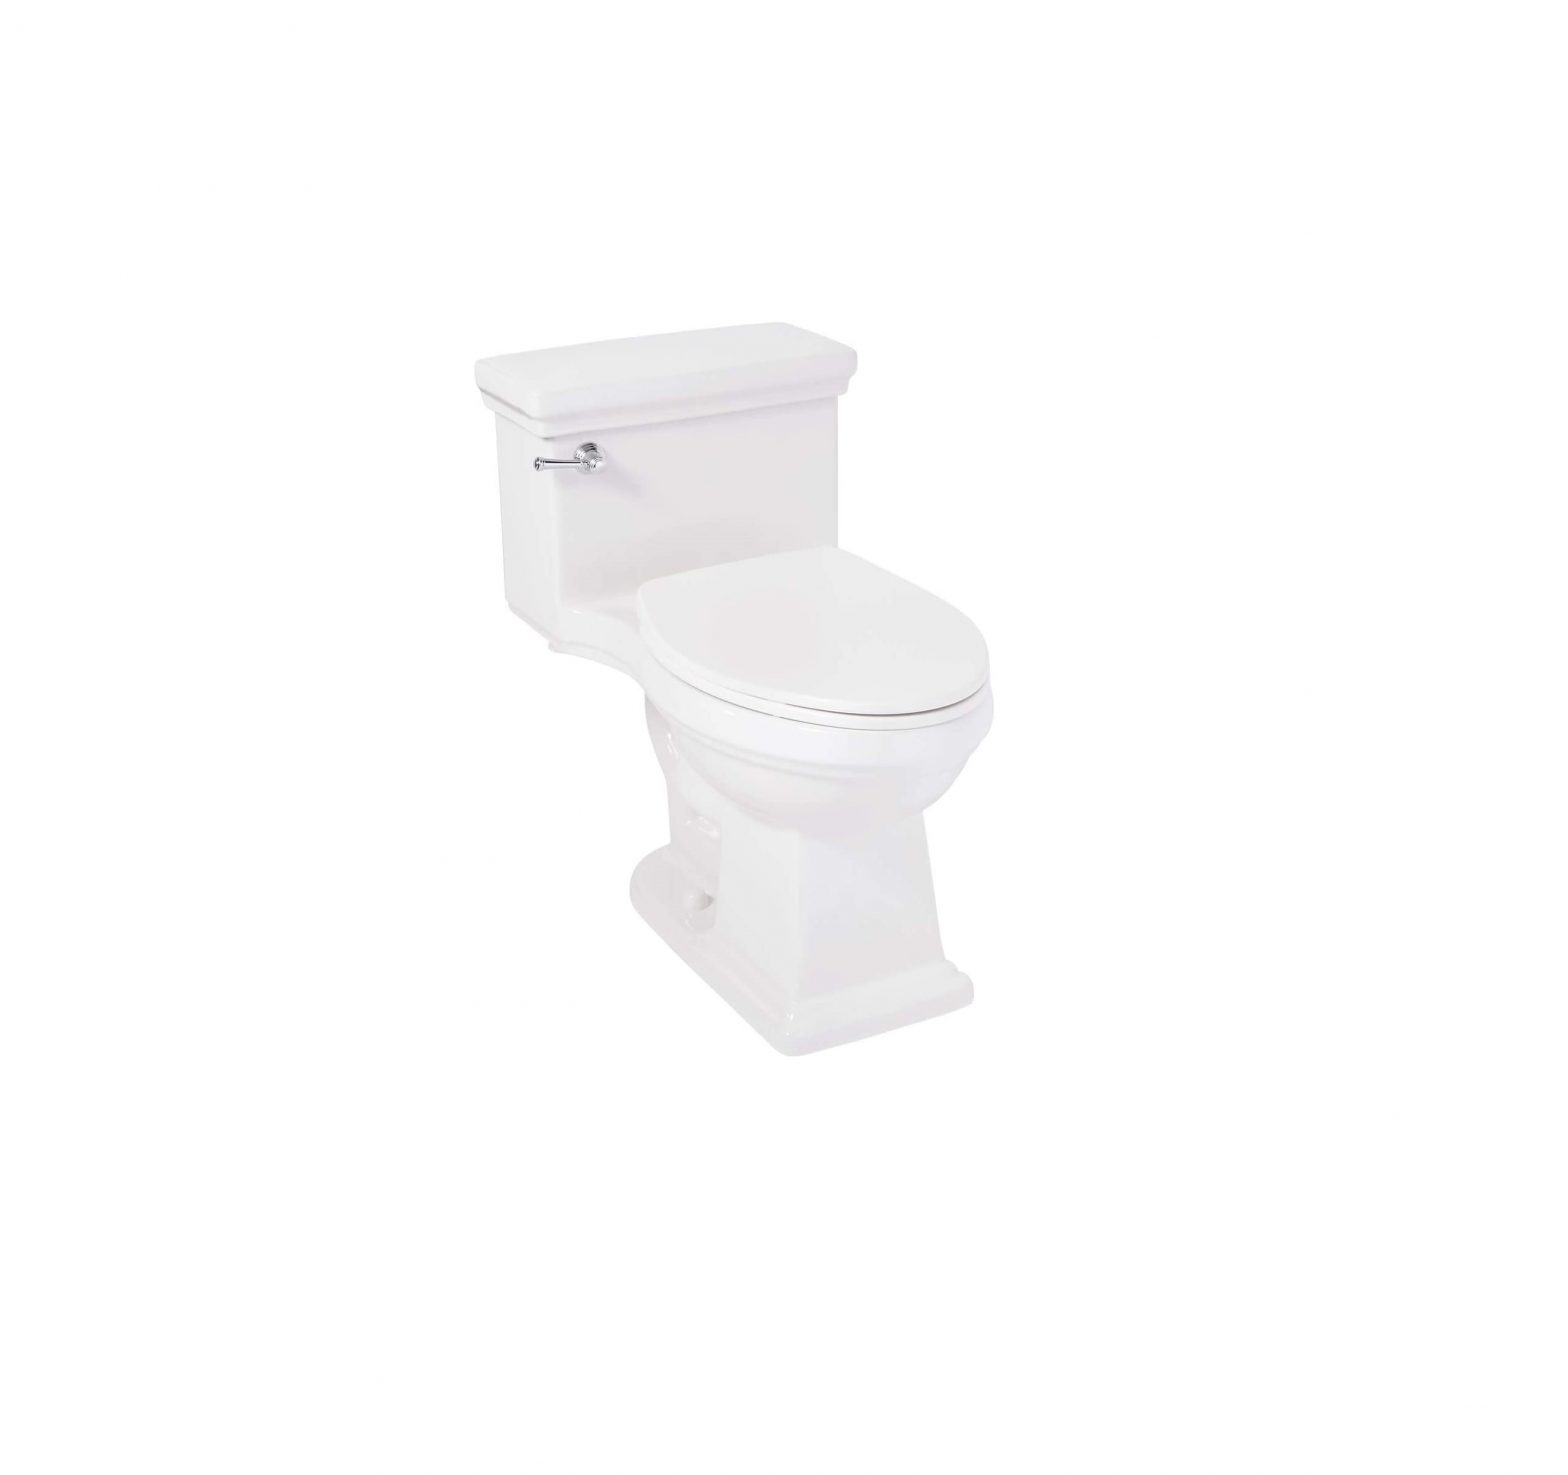
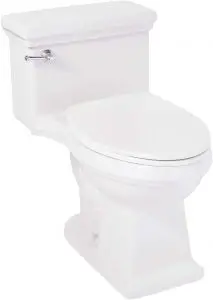
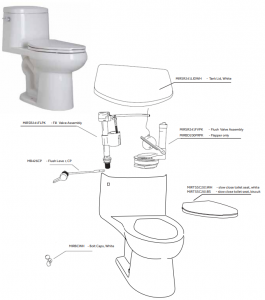
Signature Hardware 948418 Standard One-Piece Toilet
BEFORE YOU BEGIN
We recommend consulting a professional if you are unfamiliar with installing plumbing fixtures. Signature Hardware accepts no liability for any damage to the plumbing, floor, wall, or for personal injury during installation.
Observe all local plumbing and building codes.
Unpack and inspect the toilet for shipping damage. If any damage is found, contact our Customer Relations team at 1-800-221-3379
GETTING STARTED
Ensure that you have gathered all the required materials that are needed for the installation.
TOOLS AND MATERIALS
|
|
||
|
|
|
|
|
|
|
|
|
|
|
|
 Level
Level Closet Flange
 Phillips Screwdriver
 Tape Measure
 Marker
 Adjustable Wrench
 Closet Bolts
 Hacksaw Sierra para
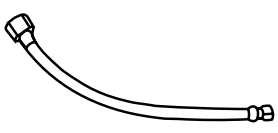 Hacksaw Sierra para
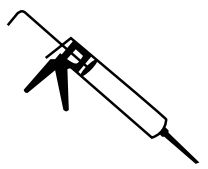
BEFORE INSTALLATION
- Carefully inspect near the existing toilet to see if the toilet has a supply shut-off valve below the tank. If it does not, install one before installing the new toilet.
- Confirm that there is enough floor space to install the toilet unit and that the bathroom door will open/close without obstruction.
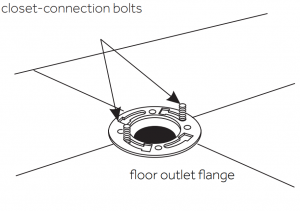
- Inspect and install new closet flange if needed. Do not install toilet unless closet flange is in good condition.
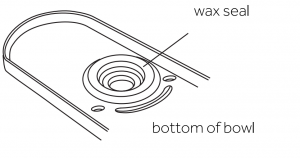
- Allow wax seal to reach room temperature before installation to ensure proper seal.
INSTALLATION
- Place two new closet bolts into the slot on the toilet flange.

- Lay toilet on to its side (use cardboard to cushion the ceramic and prevent damage). Install the wax seal evenly around the waste flange horn. Place a bead of sealant on bottom of toilet foot.
- Align and lower toilet over flange and bolts. Apply your full body weight around the toilet to set seal.Note: Make sure to not lift or rock the bowl after placement. If the watertight seal breaks. The wax seal will need to be replaced, or their will be a risk of external leakage.
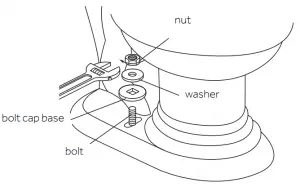
- Place bolt cap base on bolt, then place metal washer and nut. Alternately tighten the flange nuts until the bowl is seated to the floorNote: Ensure that toilet is level before fully tightening closet bolts.Note: Overtightening may cause breakage or chipping.
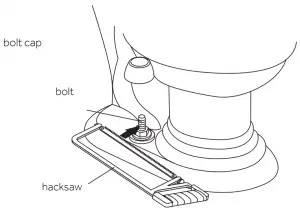
- If bolts extend more than 1/4” (6mm) over top of the nuts, cut off excess. Conceal with bolt cap.
- Water supply connection: Connect the flexible supply line from the stop valve to the toilet fill valve. Make sure not to use sealants on supply fittings. Hand tighten supply line, then open stop valve and look closely for any water leaks. Adjust the tank water height to the indication mark on the flush valve tube.

ADJUSTMENTS & TROUBLESHOOTING
Adjust fill valve water line level to proper height. To adjust the water level rotate the adjustable rod, and that will adjust the height of the float cup and change water level.
CARE AND CLEANING
Make sure not to use pipe dope or other silicone based materials to tighten supply coupling nut.
Clean the outside surface of your vitreous china water closet with mild soap and warm water.
Do not use abrasive powered or liquid cleaners which can damage the product surface. Product is Fragile. Over tightening of Lock Nut or coupling nut could result in breakage and flooding. Do not use cone washer with plastic supply line. Do not use silicone sealant based materials to tighten supply coupling nut.
|
Reason |
Solution |
|
| Fill valve will not shut off |
|
– Turn on water supply angle stop– Loosen fill valve nut and turn fill valve away from back of tank– Clean drain guard– Check chain length and flush valve seat– Turn off water, clean seal inside fill valve |
| Leakage |
|
|
| Poor flush |
|
|
References
[xyz-ips snippet=”download-snippet”]