
SIGNATURE HARDWARE SH163 Kitchen Sink Drain
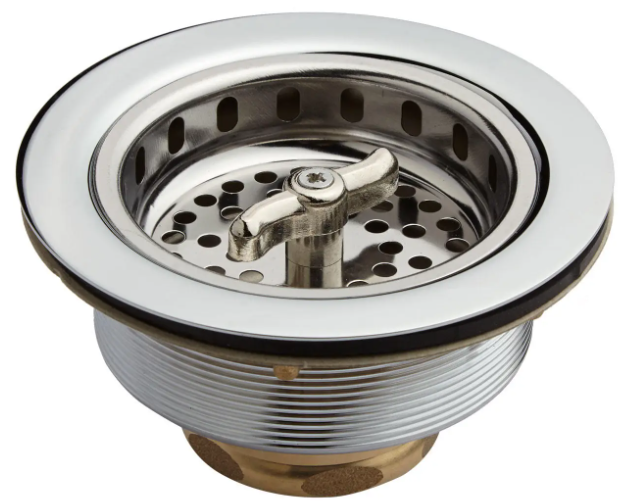
KITCHEN SINK DRAINSTRAINER AND GARBAGE DISPOSAL FLANGE
BEFORE YOU BEGINWe recommend consulting a professional if you are unfamiliar with installing plumbing fixtures. Signature Hardware accepts no liability for any damage to the plumbing, sink, or for personal injury during installation.Observe all local plumbing and building codes.Unpack and inspect the product for shipping damage. If any damage is found, contact our Customer Relations team at 1-800-221-3379.
GETTING STARTEDEnsure that you have gathered all the required materials that are needed for the installation.
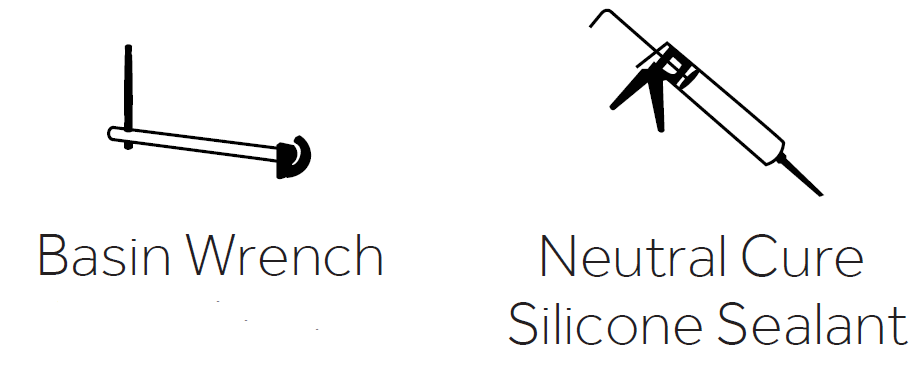
TOOLS AND MATERIALS:
For Warranty information, please visit: signaturehardware.com/services/warranty
INSTALLATION
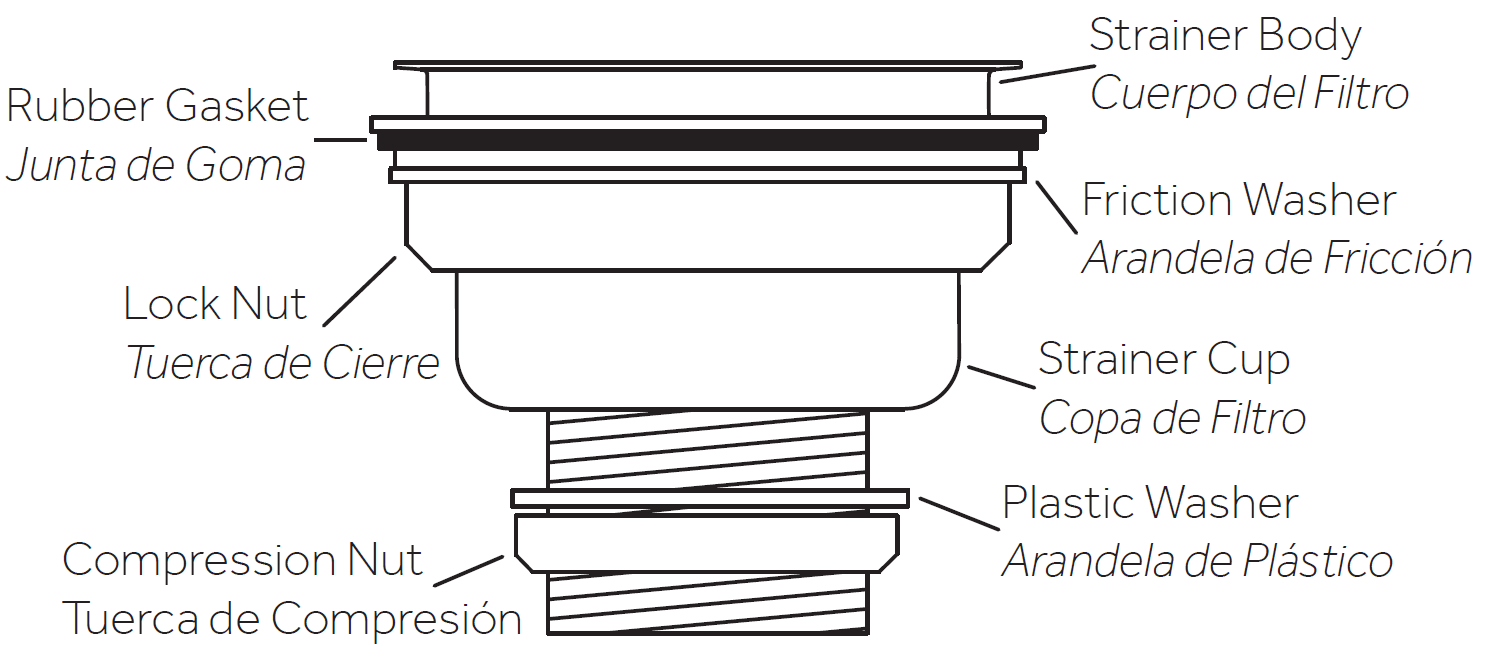
- Disassemble the sink drain assembly and lay the parts aside, in the same order in which they were removed. See the illustration as a reference if needed.
- Apply a bead of 100% neutral cure silicone sealant to the underside of the strainer body.
- Place the flange in the drain opening in the kitchen sink.
- If your drain has a disposer flange, use the directions supplied with the garbage disposer to attach the disposer and complete your installation. For drains with strainer baskets, slide the rubber gasket and friction washer up the strainer ange to the bottom of the sink.
- Thread the lock nut onto the drain assembly. Hand-tighten and make sure that the drain is properly aligned. When ready, finish tightening with a basin wrench to secure the drain.
- Secure the P-trap to the strainer flange with the provided compression nut and ferrule.
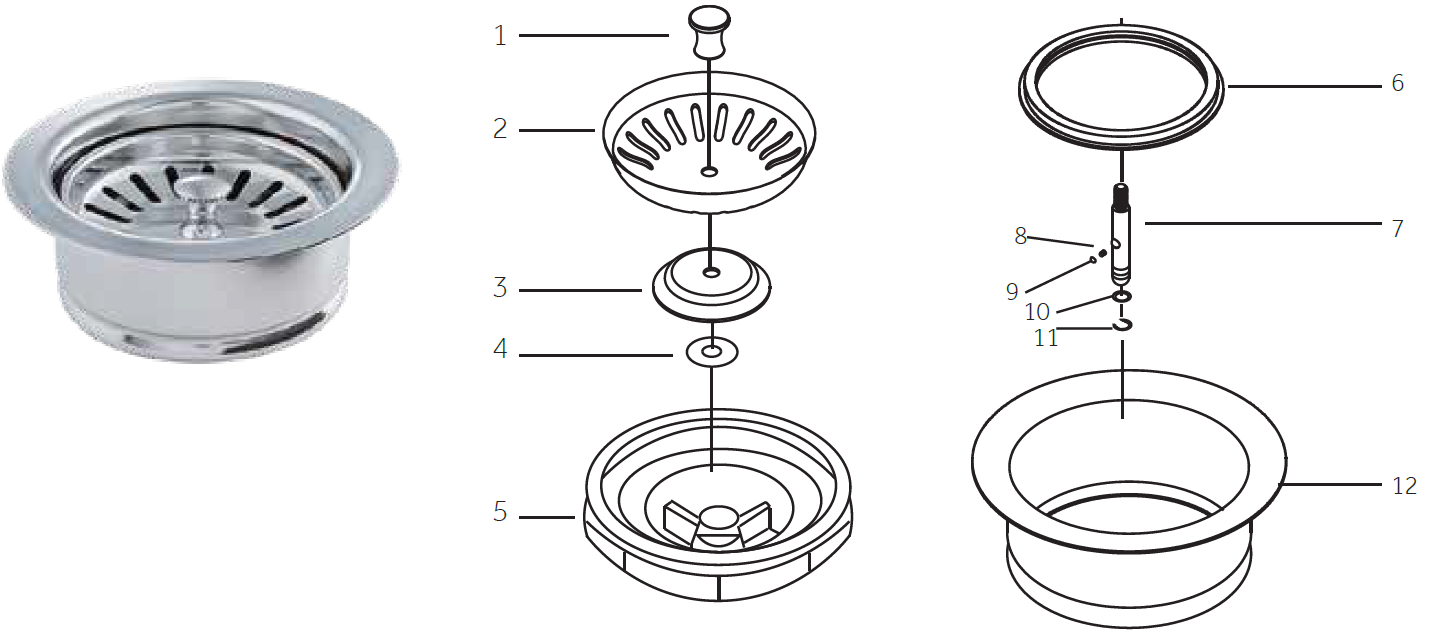
STRAINER AND GARBAGE DISPOSAL FLANGE
| No. | Part Name |
| 1 | KNOB |
| 2 | STRAINER |
| 3 | PACKING |
| 4 | WASHER |
| 5 | FLANGE |
| 6 | PACKING |
| 7 | SCREW |
| 8 | SPRING |
| 9 | BALL |
| 10 | O-RING |
| 11 | “E” CLIP |
| 12 | COVER |
1.800.221.3379signaturehardware.com
![]()
References
[xyz-ips snippet=”download-snippet”]