
![]()
Google HomeSetting up Google Wi-Fi with Google Home App
Setting up Google Wi-Fi with Google Home App
Android
- Open Google Home and click “Get Started”.

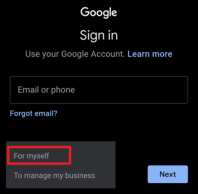
- Click “Use another account” to create a google account.
- Click “For myself” and “Next” to continue.
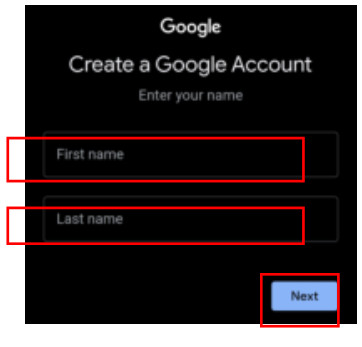
- Enter your first name and last name and click “Next”.
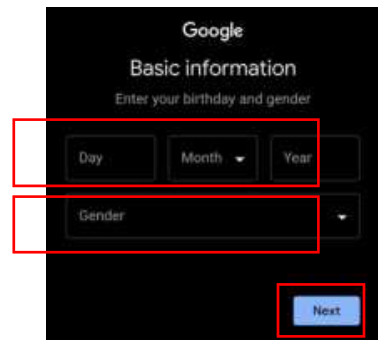
- Enter your birthday and gender and click “Next”.
- Pick a Gmail Address and set up the password for the account.
- After creating the account, click “Next” to allow location access for detecting your Wi-Fi network.
- Click “Turn on” to turn on Bluetooth and improve the connection to your Wi-Fi network.
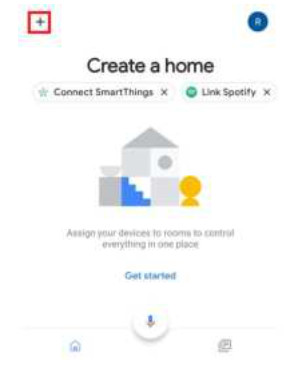
- After entering the home page, click the “+” sign at the top left hand corner.
- Select “Create new home”.
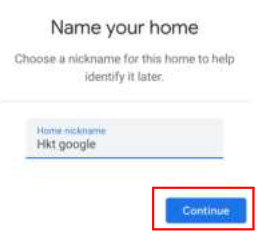
- Name your home and click “Continue”.
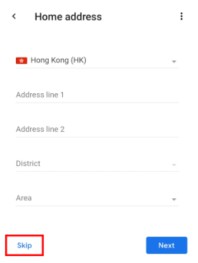
- You will be asked to fill in home address information. You can choose to skip it by clicking “Skip”.
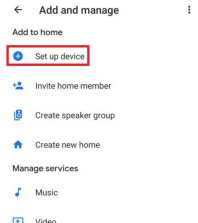
- Make sure that the router has been turned on and connected to the Ethernet. Then click the “+” sign at the top left hand corner.
- Select “Set up device”.
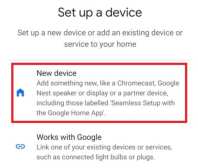
- Select “New device”.
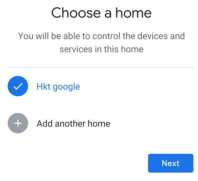
- Select the home you just created and click “Next”.
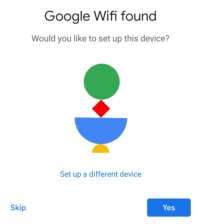
- Click “Yes”.
- Click “Scan code”.
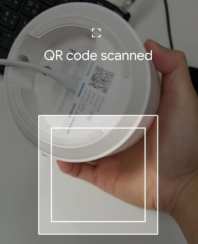
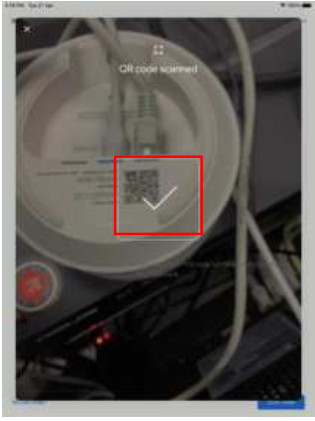
- Scan the QR code at the bottom of the router.
- Wait until the router is connected to the app.
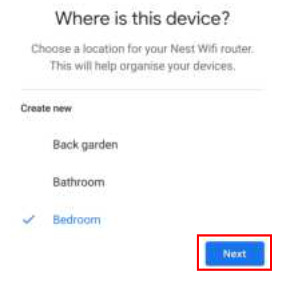
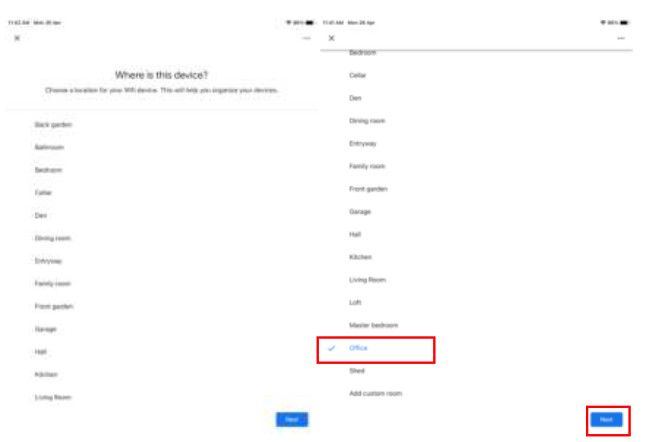
- Select the location where the router is installed at.
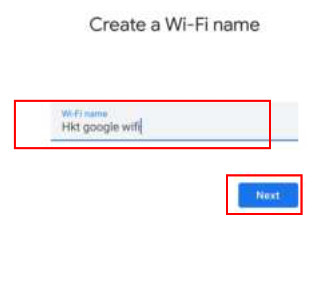
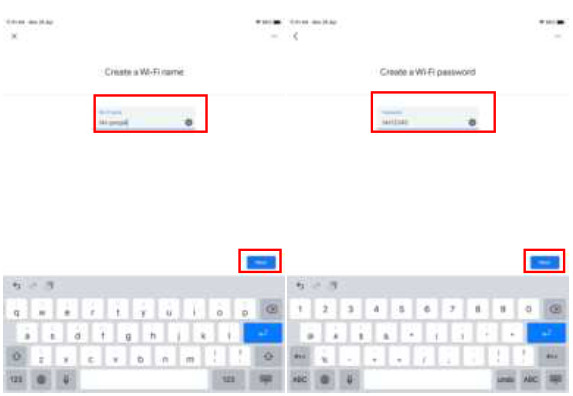
- Create a name for the Wi-Fi.
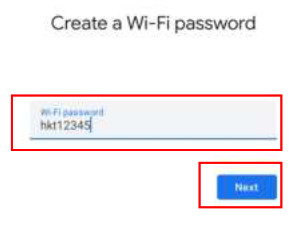
- Create a password for the Wi-Fi.
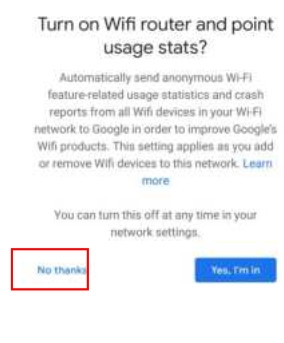
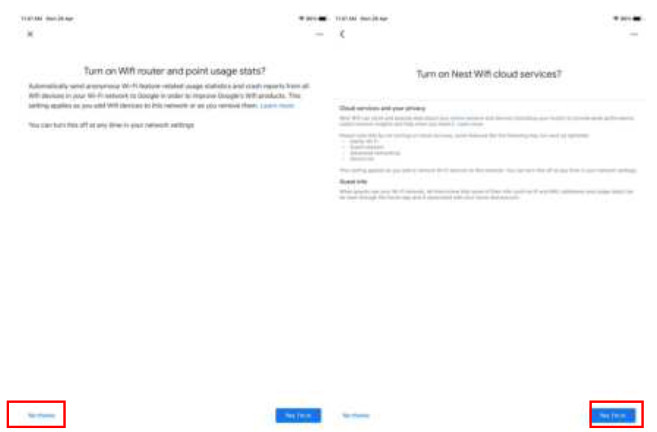
- Click “No, thanks”.
- Click “Yes, I’m in”.
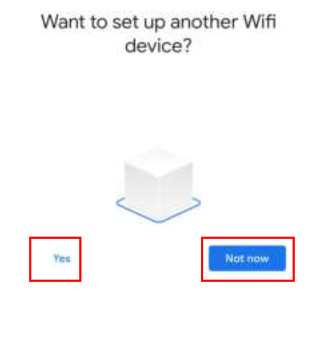
- Click “Yes” if you want to set up another router. If not, click “Not now”.
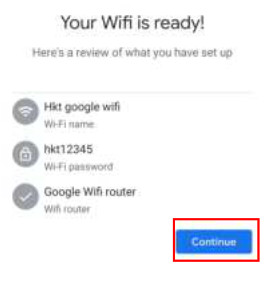
- Click “Continue” to complete the setup.
- The router will be shown in home page after the setup.


IOS
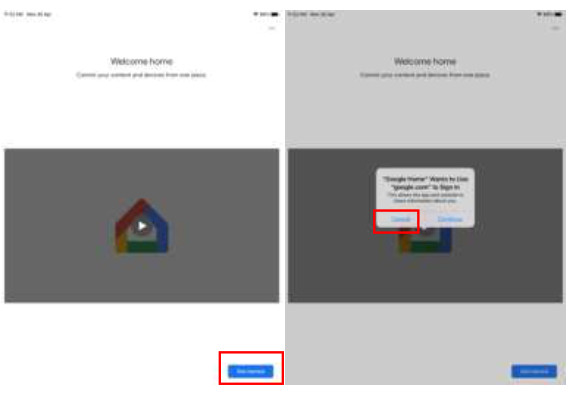
- Open Google Home and click “Get Started” & “Continue”.
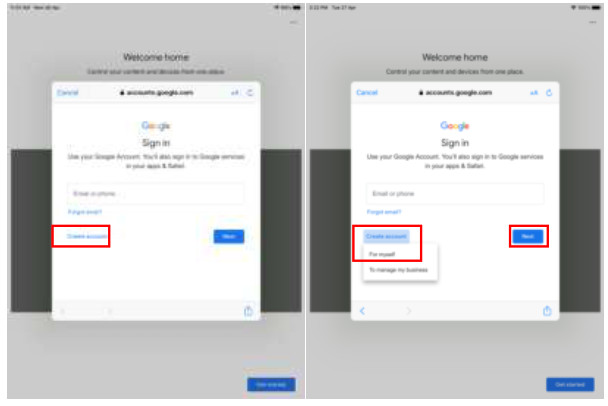
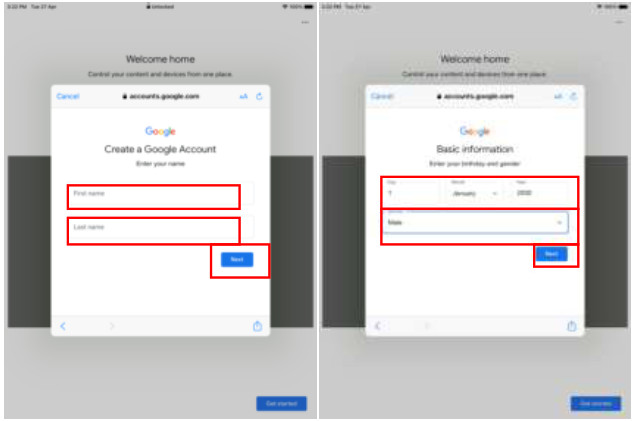
- Choose a “Create Account”, “For myself” &”Next” to create account.
- Input the “First name” & “last name” and “Birthday” &”Gender” and click “Next”
- Select your “email address” and “password” then click” Next”
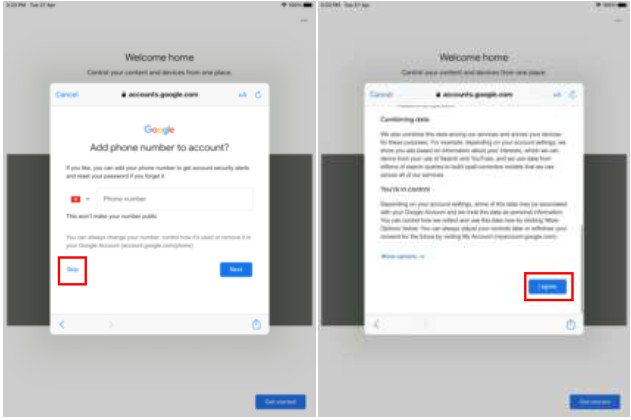
- Click “Skip” on input phone number & click “I agree” to confirm agree Google terms
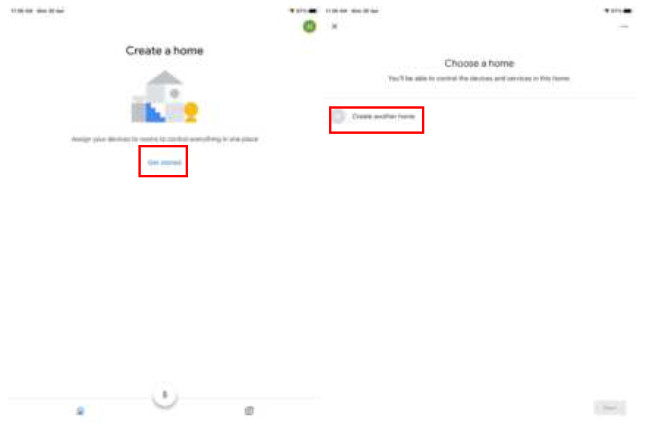
- Click “Get Started” & “Create another Home”
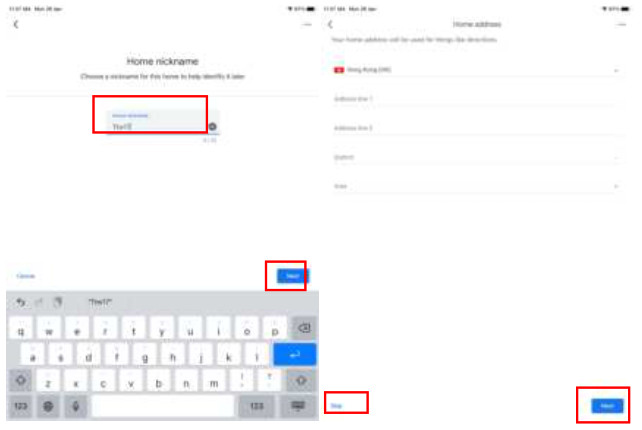
- Input the “Network Name” & click “skip” input the address and press “Next”
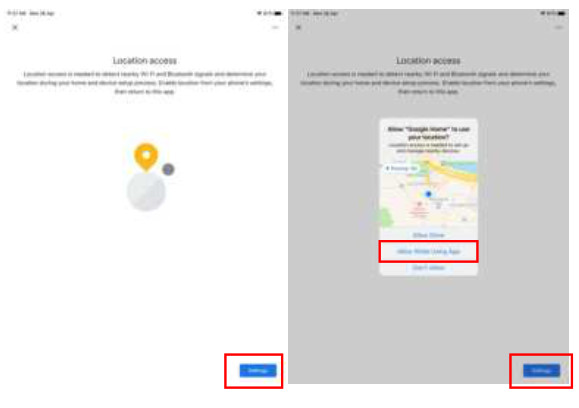
- Click “Settings” & “Allow while using Apps” to allow location access for detecting your Wi-Fi network.
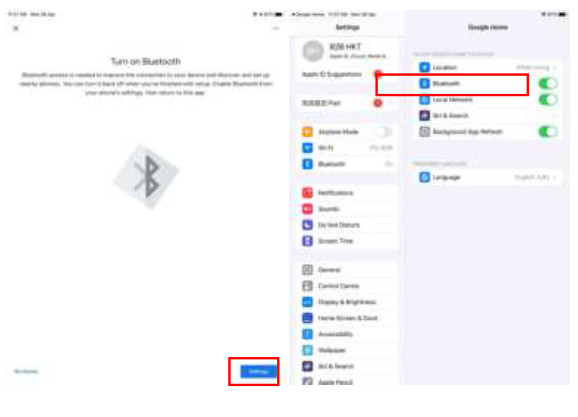
- Click “Settings” and”turn on” to turn on Bluetooth and improve the connection to your WiFi network.
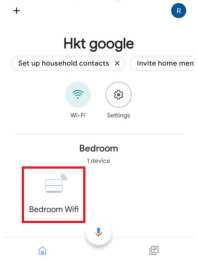
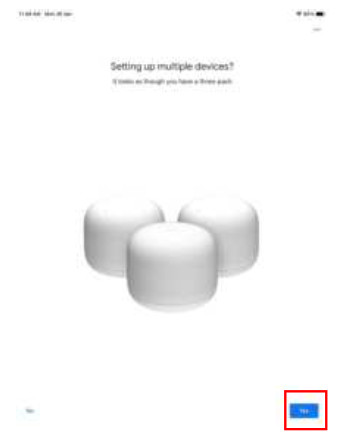
- After entering the home page, click the “setup 2 devices” sign at the top.
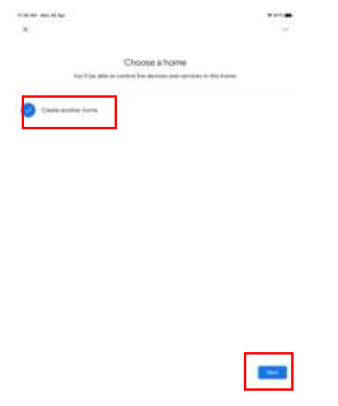
- Select “Create new home” and “Next”.
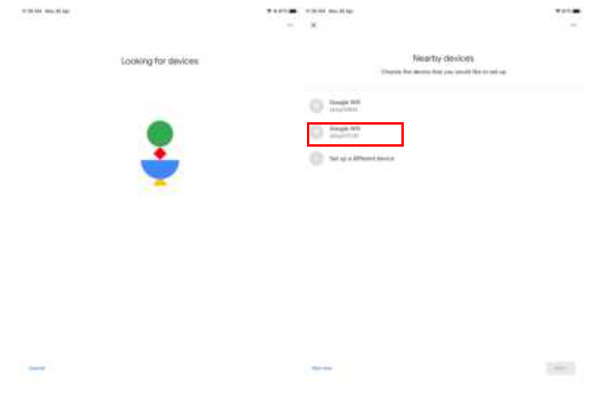
- Waiting to search and choose the setup device which you want to setup
- Click “Scan code” & “Ok” to allow access the camera
- Scan the QR code at the bottom of the router.
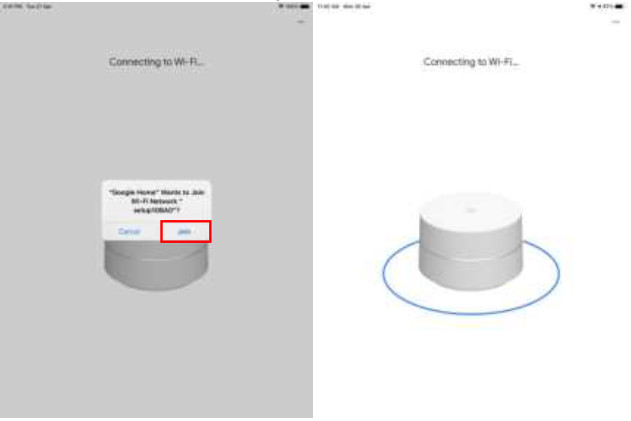
- Click “Join” and waiting to connect the network
- Input “SSID” & “Password” and click “Next”
- Click “No, Thanks” to turn off point usage status and click “Yes, I’m in” to turn on nest Wifi
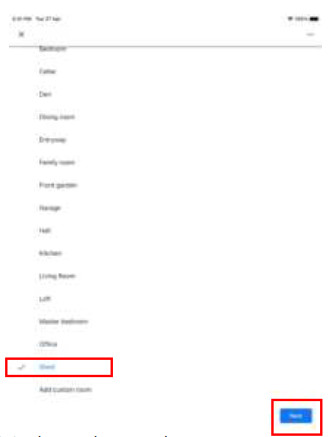
- Choose where to place the router
- Waiting to completed the setup the 1st router and confirm join the network
- Click Yes”
- Place your Next Wifi point and Plug in the power then click ” Next”
- Search the device then click “Next”
- Scan the QR code at the bottom of the 2nd router.
- Click “Join” to confirm 2nd router to join the network
- Choose where to place the 2nd router then click “Next”
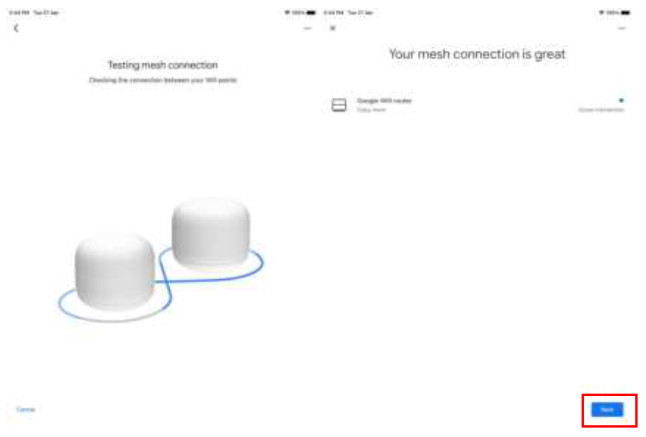
- Waiting to join the mesh network
- If you want to add another google wifi click “Yes”, otherwise click “No”
- Test the Mesh connection then click “Next”
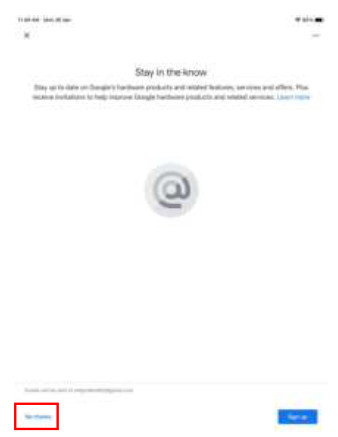
- Click “No, thanks”
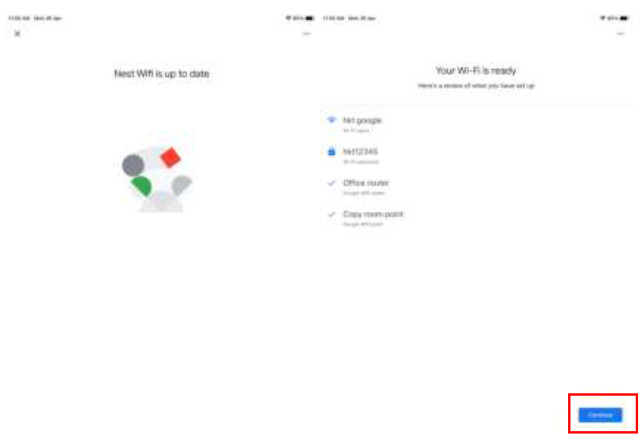
- Waiting to finish setup and click “continue”
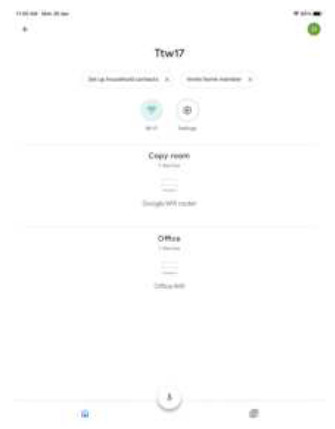
- After entering the home page, setup completed


[xyz-ips snippet=”download-snippet”]