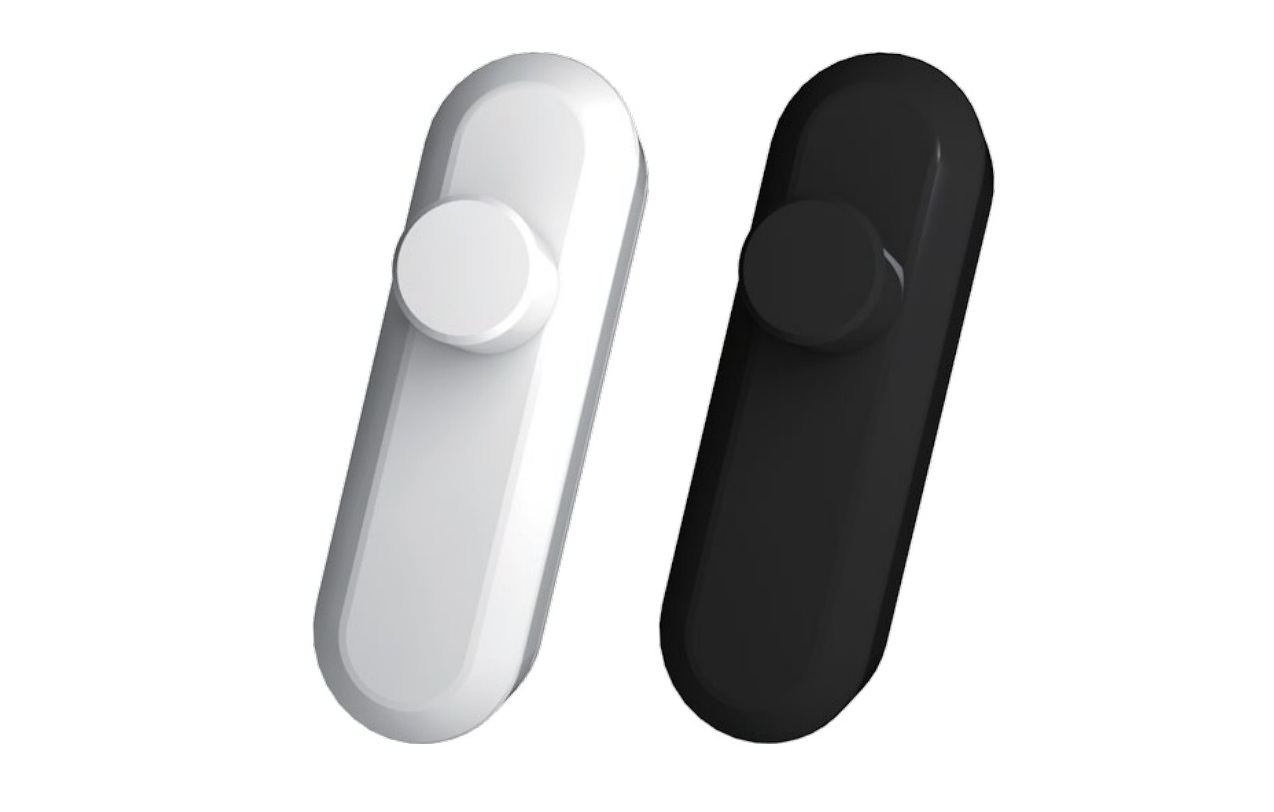
SPL LED CORD DIMMER Installation Guide
Cord Dimmer Snoerdimmer Kabeldimmer
Installation instructions
- Make sure that there is no voltage on the cord to be connected when mounting!
- Open the housing by loosening and removing the screws C
- Remove button A and cover B
- Loosen the screws of the strain relief D
- Clear the wire ends (approx. 5 mm)
- Connect the veins of the feeding cord (where the plug is attached) to points L and N
- Connect the cord to the lamp to OUT connections on the circuit board
- Secure the cord with the strain relief D
- Replace housing B and button A
- Fasten the housing using the screws C
| Load type / Soort belasting Art der Belastung | 0-50W LED 10-100W Halogen / Incandescent |
| Dimming method / Dim methode Dimmmethode | R,C Trailing Edge / Fase afsnijding Fase abschnitt |
| Dimming style / Dim manier / Art des Dimmen | Rotary / Draaiknop / Drehknopf |
| Memory function / Geheugen functie peicherfunktion | Yes / Ja |
| Ambient temperature / Omgevings temperatuur Umgebungstemperatur | Max. 35° C |
| Dimensions / Afmetingen / Abmessungen | 30.4 x 24.9 x 96.8 mm |
| Gewicht / Weight | 36.9 g |
Schiefer Lighting Pottenbakkerstraat 35 4871 EP Etten-Leur NL www.spl-lighting.com
 report this ad
Set minimum and maximum brightness
- Turn on the lights by pressing the button and turn the knob to the minimum brightness
- Insert the screwdriver into the MIN screw and turn it to the left
- If the light becomes unstable (flashes), turn the screwdriver to the right until the blinking stops
- Now turn the knob to maximum brightness and insert the screwdriver into the MAX screw and turn it to the right
- If the light becomes unstable (flashes), turn the screwdriver to the left until the blinking stops
References
[xyz-ips snippet=”download-snippet”]