
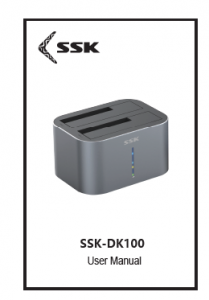
SSK Hard Disk Docking User Manual
1.Notice:
- The Newly added HDD must be partitioned and formatted in the disk management before using.
- Do not drop anything or hit this product. Please do not use the unit in places where the temperature is too high, too low or humid. Do not dismantle, repair or manufacture without authorization.
2. Packing List:
① DK-100 Docking
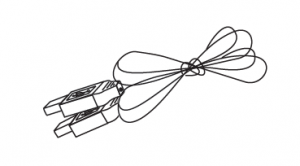
② USB3.0 Cable
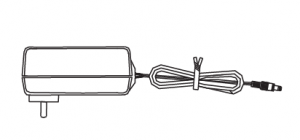
③ Power Adapter
④ User Manual
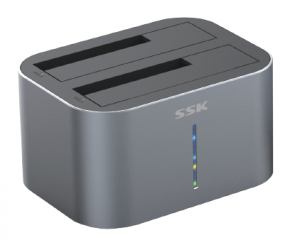
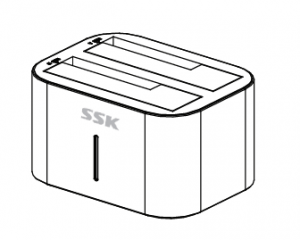
3.Device interfaces and LED introduction
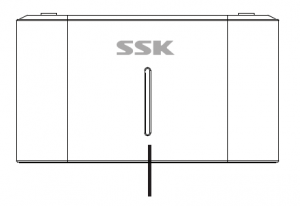
Four LED Indicators Green, Red, Yellow and Orange
USB3.0 interface Power button

DC 12V interface CLONE
4. Features/Specifications
Supports 2.5-inch SATA I/II/III HDD/SSD and 3.5-inch SATA I/II/III HDD,2.5 inches support up to 4TB, 3.5 inches support up to 10TB;
- Support USB3.0 high speed transmission;
- Easy to install, plug and play, hot swap;
- LED progress indicator;
- Support one-click hard drive copy;
- Measurement: 129 (L) x 96 (W) x 72 (H) mm
- Compatible with Windows, Mac and Linux operating systems.
5、Product Working Mode Introduction (Mobile hard drive mode)
- Install the 2.5/3.5 inch hard drive into the A/B hard Drive bay. (Please pay attention to the SATA interface direction of hard drive and Docking slot, be sure the position is consistent and then press hard drive to the end).
- Connect to your computer via supplied USB 3.0 cable and also connect the power adapter;
- Press the Power Button on the back of the Docking for 1 second, Docking starts working. The LED green light on the front of DOCKING is always on and the blue light is flashing.
- After around 3-5 seconds, Computer detect new hardware.
LED Indicator Color Instructions:
- When Docking is turned on, the green light is always on;
- After hard drive connected, the blue light turns on,the blue light flashes under reading and writing.(Note: if 2 hard drives are inserted, there will be 2 blue LEDs on)
Clone mode(Offline Clone):
- Install 2 hard drives to the hard drive bay, ensure to place the source hard drive in the “HDD-A” area, the target hard drive is placed in the “HDD-B” area, and the capacity of the target hard drive should be equal or higher than the source hard drive;
- Connect the power adapter and press the power button for 1 second; (Note: USB3.O cable no need to connect to the computer)
- Press the POWER button at the back of the DOCKING for 1 second, Docking powers up;
- Press the clone button for more than 3 seconds,4 LED indicators on the front of Docking will flash alternately and the clone starts. After the clone finishes, all 4 LEDs will be always on.
LED Indicator Color Instructions:
- When Docking is turned on, green LED is always on
- When the clone mode starts, 4 LED lights flash alternately (Green,Red,Yellow,Orange)
- Clone progress indicator: 25% completed, green lights on; 50% completed, red lights on; 75% completed, yellow lights on; 100% completed(4 LEDs light on at the same time, green + red + yellow + orange)Note: In clone mode, the device cannot be connected to your computer via a USB cable.
Read More About This Manual & Download PDF:
[xyz-ips snippet=”download-snippet”]