Power Saving Strip TimerOperating Instructions
GETTING STARTED
To actuate the battery (one LR44 battery is provided with the timer), pull the tab sticking out of the battery door. You may need to open the battery door to remove tab. Remove protective plastic from screens. All of the display shows for 3 seconds, then the display will read as shown in Fig. 1.
Fig. 1![]()
SETTING THE CURRENT TIME
While holding the CLK (CLOCK) button down, press the DAY, HR (HOUR) and MIN (MINUTE) buttons to set the day of the week, hour and minutes respectively.
PROGRAMMING EVENTS
- Press the PROG button once. The display reads
- 1 ON MO TU WE TH FR SA SU –:– , if it has not been set.
- 1 ON and previous setting, if it has already set.
The number 1 indicates that you are now programming timer #1.
- Press the DAY button repeatedly. The display shows the day on which you want the timer to turn ON.The day options include:
- All days of the week (MO TU WE TH FR SA SU)
- Any single day of the week (MO TU WE TH FR SA SU)
- Weekdays only (MO TU WE TH FR)
- Weekends only (SA SU)
- Press the HR (HOUR) and MIN (MINUTE) buttons to select the time of day when you want the timer to turn ON.
- Press the PROG button once again. The display reads
- 1 OFF MO TU WE TH FR SA SU –:–, if it has not been set.
- 1 OFF and previous setting, If it has already set.
- Repeat the procedure in steps 2 and 3 to select the day and time when you want the timer to turn OFF.
- Repeat the procedures in steps 1 to 5 to select the time and day when you want the timer to turn ON and OFF for the other six events.
- When programming is complete, press the CLK (CLOCK) button to return to the current time display.
REVIEWING AND CLEARING YOUR PROGRAMS
- Press the PROG button repeatedly to check the ON and OFF setting for each event.
- While holding the MODE button down, press the PROG button to clear the setting. Push clock button to return to main.
ACTIVATING YOUR PROGRAMS
- Press the MODE button until the AUTO indicator is displayed. The timer will operate automatically as programmed.
- Press the MODE button until the RDM (RANDOM) indicator is displayed. The timer will operate randomly as programmed.
Random is a feature that will randomize your current settings either + or – 30 minutes giving your home a lived-in appearance to deter intruders.
MANUAL OVERRIDE
- Press the MODE button until the ON indicator is displayed. The output of the timer will turn and remain on until the mode is changed again.
- Press the MODE button until the OFF indicator is displayed. The output of the timer will turn off and remain off until the mode is changed again.
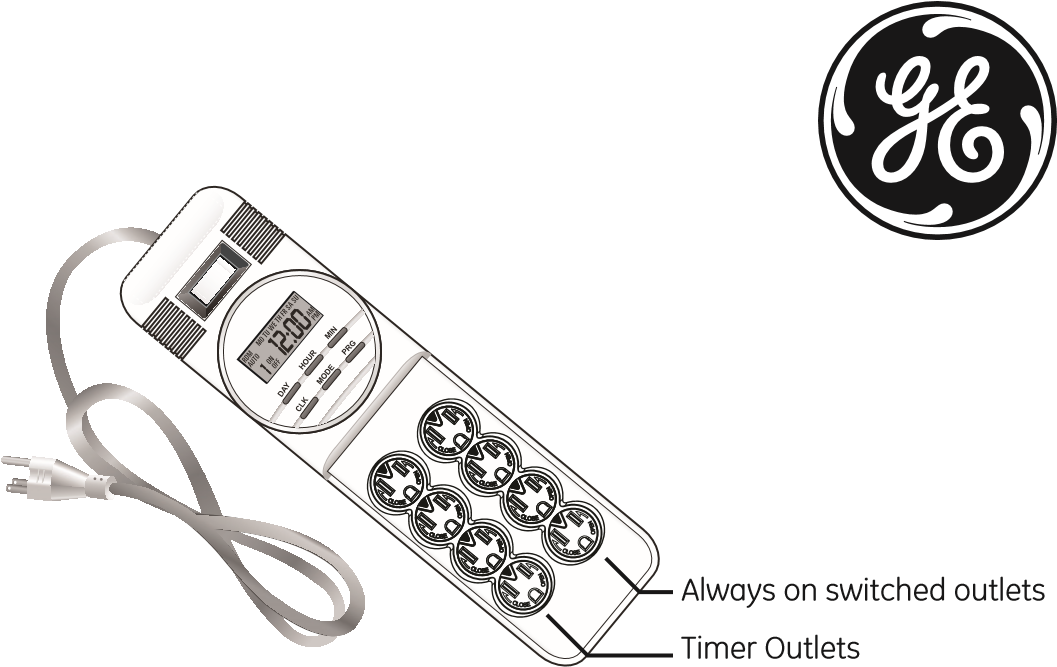
OPERATING THE TIMER
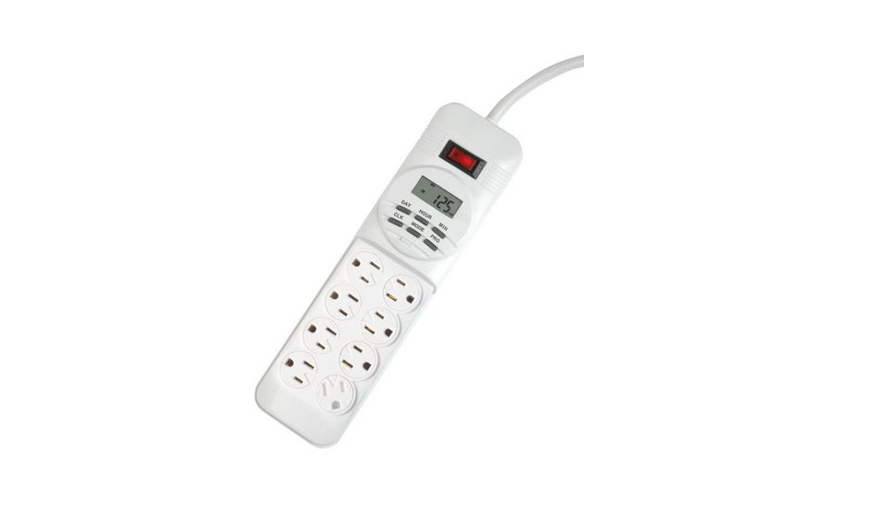
- Plug the power strip into an outlet.
- Plug the appliances to be controlled by the timer into un-used timed outlets on the power strip.
- Turn the switch on the strip timer to the “on” position.
- Make sure that appliances are turned on.
FCC NOTE: The manufacturer is not responsible for any radio or TV interference caused by unauthorized modifications to this equipment. Such modifications could void the user’s authority to operate the equipment.
NOTE: This equipment has been tested and found to comply with the limits for a Class B digital device, pursuant to Part 15 of the FCC Rules. These limits are designed to provide reasonable protection against harmful interference in a residential installation. This equipment generates, uses and can radiate radio frequency energy and, if not installed and used in accordance with the instructions may cause harmful interference to radio communications. However, there is no guarantee that interference will not occur in a particular installation. If this equipment does cause harmful interference to radio or television reception, which can be determined by turning the equipment off and on, the user is encouraged to try to correct the interference by one or more of the following measures:
- Reorient or relocate the receiving antenna.
- Increase the separation between the equipment and receiver.
- Connect the equipment into an outlet on a circuit different from that to which the receiver is connected.
- Consult the dealer or an experienced radio/TV technician for help.
This Class B digital apparatus complies with Canadian ICES-003See www.byjasco.com for troubleshooting and frequently asked questions (FAQs).
RATINGS120 V / 15A / 1800W14 /3 AWG SJT Vinyl Power Cord
![]() WARNING
WARNING
TIMER COULD TURN-ON UNEXPECTEDLY WITHOUT THE USER BEING PRESENT. TO REDUCE THE HAZARDOUS CONDITION – UNPLUG THE APPLIANCE THAT IS PLUGGED INTO THE RECEPTACLE(S) CONTROLLED BY THE TIMER BEFORE SERVICING.
MADE IN CHINAGE is a trademark of General Electric Company and is under license by Jasco Products Company LLC, 10 E. Memorial Rd., Oklahoma City, OK 73114.
This Jasco product comes with a 1-year limited warranty. Visit www.byjasco.com for warranty details.
Questions? Contact us at 1-800-654-8483between 7:00AM–8:00PM CST. 07/24/2017

15077 Manual V 307/24/2017
Power Saving Strip Timer Operating Instruction – Power Saving Strip Timer Operating Instruction –
[xyz-ips snippet=”download-snippet”]