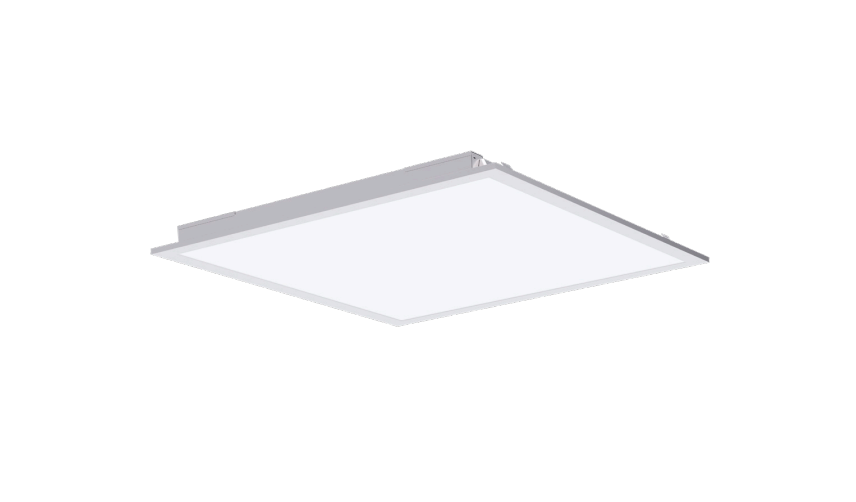
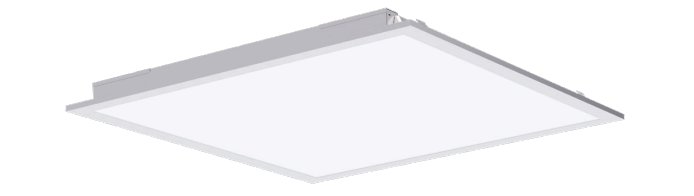
SUNCO LED CEILING PANEL 40W Install Guide and Manual
EASY INSTALLATION RECESSED
Required Tools: Drill, Ladder, Hammer, Pliers, Tape Measure, Pencil, Philips Screwdriver.
Prior to install, remove the existing light fixture (if any) from the ceiling.
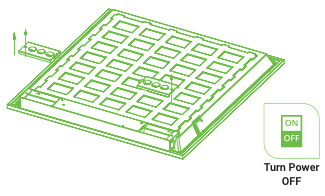
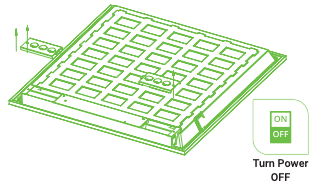
- Turn off the switch and circuit breaker before installing this LED light fixture.
- Turn the Ceiling Panel face down on a flat surface.
- Unscrew the (2) driver covers and set aside the screws.
- Pop out (2) knockouts (choice of 6).

- Connect conduit to each knockout.
- Pass wires through.
- Pass wires through.
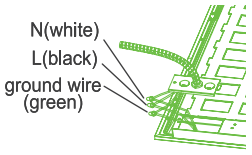
- Connect the supply wires to the Ceiling Panel wires with included wire nuts.
- Black to Black (live);
- White to White (neutral);
- Green to Green (ground).
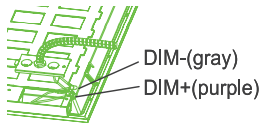
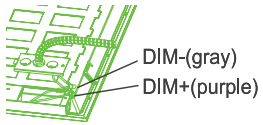
- (Optional) If using a dimmer (not included), connect DIM+ and DIM- wiring of Ceiling Panel to your dimmer with included wire nuts.
- Replace driver covers.
- Tighten the screws.
- Tighten the screws.
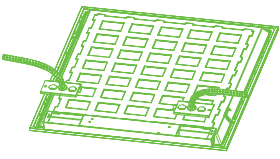
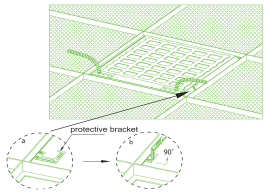
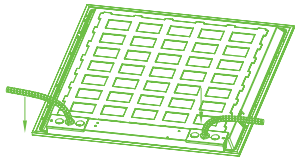
- Locate the (2) protective brackets on back of panel. Bend up 90°.
- Twist 90° so hook faces outside edge of Ceiling Panel.
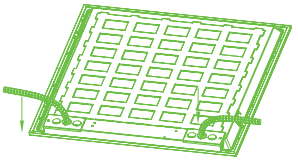
- Install LED Ceiling Panel light in ceiling, using protective brackets.
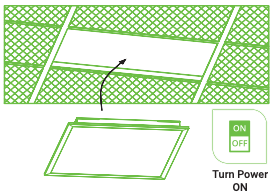
- Turn on circuit breaker and test the light.


WARNING
To reduce the risk of fire, electric shock or injury to people:
- Installation should be performed by a professional, qualified electrician familiar with the construction and operation of this product and the hazards involved.
- Abide by related regional and local laws or regulations.
- Proper grounding is required to ensure safety.
- Not suitable for a wet environment.
- LED must be installed in an appropriate environment to work. Harsh environments may shorten the life or damage the light.
- Check for damage during shipping prior to install. If the product is damaged, do not use it.
- Turn off the switch and circuit breaker before installing this LED light fixture. Accurately verifying no voltage on the lines with an appropriate meter is recommended prior to install.
- After verifying no voltage, disconnect wires and remove existing light fixture from ceiling (if any).
- To ensure efficient light, regularly clean the light panel. Don’t clean with harsh solvents; use a dry cloth.
- Use safety precautions. Safety eyeglasses and gloves are recommended.
WIRING DIAGRAM
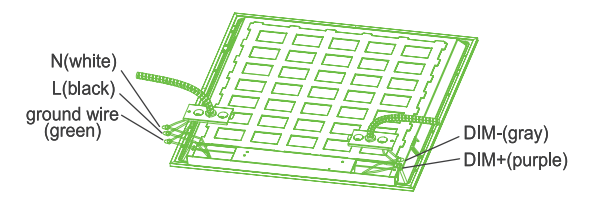
To make the light panel dimmable, connect a compatible dimmer (not included) to the dimming signal wires of the luminaire. Suitable for Constant Current Reduction Dimming 0-10V.
EASY INSTALLATION SUSPENSION
Required Tools: Drill, Ladder, Hammer, Pliers, Tape Measure, Pencil, Philips Screwdriver.
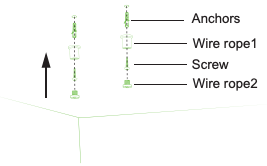
NOTE: 2 piece suspension kits (not included) required for suspension install.
- Turn off the switch and circuit breaker before installing this LED light fixture.
- Turn the Ceiling Panel face down on a flat surface.
- Unscrew the (2) driver covers and set aside the screws.
- Pop out (2) knockouts (choice of 6).
- Connect conduit to each knockout.
- Pass wires through.
- Pass wires through.
- Connect the supply wires to the Ceiling Panel wires with included wire nuts.
- Black to Black (live);
- White to White (neutral);
- Green to Green (ground).
- (Optional) If using a dimmer (not included), connect DIM+ and DIM- wiring of Ceiling Panel to your dimmer with included wire nuts.
- Replace driver covers.
- Tighten the screws.
- Tighten the screws.
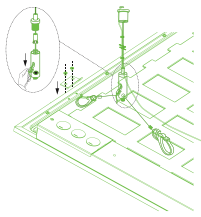
- Drill (2) holes in the ceiling. Place the anchors into hole. Insert the wire rope and screw.
- Refer to install manual of your suspension kit for complete details.
- Refer to install manual of your suspension kit for complete details.
- Adjust the support rope/wire so Ceiling Panel hangs horizontally.
- Suspension kit is not included.
- Suspension kit is not included.
- Install LED Ceiling Panel light in ceiling, using protective brackets.
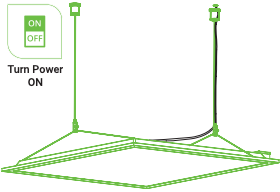
- Turn on circuit breaker and test the light.

WARNING
To reduce the risk of fire, electric shock or injury to people:
- Installation should be performed by a professional, qualified electrician familiar with the construction and operation of this product and the hazards involved.
- Abide by related regional and local laws or regulations.
- Proper grounding is required to ensure safety.
- Not suitable for a wet environment.
- LED must be installed in an appropriate environment to work. Harsh environments may shorten the life or damage the light.
- Check for damage during shipping prior to install. If the product is damaged, do not use it.
- Turn off the switch and circuit breaker before installing this LED light fixture. Accurately verifying no voltage on the lines with an appropriate meter is recommended prior to install.
- After verifying no voltage, disconnect wires and remove existing light fixture from ceiling (if any).
- To ensure efficient light, regularly clean the light panel. Don’t clean with harsh solvents; use a dry cloth.
- Use safety precautions. Safety eyeglasses and gloves are recommended.
SPECIFICATIONS
| Voltage | 100-277V |
| Wattage | 40W |
| Suitable for Locations Ingress | Damp |
| Housing | SPCC+PS lens |
| Weight | 4.85 lbs |
| Warranty | 10 years |
[xyz-ips snippet=”download-snippet”]