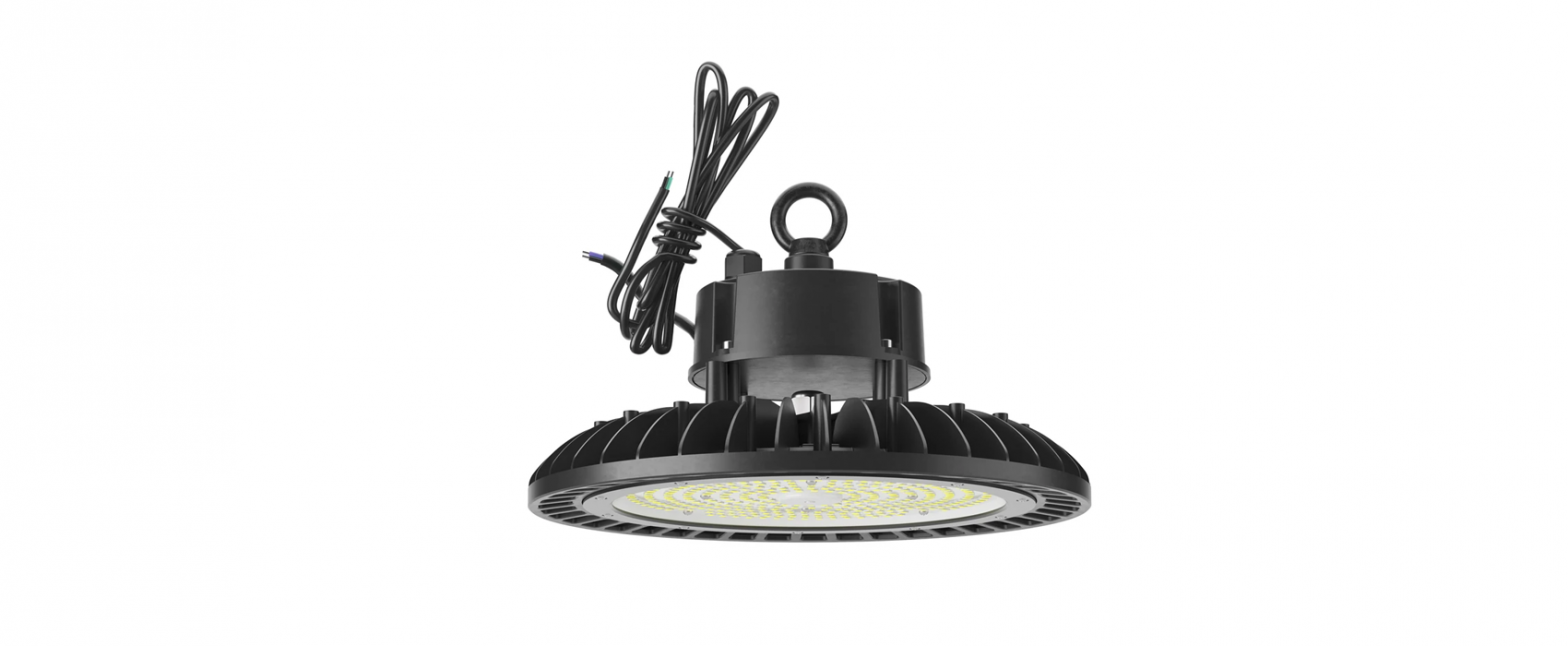
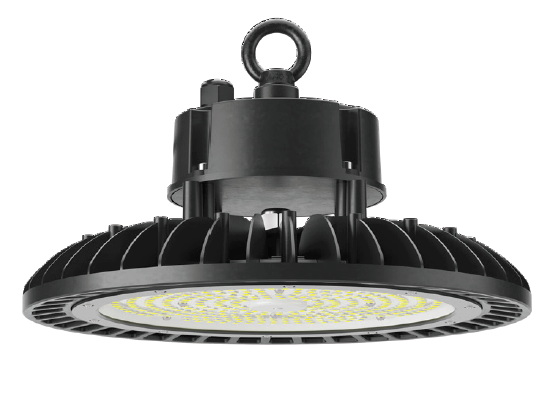
UFO High Bay 240W LED FixtureInstallation Guide
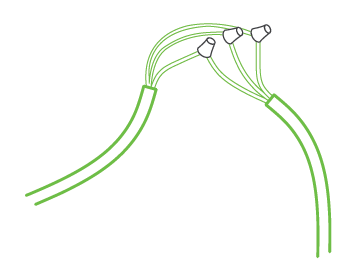
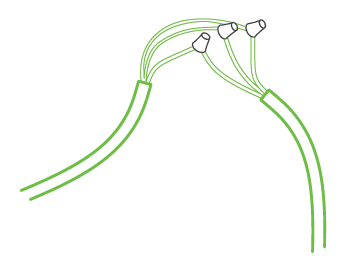
DIMMING OPTIONS
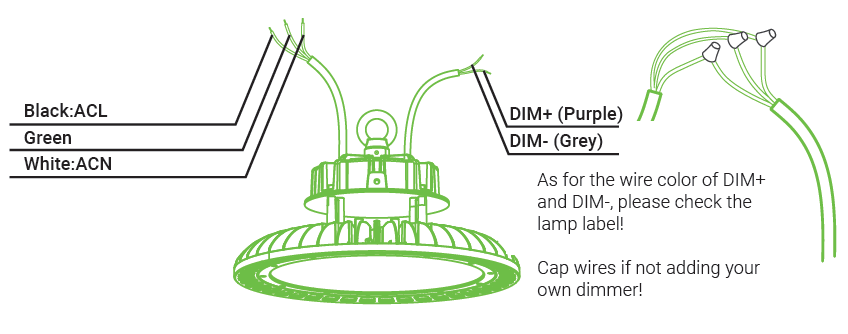
Please choose the appropriate method (select 1 of 3) for your dimming needs or choose not to use this function.
- Constant current can be achieved by 1-10VDC dimming.
- PWM signal dimming.
- Variation of resistance unit dimming.
To make the lamp dimmable, connect a compatible dimmer (not included) to the dimming signal wires of the luminaire. Cap wires if not adding your own dimmer.
EASY SET-UP INSTRUCTIONS
Select which installation method below is the most suitable for your needs (Hook Mount with Lifting Ring, Hook Mount with U-Bracket, Ceiling Mount, ½” NPT Mount with or without bracket) and follow those instructions.
Required Tools: Drill, Ladder, Hammer, Pliers, Bolt Cutters (for chain install), Tape Measure, Pencil.
EASY INSTALLATION
HOOK MOUNT WITH LIFTING RING
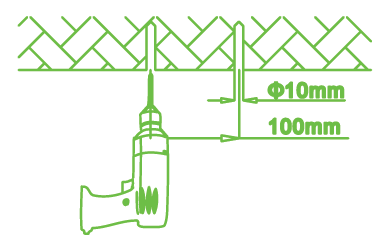
- Turn off the switch and circuit breaker before installing this LED light fixture.Drill a pilot hole, then securely install your hook in the ceiling or adequate support.
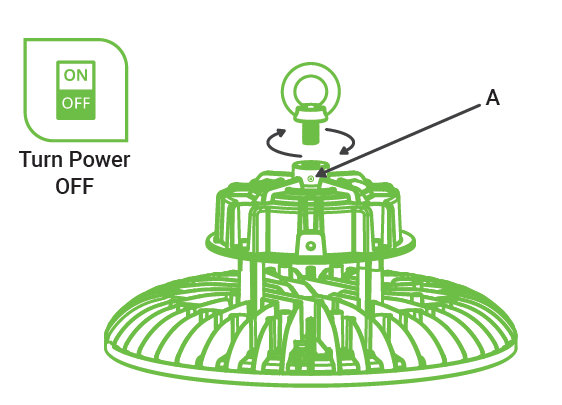
- If using a chain, cut to correct size to suspend light.Screw the provided lifting ring clockwise into the UFO High Bay fixture, then tighten firmly
- Add and tighten ring screw (A)
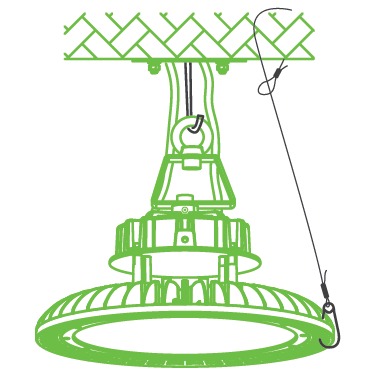
4. Hang the fixture onto your ceiling hook or chain with the lifting ring.
- Chain and ceiling hook not included.
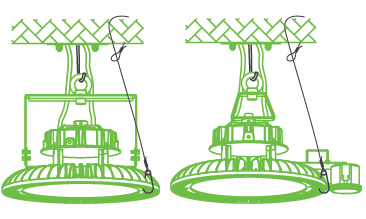
5. Secure the light with a safety cable (not included) to prevent it from falling.
- Loop end secures on support not hanging hook.
- Clip end secures to pre-cut hole between fins on the luminaire.
6. After installation, connect the supply wires to the UFO High Bay wires with wire nuts(not included).
- Black to Black (Live)
- White to White (Neutral)
- Green to Green (Ground)
7. Turn on circuit breaker and test the light.
HOOK MOUNT WITH BRACKET (NOT INCLUDED)
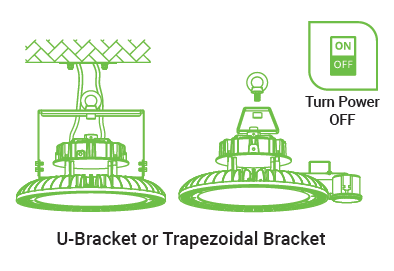
- Turn off the switch and circuit breaker before installing this LED light fixture.
- Drill a pilot hole, then securely install your hook in the ceiling or adequate support.
- Affix the provided lifting ring to the U-bracket or Trapezoidal Bracket then tighten the nut.
4. Hang the fixture onto your hook or chain with the lifting ring.
- Chain and ceiling hook not included.
5. Secure the light with a safety cable (not included) to prevent it from falling.
- Loop end secures on support not hanging hook.
- Clip end secures to pre-cut hole between fins on the luminaire.
6. After installation, connect the supply wires to the UFO High Bay wires with wire nuts (not included).
- Black to Black (Live)
- White to White (Neutral)
- Green to Green (Ground)
7. Turn on circuit breaker and test the light.
CEILING MOUNT
- Turn off the switch and circuit breaker before installing this LED light fixture.
- Use chalk or a sharp tool to mark the ceiling or wall where you will place the High Bay fixture.• Holes should match the holes in the bracket.• Drill holes with an electric drill.
- Use a hammer to place the expansion anchors into the prepared holes.
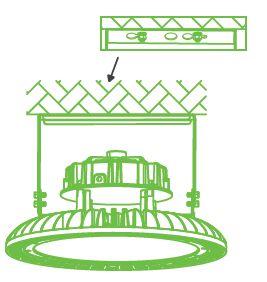
4. Align the holes on the bracket with the expansion anchors.5. With aligned holes, push the light to one side.
- Tighten the nuts.
6. After installation, connect the supply wires to the UFO High Bay wires with wire nuts (not included).
- Black to Black (Live)
- White to White (Neutral)
- Green to Green (Ground)
- See wiring diagram on page 1
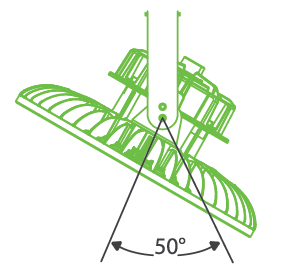
7. Modify the fixture position vertically 50 degrees (left or right) by adjusting the side screw on the bracket.
8. Turn on circuit breaker and test the light.
½” NTP PIPE MOUNT
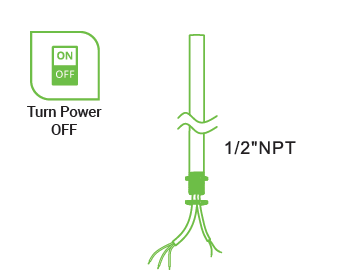
- Turn off the switch and circuit breaker before installing this LED light fixture.
- Unscrew the nut on the ½” NPT.
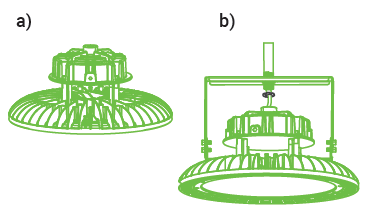
3. Align the NPT and U-Bracket holes, then either:a) screw the pipe into the drive hole of the light fixture.ORb) Reuse and tighten the nut (from the ½” NPT) to secure.

4. After installation, connect the supply wires to the UFO High Bay wires with wire nuts (not included).
- Black to Black (Live)
- White to White (Neutral)
- Green to Green (Ground)
See wiring diagram on page 1
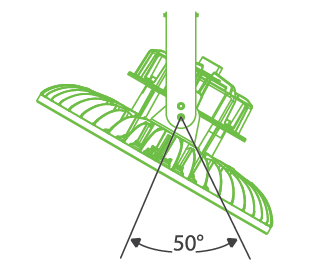
5. Modify the fixture position vertically 50 degrees (left or right) by adjusting the side screw on the bracket.6. Turn on circuit breaker and test the light.
WARNING
To reduce the risk of fire, electric shock or injury to people:
- Installation should be performed by a professional, qualified electrician familiar with the construction and operation of this product and the hazards involved.
- Abide by related regional and local laws or regulations.
- Proper grounding is required to ensure safety.
- Check for damage during shipping prior to install. If the product is damaged, don’t use it.
- Turn off the switch and circuit breaker before installing this LED light fixture.
- To ensure efficient light, regularly clean the light panel. Do not clean with harsh solvents.
- Use safety precautions. Safety eyeglasses and gloves are recommended.
- Please review instructions carefully before proceeding.
SPECIFICATIONS
- Voltage : 100-277V
- Wattage: 240W
- Suitable for Locations Ingress: Wet
- Housing: Aluminum + Glass
- Weight: 10.36lbs
- Warranty: 10 years
[xyz-ips snippet=”download-snippet”]