![]()
 report this ad
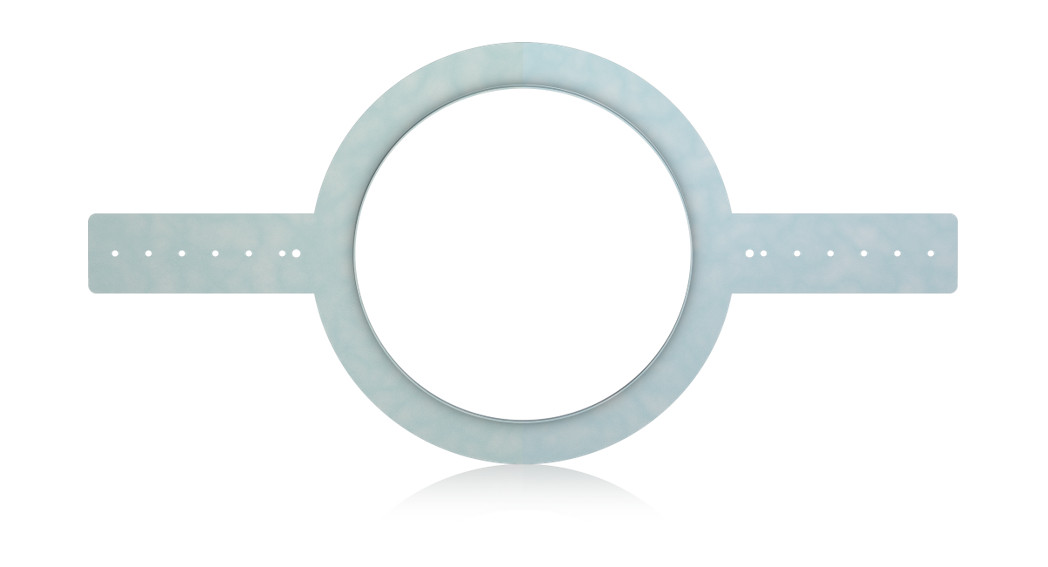
Mechanical Installation Instructions for Optional Tannoy Plaster RingAn optional plaster (mud) ring bracket is available from TANNOY. This bracket is designed to be pre-installed into newly constructed, non-suspended ceilings.
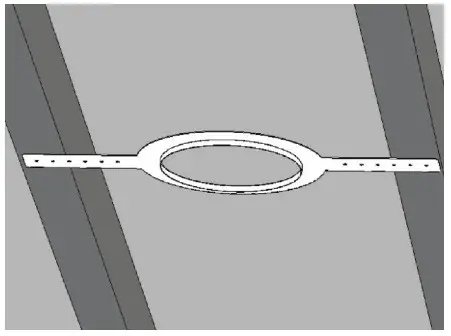
- Nail or screw the plaster ring to the joists.

- Lay the speaker wiring to where the speaker will be fitted and complete the plastering work on the ceiling.
- Cut out the hole in the ceiling using a circular saw or pad saw.
- Wire the speaker as described in the product’s documentation.
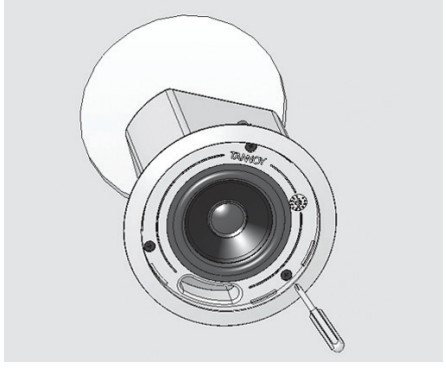
- Slide the speaker assembly through the hole and turn the screws to extend the mounting wings. Tighten the screws until a firm grip is achieved. If using a power driver, TANNOY recommends a torque setting of 1.5 Nm.Do Not Overtighten!Refer to the speaker’s documentation for specific mounting instructions for that model.
- Connect a Secondary Support Line to the safety tab. Some construction codes require the use of this secondary support point, which should connect to a separate secure support point using a suitable support line. Consult construction codes in your region.
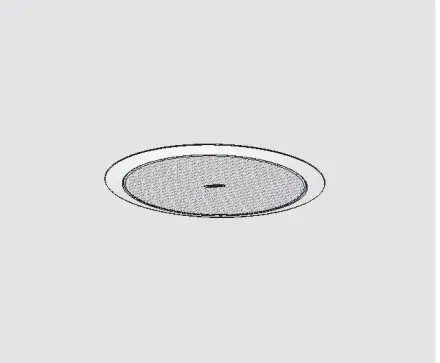
- Insert the grille by pushing it onto the speaker.
[xyz-ips snippet=”download-snippet”]