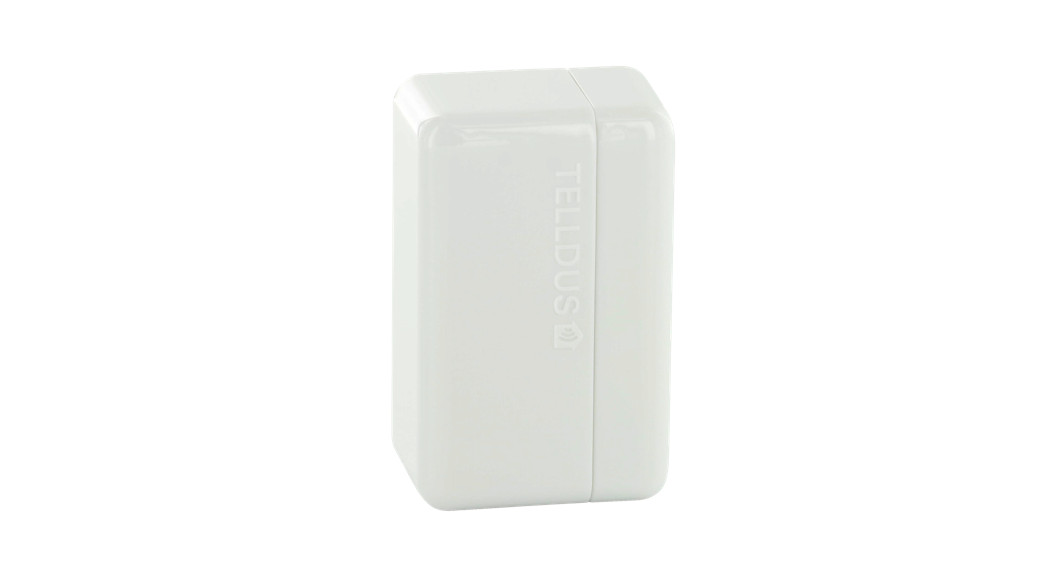
User manual for Door sensor


You can also read the manual online.Just follow the link: telld.us/m15110
Installation
| Insert the included batteries into the sensor. | 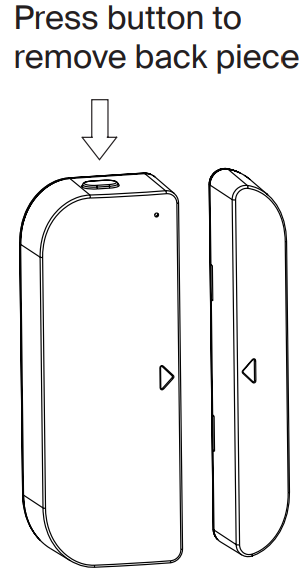  |
Connect the sensor to TellStick
![]()
![]()
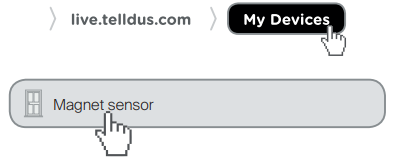
| Log into live.telldus.com
|
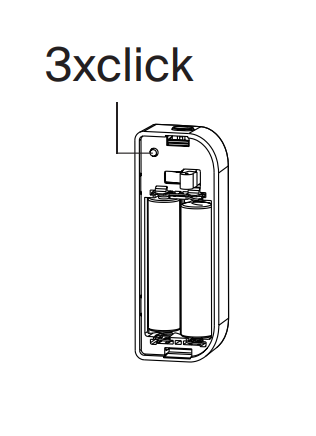
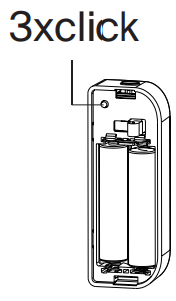  Connect sensor by pressing 3 times on the button |
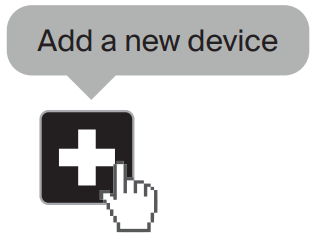  |
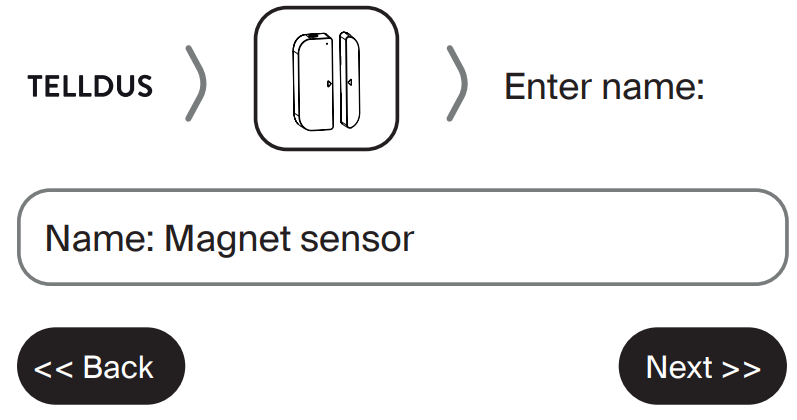  Press next and then the installation is done. |
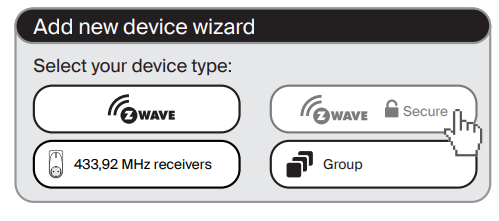  |
Specifications
Article number/Artikelnummer/Artikkelinumero: 15110Product size: 40x70x18mmBattery/Batteri/Batterie/Paristo: 2XAAA 1.5VRange/Räckvidd/Soveltamisala/Aktionsradius: 0-30mProtection class/Skyddsklass/Schutzklasse/Suojausluokka: IP20Frequency/Frekvens/Frequenz/Taajuus: 868.42MHz (EU)Protocol/Protokoll/ Pöytäkirja: Z-Wave 500 plusOperating temperature/Användningstemperatur/Betriebstemperatur/Käyttölämpötila: 0– +40
Placing the sensor
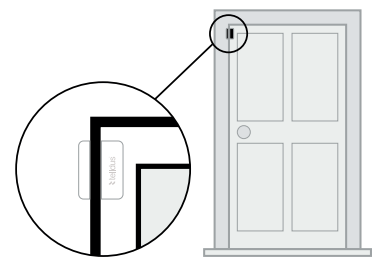
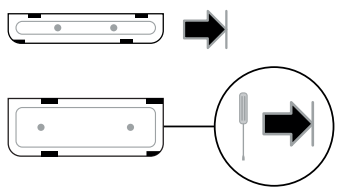
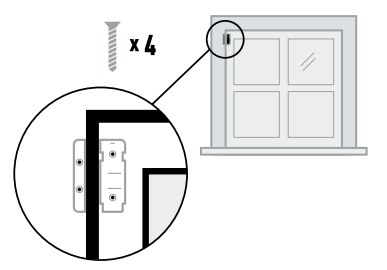
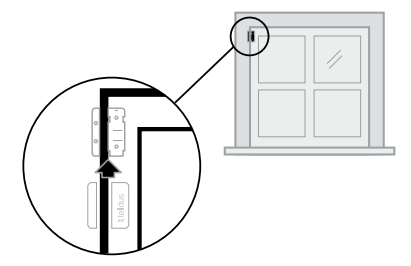
Mount the sensor on either a door or a window.Choose if you want to fasten with the M3 tape or the screws that come included.
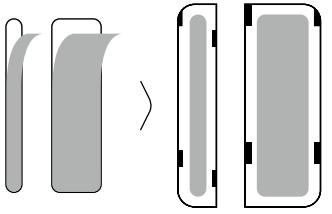
Mounting with adhesive tape
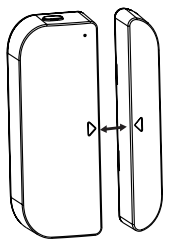  OBS! Make sure the arrows align. |
  |
  |
Mounting with screws
  |
  |
  |
Exclude the device
  |
  |
  |
  |
Read this before installation
- This sensor may not be installed outdoors.
- For rough surfaces: Fix the magnet sensor into the frame by using the included screws.For smooth surfaces: You may use double adhesivetape for fastening the sensor.
Correct disposal of the products


Proove AB Birger Svensson Väg 34 B,432 40 Varberg,Sweden www.telldus.com support.telldus.com
References
[xyz-ips snippet=”download-snippet”]

