TENLOG Hands 2
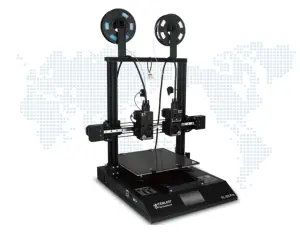
This manual is for reference only.The structure and parts list of the Tenlog DMP 3D printer are subject to the actual product in the carton, and subject to change without notice.
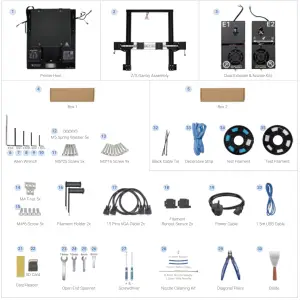
Parts List
Safety Alert
- Minors are not allowed to use alone

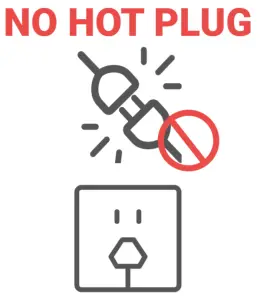
- Do not plug or unplug under power

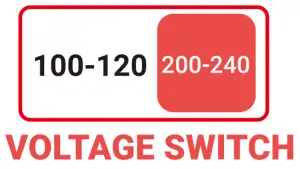
- Double check voltage before first use

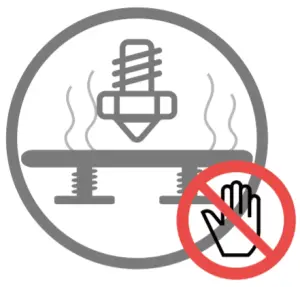
- Do not touch hot nozzle 4 and hot bed

- A grounded wire is required

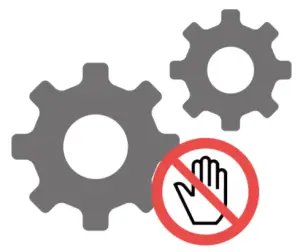
- Do not touch any moving part

How to Assemble
- Assemble Z/X Gantry Assembly to the Printer Host

- Assemble Dual Extruder & Nozzle Kits

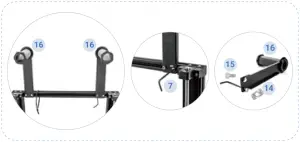
- Assemble the Filament Holder

- Wiring

- Enable Filament Runout Detection

How to Use Touch Screen
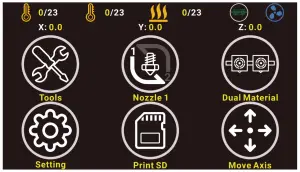
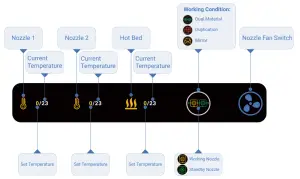
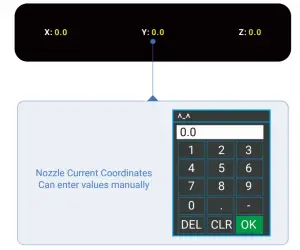


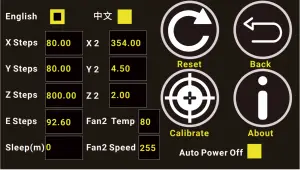
How to Use
Cura Interface Overview
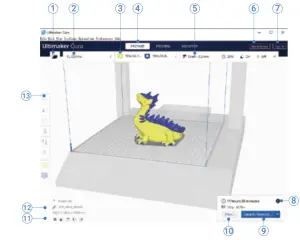
- Open file. Opens a 3D file.
- Printer selection panel. Displays the selected printer.
- Configuration panel. Contains the material and print core setup.
- Stages. The prepare. Preview and monitor stage. Each stage is arranged to efficiently go through each 3D printing step.
- Print settings panel. Contains all slice strategy parameters.
- Marketplace. Contains plugins and material packages.
- Ultimaker account. Allows access to cloud functionality, Marketplace plugins and print profiles, backups and more.
- Action panel. Contains an action button dependent on the current stage.
- Print over network. Save to removable disk or save to file.
- Preview. Proceeds to the next stage, the preview stage.
- Camera position tool. Easily positions the camera to default show default viewing angles.
- Model information. Contains the 3D model name and dimensions of all printable models on the build plate.
- Adjustment Tools. This allows you to easily position, scale, and rotate models on the build plate in the most efficient way
Shenzhen Tenlog 3D Technology Co., Ltd.

[xyz-ips snippet=”download-snippet”]


