thermaltake CL-F127-PL12SW-A Pure 12 ARGB Sync Radiator Fan White TT Premium Edition Installation Guide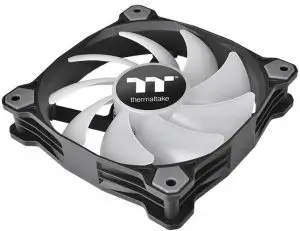
Parts List
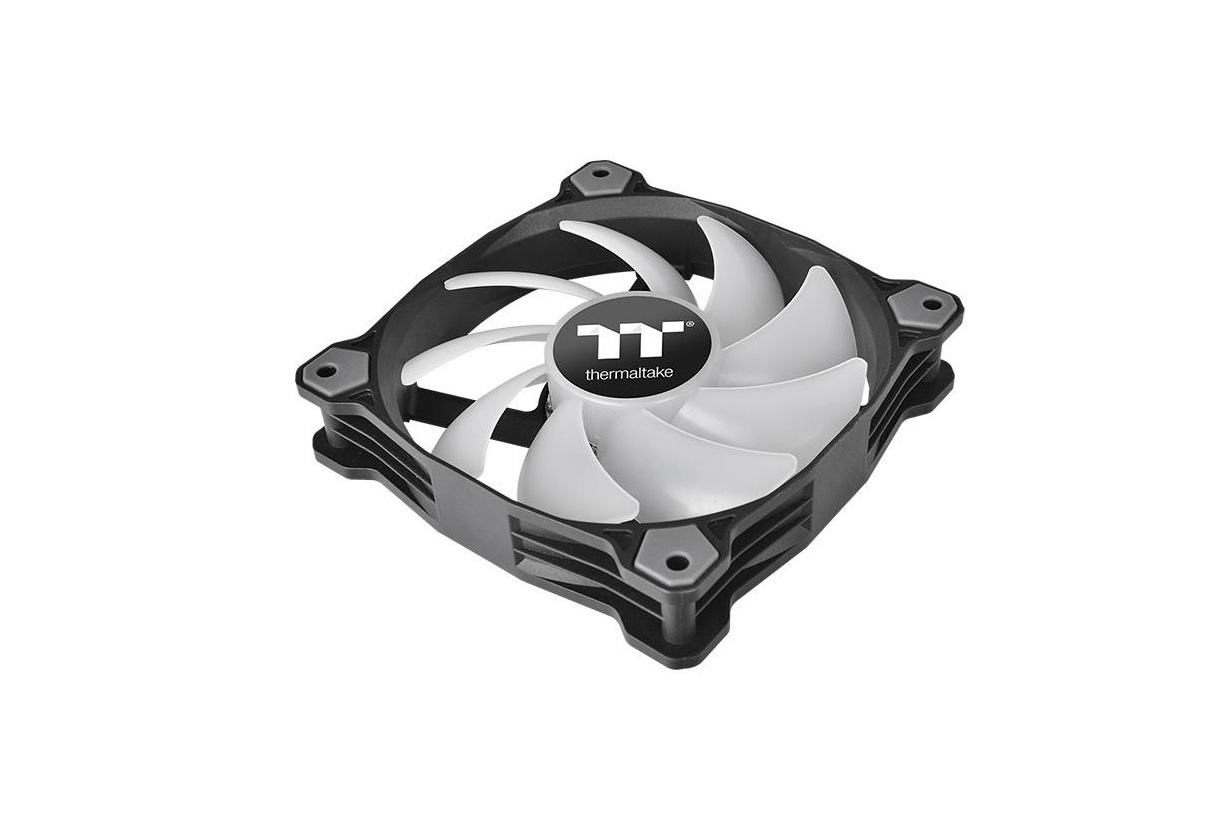
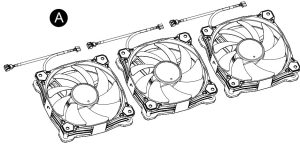
- A. x 3 Fan

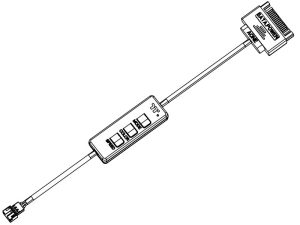
- B. x 1 ARGB Controller
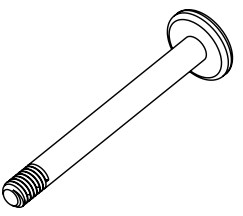
- C. x 12 Long Screw
- D. x 12 Short Screw
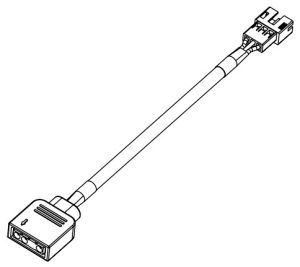
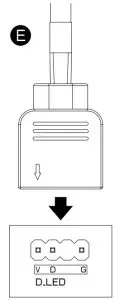
- E. x 1 Mainboard Signal Bridge Cable(ASUS,MSI,GIGABYTE)
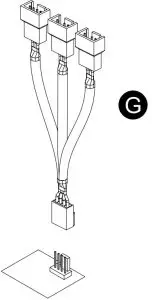
- G. x 1 PWM Cable

Installation Guide
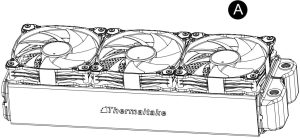
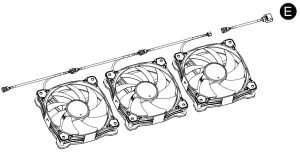
- Install the fans properly onto the radiator
- Connect the Fans in series
- Connect the PWM cable to mainboard.
- Connect the fan power cable to PWM cable

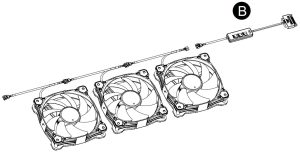
ARGB Controller Installation Guide
- Connect the ARGB controller to the Fans
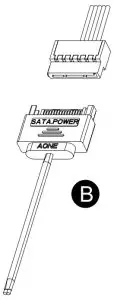
- Connent the ARGB controller to the SATA connector
Mianboard SYNC installtation Guide
![]() CAUTION: Please power off the PC and check the Positive and Negative ends on the connector before connecting the cable to mainboard. Connecting the wrong end can damage the fans.
CAUTION: Please power off the PC and check the Positive and Negative ends on the connector before connecting the cable to mainboard. Connecting the wrong end can damage the fans.
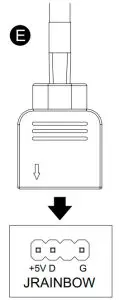
- Connect the Mainboard Signal Bridge Cable to fan led cable
- ASUS: Aura Addressable Strip Header(s)
- MSI: JRGB-strip Header(S)
- GIGABYTE: AOURS RGB Fusion with Digital LEDs

ARGB Controller

- Light Mode:Switch over between 7 LED modesRainbow → Full light → RGB Spectrum → Off → Flow → Ripple → Pulse → Blink
- Color Mode:When light mode is in Full Lighted, Pulse and Blink :Switch over 8 LED colors .Red → Yellow → Green → Teal → Blue → White → Purple → RainbowWhen light mode is in Ripple :Switch over 7 LED colors .Red → Yellow → Green → Teal → Blue → White → PurpleWhen light mode is in RGB Spectrum:Click to memorize and lock the color you want, click again to unlock the 256 colors auto rotation.When light mode is in Wave and Flow :LED color can not be adjusted.
- Light Speed:Switch over between 4 light modes.Slow → Normal → Fast → Extreme
© 2021 Thermaltake Technology Co., Ltd. All Rights Reserved. www.thermaltake.com

References
[xyz-ips snippet=”download-snippet”]