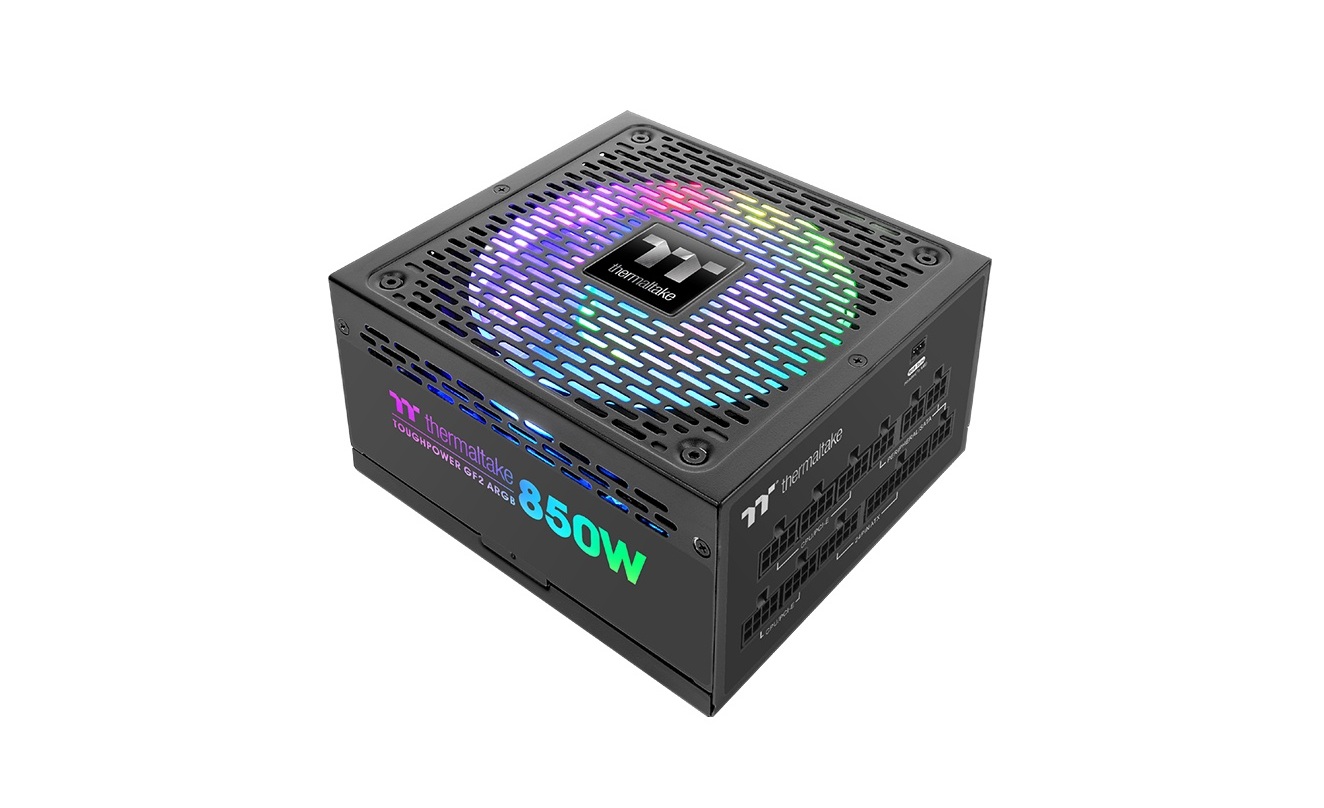
thermaltake TPS-TPD-0850F3FAGx-2 Oughpower GF2 ARGB 850W/750W/650W User Manual
Warnings and Caution
- Do not unplug the AC power cord when the power supply is in use. Doing so may cause damage to your components.
- Do not place the power supply in a high humidity and/or temperature environment.
- High voltages exist in the power supply. Do not open the power supply case unless you are an authorized service technician or electrician. Doing so will void the warranty.
- The power supply should be powered by the source indicated on the rating label.
- Please use only genuine Thermaltake modular cables with Thermaltake Cable Management power supply models.Third party cales might not be compatible and could cause serious damage to your system and power supply. The warranty is voided with the use of third party cables.
- All warrantees and guarantees will be voided, if failure to comply with any of the warnings and cautions covered in this manual.
Components Check
- TOUGHPOWER GF2 power supply unit
- AC power cord
- User manual
- Mounting screws x 4
- Cable straps × 4
- ARGB Sync cable x 1
Power Connector Introduction
| CABLE
Wattage |
 |
 |
 |
 |
 |
 |
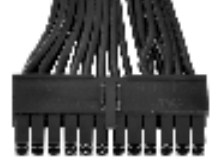
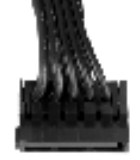
| Main Power Connector (24 Pin) | ATX 12 V
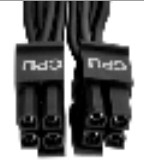
Connector (8 Pin/4+4 Pin) |
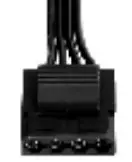
SATA
Connector (5 Pin) |
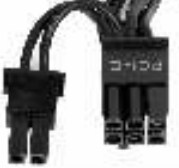
PCI-E
Connector (6+2 Pin) |
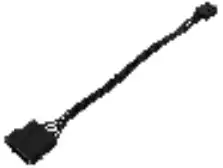
Peripheral Connector (4 Pin) | Floppy Adapter (4 Pin) | |
| 850W | 1 | 2 | 12 | 6 | 4 | 1 |
| 750W | 1 | 2 | 9 | 4 | 4 | 1 |
| 650W | 1 | 2 | 9 | 4 | 4 | 1 |
Output Specification
| Wattage | AC INPUT | Input Voltage: 100V – 240V~ ;
Input Current: 10A ; Frequency: 50Hz – 60Hz |
||||
| 850W | DC OUTPUT | +3.3V | +5V | +12V | -12V | +5VSB |
| Max Output Current | 22A | 22A | 70.9A | 0.3A | 3A | |
| Max Output Power | 120W | 850W | 3.6W | 15W | ||
| Wattage | AC INPUT | Input Voltage: 100V – 240V~ ;
Input Current: 10A ; Frequency: 50Hz – 60Hz |
||||
| 750W | DC OUTPUT | +3.3V | +5V | +12V | -12V | +5VSB |
| Max Output Current | 22A | 22A | 62.5A | 0.3A | 3A | |
| Max Output Power | 120W | 750W | 3.6W | 15W | ||
| Wattage | AC INPUT | Input Voltage: 100V – 240V~ ;
Input Current: 10A ; Frequency: 50Hz – 60Hz |
||||
| 650W | DC OUTPUT | +3.3V | +5V | +12V | -12V | +5VSB |
| Max Output Current | 22A | 22A | 54.2A | 0.3A | 3A | |
| Max Output Power | 120W | 650W | 3.6W | 15W |
Installation Steps
Note: Make sure that your system is turned off and unplugged. Disconnect the AC power cord from your old power supply
- Open your computer chassis; please refer to the instruction manual provided with your chassis.
- Install the PSU into the case with the four screws provided.
- If your motherboard requires a 24pin Main Power connector, please connect the 24pin Main Power connector to the motherboard.
- For motherboard that only requires a 4pin ATX 12V (CPU) connector, please detach a 4pin connector from the 4+4pin ATX 12V connector and connect it to the motherboard. (Either one of the 4pin from the 4+4pin ATX 12V connector will work)
- For motherboard that requires a single 8pin EPS connector, please use the 4+4pin connector from the power supply.
- Connect the SATA devices (if applicable) to the power supply using the SATA cables provided, i.e. hard drives, CD/DVD drives
- Connect any devices that may use the 4 pin peripheral connectors, i.e. hard drives, CD/DVD drives or case fans.
- if your graphic card requires PC1-E power connector, please connect corresponding PCI-E connector instructed by your graphic card’s user manual. Please note the power supply utilizes an unique 6+2pin PCI-E connector that can be effectively used as a single 8pin or 6pin PCI-E connector. To use it as a 6pin PCI-E connector, please detach the 2pin connector from the 6+2pin connector.
- Close your computer case and connect the AC power cord to the power supply AC inlet.
- Attention! When Smart Zero Fan System is turned on, the fan will not operate until the power supply reaches approximately 30% of rated toad; It is normal if the fan does not operate when computer is at a low working toad.
- This PSU is equipped with a patented 16.8 million colors Riing Duo 14 RGB Fan which features:
- Button controlled 8 lighting modes The lighting modes/colors can be changed when the Mode/Color button is pressed. You can either choose Wave, Spiral, Flow, Heartbeat, Ripple, Full Lighted, Spectrum Mode, or you can switch off the LEDs. Long pressing the Mode button can reset settings to default. The fan also has a built-in memory which can automatically recover the previous lighting mode after you restart the PSU.
- Synced with all RGB lighting devices on you systemThe lighting effects can be synced through the motherboards with ARGB Sync function. After switching off the PSU, connected the ARGB Sync Cable to the ARGB Sync Header on the PSU and to the +5V ARGB header on the motherboard (Caution: This power supply does not support +12V RGB header). Next, install the software provided by your motherboard’s vendor, such as ASUS AURA SYNC, GIGABYTE RGB FUSION, mis MYSTIC LIGHT SYNC or AsRock Polychrome software. Finally, choose your favorite lighting theme. Every time you turn on the PC, the chosen lighting theme will be automatically recovered only when the software boots up.

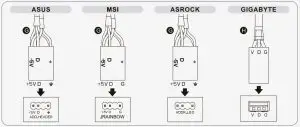
Caution: Please power off the PC and check the positive and negative ends on the connector before connecting the ARGB Sync Cable to motherboard. Connecting the cable to a wrong header or in a wrong direction can damage the LEDs.
Total Protection
- Over voltage Protection
- Short Circuit ProtectionActivated when any DC rails short circuited
| Voltage Source | Protection Point |
| +3.3v | 4.3v max |
| +5v | 7v max |
| +12v | 15.6v max |
Over Current Protection
| Wattage | 850W | 750W | 650W |
| Voltage Source | Protection Point | Protection Point | Protection Point |
| +3.3v | 36A max | 36A max | 36A max |
| +5v | 36A max | 36A max | 36A max |
| +12v | 114A max | 100A max | 87A max |
Over Power Protection
The power supply shall be shut down and latch off, if the wattage of the power supply is 120% ~ 150% over continuous power.
EMI & SAFETY
EMI Regulatory and safety standards
TOUGHPOWER GF2 ARGB 850W/750W/650W: CE, cTUVus, TUV, FCC, CCC, EAC, BSMI and S-Mark certified.
Environments
| Operating temperature | 0°C to +40 °C |
| Operating humidity | 20% to 90% non-condensing |
| MTBF | > 100,000 hours |
Trouble-Shooting
If the power supply fails to function properly, please follow the troubleshooting guide before application for service:
- Is the power cord plugged properly into electrical outlet and into the power supply AC inlet?
- Please make sure the I/O switch on the power supply is switched to I position.
- Please make sure all power connectors are properly connected to all the devices.
- If connected to a UPS unit, is the UPS on and plugged in?
 report this ad
If the power supply is still unable to function properly after following the above instruction, please contact your local store or Tt branch office for after sales service. You may also refer to Thermaltake’s website for more technical support: thermaltake.com
[xyz-ips snippet=”download-snippet”]