ThermoPro TP620 LED Digital Thermocouple Thermometer
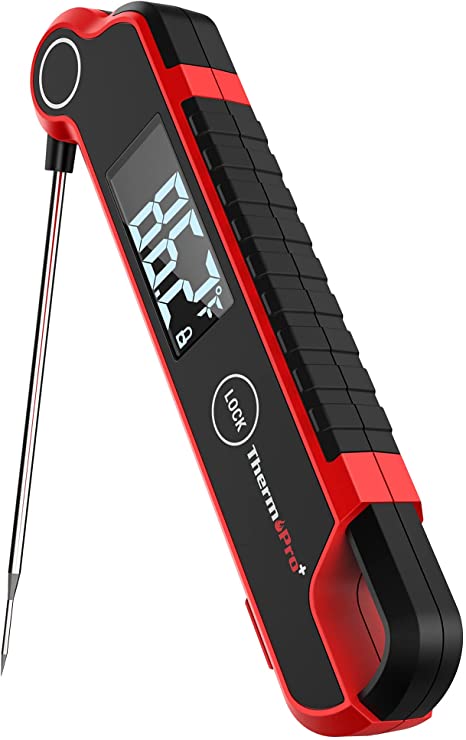
Product

- LCD Display: Displays the current temperature.
- °C/°F: Hold for 3 seconds to switch between °C and °F.
- LOCK: Press once to lock the current temperature for 5 seconds, within 5 seconds press again to unlock.
- Temperature Probe: Insert the probe into food to get the internal meat temperature.
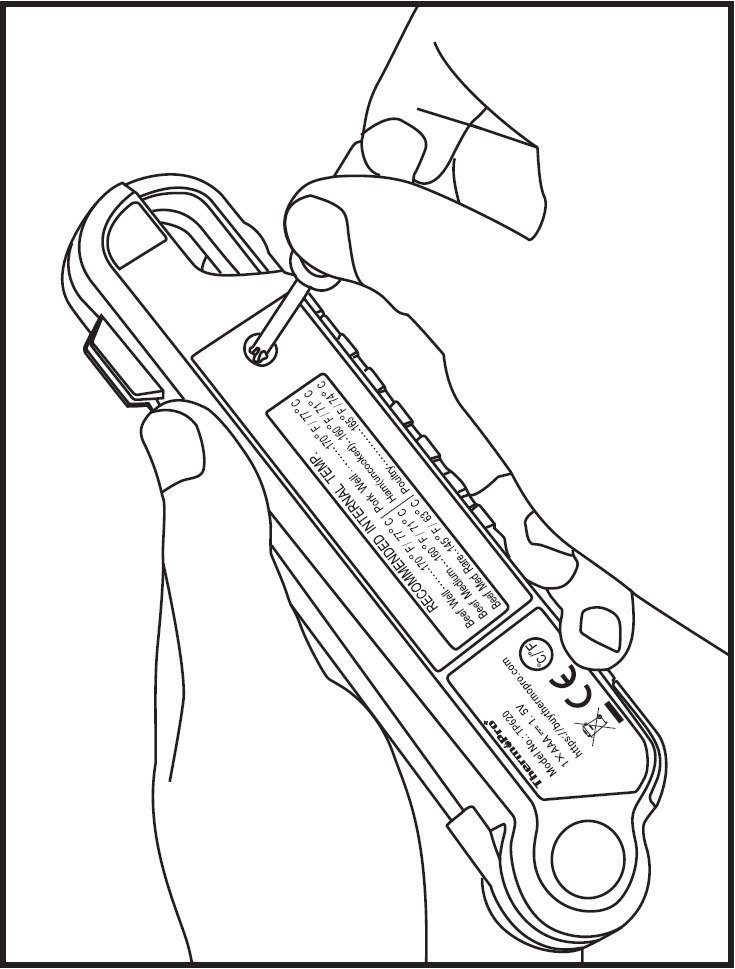
- Battery Compartment: Use 1 x AAA battery to power the unit.
- Super-Fast Thermocouple Probe: High precision sensor, you can get a temp readout within 3 seconds.
- CAL: Press and hold it for 5 seconds to calibrate the unit. Press again to confirm the calibration
- Waterproof: IP65
- Motion-sensing sleep and wake modes
- Built-in magnets
Specifications
- Temperature range: -58°F ~ 572°F (-50°C ~ 300°C). If the temperature is below -58°F (-50°C) or above 572°F (300°C), LLL or HHH will show on the screen
- Three Buttons: LOCK/°C/°F/CAL
- 90 seconds Auto-off feature
- Resolution: 0.1 °C/°F
- Temperature Accuracy: ±0.9°F (±0.5°C) in range between 14 to 212°F (-10 to 100°C)
- Battery: 1 x AAA 1.5V included
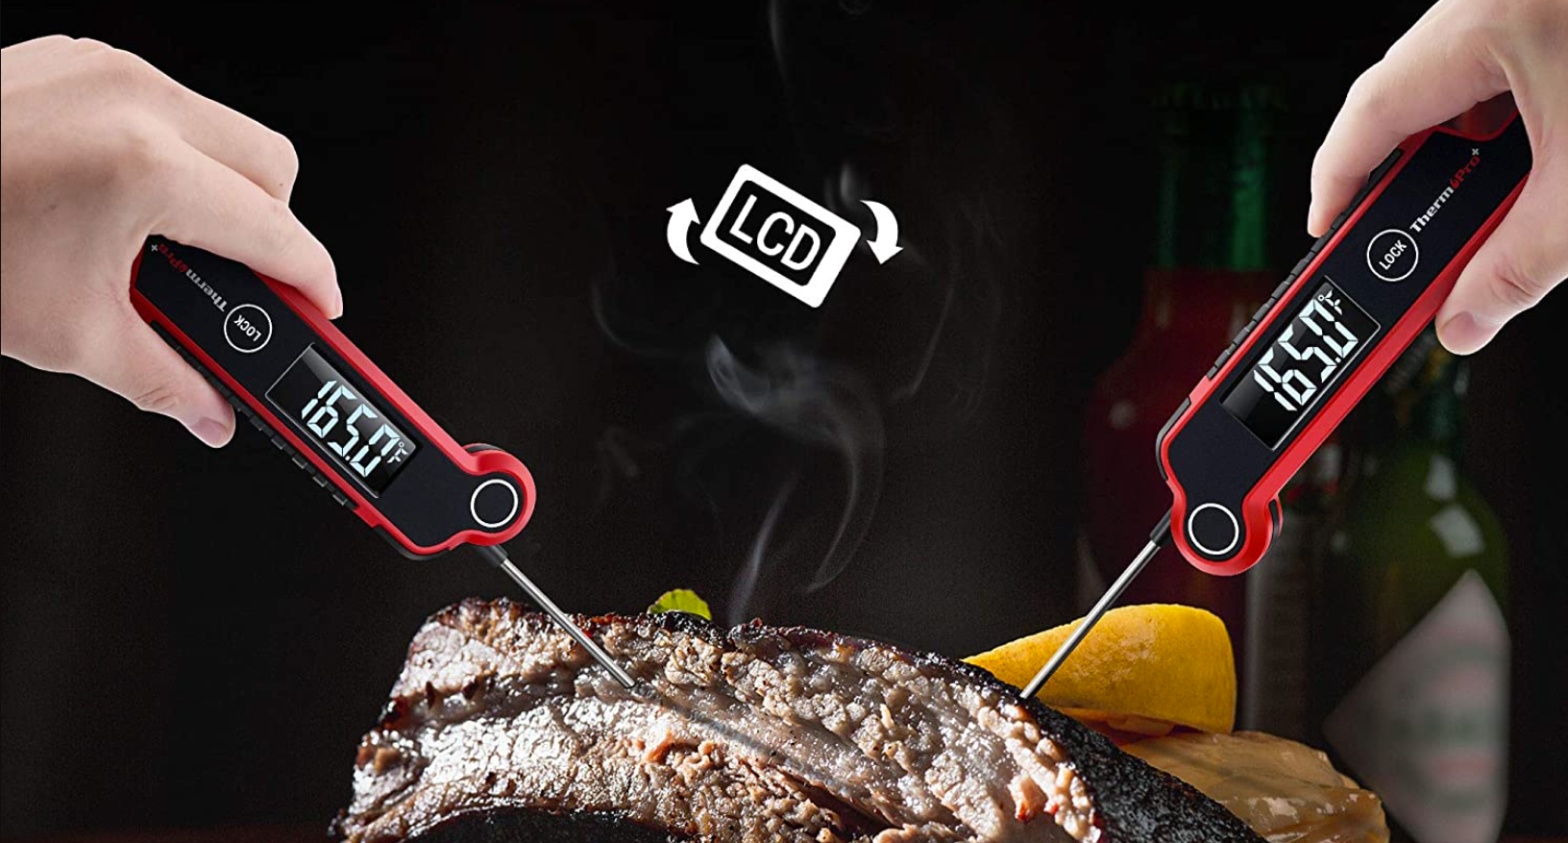
- 108° auto-rotating display
Before First Use
- Insert 1 * AAA battery with correct polarity(+) and(-) as indicated.
- Wash probe tip with warm soapy sponge or cloth, then rinse and dry.
- Wash under running water without fear!
- PLEASE READ AND FOLLOW ALL INSTRUCTIONS.
- The thermometer is now ready to use.
To Measure Food Temperature
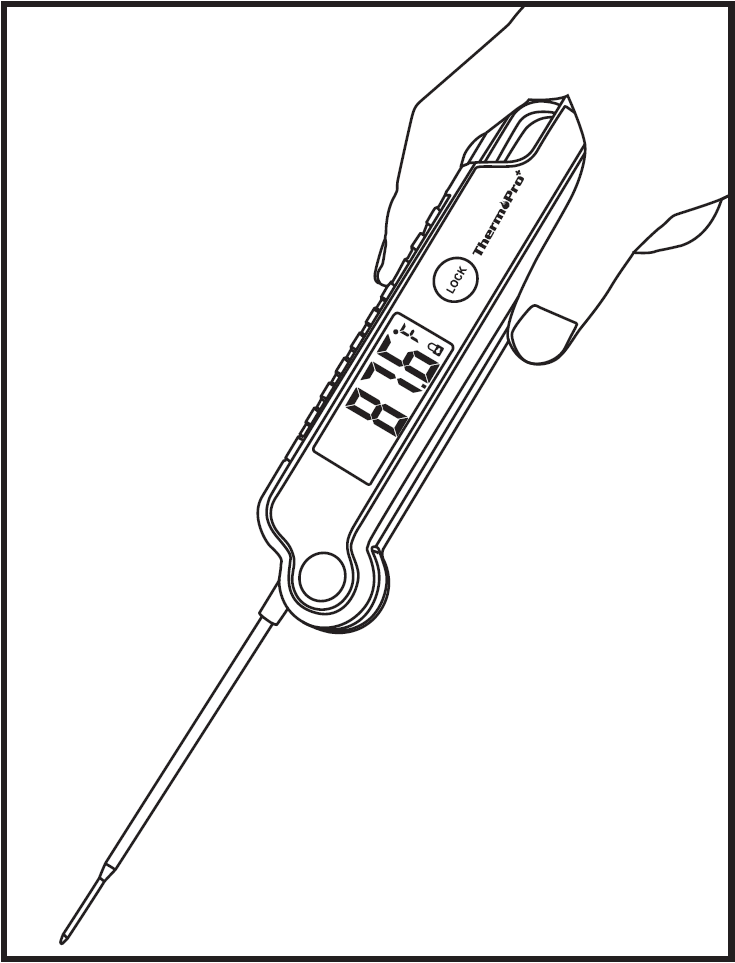
- Pull the probe away from the body of the thermometer to turn on the thermometer, and fold in the probe to turn off the thermometer.
- Press and hold °C/°F button for 3 seconds to switch between °C and °F. Please note that the temperature unit selected will remain when you turn on the thermometer next time.
- Insert the tip of the probe into food being cooked as shown in the picture below. The thermometer will start to measure the internal food temperature.

- Wait until temperature reading stabilizes on the display.
- Temperature reading can be displayed with a 180° global viewing angle
- Press the LOCK button to hold the temperature for 5 seconds.
- Wash the thermometer under running water after use.
- Thermometer will automatically turn off if the probe is not folded in and no button has been pressed in 90 seconds.
- If the thermometer is sleeping with the probe not folded in and then picked up or moved, the thermometer will automatically power on.
Calibration
The thermometer comes with a Calibration feature. In most cases, the thermometer was calibrated precisely at our manufacturing facility, and generally you do NOT need to calibrate the thermometer. However, after a long period of use and you believe that the temperature reading displayed by the thermometer is not accurate, you may follow the process below to re-calibrate the thermometer:
- Use distilled or purified water to make ice cubes in your refrigerator;
- Get a thermal insulated bottle. If you don’t have one, use a beaker or a regular cup;
- Fill the bottle with ice cubes (no less than 70% of the volume), then top off with cold distilled or purified water (no greater than 30% of the volume);
- Stir the mixture and let it sit for 10 minutes to allow the ice and water to reach its temperature equilibration;
- Turn on the thermometer, unscrew and take off the battery cover.
- Immerse the probe in the ice/water mixture and make sure not to touch the sides of the container. Wait till the temperature reading drops to its lowest value, which should be around 32°F or 0°C. If the temperature of the ice/water mixture is not within 28°F to 36°F (or -2°C to +2°C), the calibration can’t be continued: you will need to follow the above steps to re-make the ice/water mixture;
- Press and hold the CAL button for 5 seconds to enter the Calibration mode. CAL will display for 3 seconds and current temperature will display on the screen.
- Press the CAL button once to confirm the calibration mode and exit the calibration mode.
Note:The Calibration mode will only last for 15 seconds. If you’re unable to finish the calibration within 15 seconds, the thermometer will automatically exit Calibration mode.
Undo-Calibration
If you want to undo the calibration and go back to the default calibration setting, please follow the below steps:
- Turn on the thermometer and press the “CAL” button 5 seconds to enter Calibration mode;
- Press the lock button to undo the calibration and it will reset to the default setting.
Helpful Hints
- When measuring different foods or meat, it may be desirable to cool the probe first by rinsing the tip with cold water.
- It is recommended that you wipe the probe tip clean between readings. This is especially important when taking temperature readings from different foods or meat.
- The thermometer is designed for temporary, hand held use. Do NOT use in an oven. Do NOT leave it in extremely hot foods or liquid (anything over 572° F) for more than 1 minute.
- Always take your reading in the thickest available portion of meat. Thin portions of meat are difficult to measure because they tend to cook through fast. Avoid touching bone. If the tip touches the bone or heavy fat area of the meat, or if the tip is not deep enough, take a second reading to ensure accuracy.
- Not intended for use by persons under age 12.
Care of Your Thermometer
- Do not touch the stainless portion of the thermometer during or right after measuring temperatures since it will be very hot.
- Do not leave exposed to extreme high or low temperatures since this will damage electronic parts and plastics.
- Do not keep the thermometer inserted in food during cooking.
- Remove batteries if store for more than four months.
Declaration of Conformity
Hereby, the manufacturer declares that this product complies with the basic EN requirements and applicable complies with the basic requirements and applicable regulations of the EMC Directive 2014/30/EU. The complete declaration of conformity can be found at: https://itronicsmall.com/eu-declaration-of-conformity/
Disposal
- Protect our environment: do not dispose of electrical equipment in the domestic waste.
- Please return any electrical equipment that you will no longer use to the collection points provided for their disposal.
- This helps avoid the potential effects of incorrect disposal on the environment and human health.
- This will contribute to the recycling and other forms of reutilization of electrical and electronic equipment.
- Information concerning where the equipment can be disposed of can be obtained from your local authority.
- The batteries must be removed from the appliance.
- Take spent batteries to the appropriate collection point or to a dealer.
- Your town or local authority can provide information about public collection points.
This symbol can be found on batteries/ rechargeable batteries which contain hazardous.
Customer Service
Telephone: 1-877-515-7797 (USA & Canada only)44-808-164-1683 (UK)Email: [email protected]Hours: Weekdays 8:00 AM- 8:00 PMEST(USA & Canada only) Weekdays 1 :00 PM – 12:00 PM CET(UK)
 report this ad
![]()
[xyz-ips snippet=”download-snippet”]