
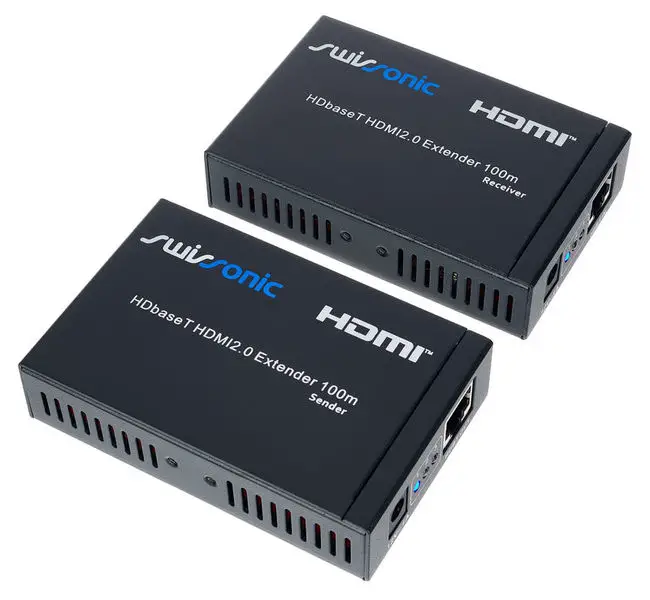
Thomann HDbaseT HDMI2.0 Extender 100m
Safety Instructions
Intended use
This device is used to transmit HDMI signals via network cables. Any other use or use under other operating conditions is considered to be improper and may result in personal injury or property damage. No liability will be assumed for damages resulting from improper use.
Danger for Children
Ensure that plastic bags, packaging, etc. are disposed of properly and are not within reach of babies and young children. Choking hazard! Ensure that children do not detach any small parts from the product. They could swallow the pieces and choke!
Where to Use the Product
Never use the product
- In conditions of extreme temperature or humidity
- In extremely dusty or dirty areas
- At locations where the unit can become wet
General Handling
- To prevent damage, never use force when handling the product.
- Never immerse the product in water. Just wipe it with a clean dry cloth. Do not use liquid cleaners such as benzene, thinners or flammable cleaning agents.
Features
- Transmits an uncompressed HDMI signal over a CAT5e / 6 / 6a / 7 cable
- Supports Full-HD 1080p60 up to 4K × 2K @ 60 Hz
- Suitable for distances up to 100 meters
- Transmission protocol: HDbaseT
- Bidirectional transmission of IR signals
- Supports HDCP, CEC and 24 deep color as well as LPCM audio and compressed audio such as DTS-HD and Dolby True HD
- Scope of delivery: HDbaseT transmitter, HDbaseT receiver, 2 × IR transmitter / receiver cables, 2 × power adapters
Operating Elements
Transmitter
![]()
- INPUT HDMI – HDMI input
- IN IR – Connection for infrared receiver
- OUT IR – Connection for infrared transmitter
- 12V=1A – Connection for power adapter
- 1 2 3 – Control LEDs for device functions
- LED lights up when device is supplied with voltage
- LED lights up when the connection between transmitter and receiver is established
- LED lights up when there is a connection to the HDMI signal source and a signal is present
- HDBT OUT – HDBaseT signal output
Receiver

- OUTPUT HDMI – HDMI output
- IN IR – Connection for infrared receiver
- OUT IR – Connection for infrared transmitter
- 12V=1A – Connection for power adapter
- 1 2 3 – Control LEDs for device functions
- LED lights up when device is supplied with voltage
- LED lights up when the connection between transmitter and receiver is established
- LED lights up when there is a connection to the HDMI display and a signal is present
- HDBT OUT – HDBaseT signal input
Using the Product
- Connect both devices using the supplied power supplies with properly wired wall outlets. The respective Power indicator (1) lights up, the devices are immediately ready for operation.
- Connect the HDMI source to the INPUT HDMI socket of the transmitter using a suitable cable. Its LED (3) lights up when connected and a signal is present.
- If you want to control the display connected to the receiver via infrared from the position of the transmitter, connect one of the infrared cables to the IN IR socket of the transmitter and one to the OUT IR socket of the receiver. The diode at the end of the cable must point to the IR sensor on the display. You can find out where this sensor is located in the operating instructions for the display.
- Connect the HDBT OUT socket of the transmitter to the HDBT IN socket of the receiver using a CAT5e / 6 / 6a / 7 cable (max. length 100 m). The LEDs (2) on both devices light up to confirm the established connection.
- Connect the HDMI display to the OUTPUT HDMI socket of the receiver using a suitable cable. The LED (3) lights up when there is a connection and a signal is present.
- If you want to control the HDMI source with its IR remote control from the location of the receiver, connect one of the infrared cables to the IN IR socket of the receiver and one to the OUT IR socket of the transmitter. The diode at the end of the cable must point to the IR sensor on the HDMI source. You can find out where this sensor is located in the operating instructions for the HDMI source.
- Switch on the HDMI devices and start the transmission on the HDMI source.
- After use, disconnect both power adapters from the power supply.
For the transport and protective packaging, environmentally friendly materials have been chosen that can be supplied to normal recycling. Ensure that plastic bags, packaging, etc. are properly disposed of. Do not just dispose of these materials with your normal household waste, but make sure that they are collected for recycling. Please follow the notes and markings on the packaging.
This product is subject to the European Waste Electrical and Electronic Equipment Directive (WEEE) in its currently valid version. Do not dispose of your old device with your normal household waste. Dispose of this product through an approved waste disposal firm or through your local waste facility. Comply with the rules and regulations that apply in your country. If in doubt, consult your local waste disposal facility.
Technical Specifications
| Resolutions |
InputOutput |
up to 2160p60up to 2160p60 |
| Format | HDMI 1.4 | |
| HDCP | HDCP 1.4 | |
| Colour depth | 24 bit | |
| Audio formats | LPCM, DTS-HD und Dolby TrueHD | |
| Audio outputs | DigitalAnalogue |
./../. |
| Input connections |
1 × HDMI1 × RJ45 IR |
|
| Output connections |
1 × HDMI1 × RJ45 IR |
|
| Input signal looping | ./. | |
| Connection cable in / output module | CAT 5e / CAT 6 / CAT 6a / CAT 7 | |
| Transmission length |
CAT 5e / CAT 6 100 m up to 1080p @ 60 Hz 36 bpp70 m 1080p @ 60 Hz 48 bpp1080p @ 60 Hz 3D4K × 2K @ 60 Hz (4:2:0) |
|
| Additional equipment | Bidirectional transmission of infrared signals | |
| Power supply | External power adapter, 100 – 240 V~ 50/60 Hz | |
| Operating voltage | 12 V / 1000 mA, centre positive | |
| Degree of protection | IP20 | |
| Dimensions (W × H× D) | 113 mm × 24 mm × 64 mm | |
| Weight | TransmitterReceiver |
79 g107 g |
| Ambient conditions | Temperature RangeRelative Humidity |
0 °C…40 °C50 %, non-condensing |
Troubleshooting
|
Symptom |
Remedy |
| No image on the display. | Check the status of the control LEDs and ensure that all connections have been made correctly. |
| LED 3 flashes, but no image on the display. | Check that the correct HDMI input channel is selected on the display. |
| LEDs 2 are flashing, but LEDs 3 are off. | Check that the transmitter is receiving an input signal. Make sure that the HDMI output of the receiver is correctly connected to the display. |
| The image on the display is disturbed. | Replace the cable at the signal input of the transmitter or use shorter HDMI cables. |
Thomann GmbHHans-Thomann-Straße 196138 Burgebrachwww.thomann.de[email protected]
![]()
References
[xyz-ips snippet=”download-snippet”]