
Time2 HSIP2 Wireless Surveillance Camera
Installation Guide
HSIP2 Camera
- Headphone Slot
- Ethernet / RJ45 Port
- WiFi Antenna
- Micro SD Card Slot
- Power Port
HSIP2 Video Setup Guide
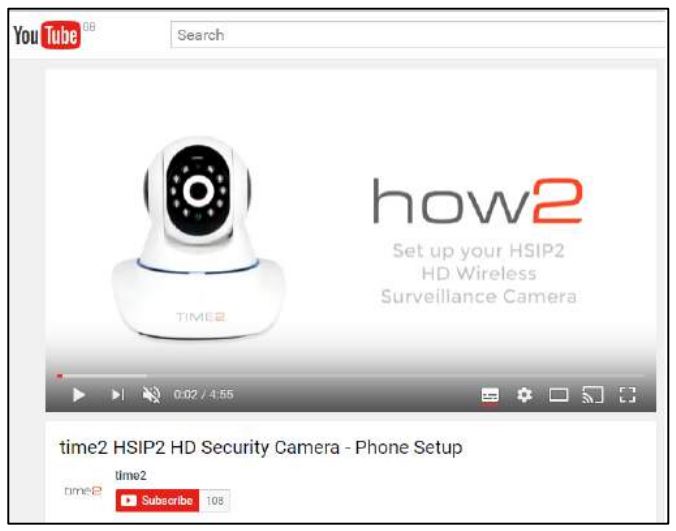
View our Video setup Guide for a fast and easy setup for your camera Please ensure the subtitles are switched on in YouTube.
Visit – https://youtu.be/jctmRNn9UYQ or on our website visit the Support section, product downloads and select the HSIP2 HD Wireless Surveillance Camera.
Outdoor Camera
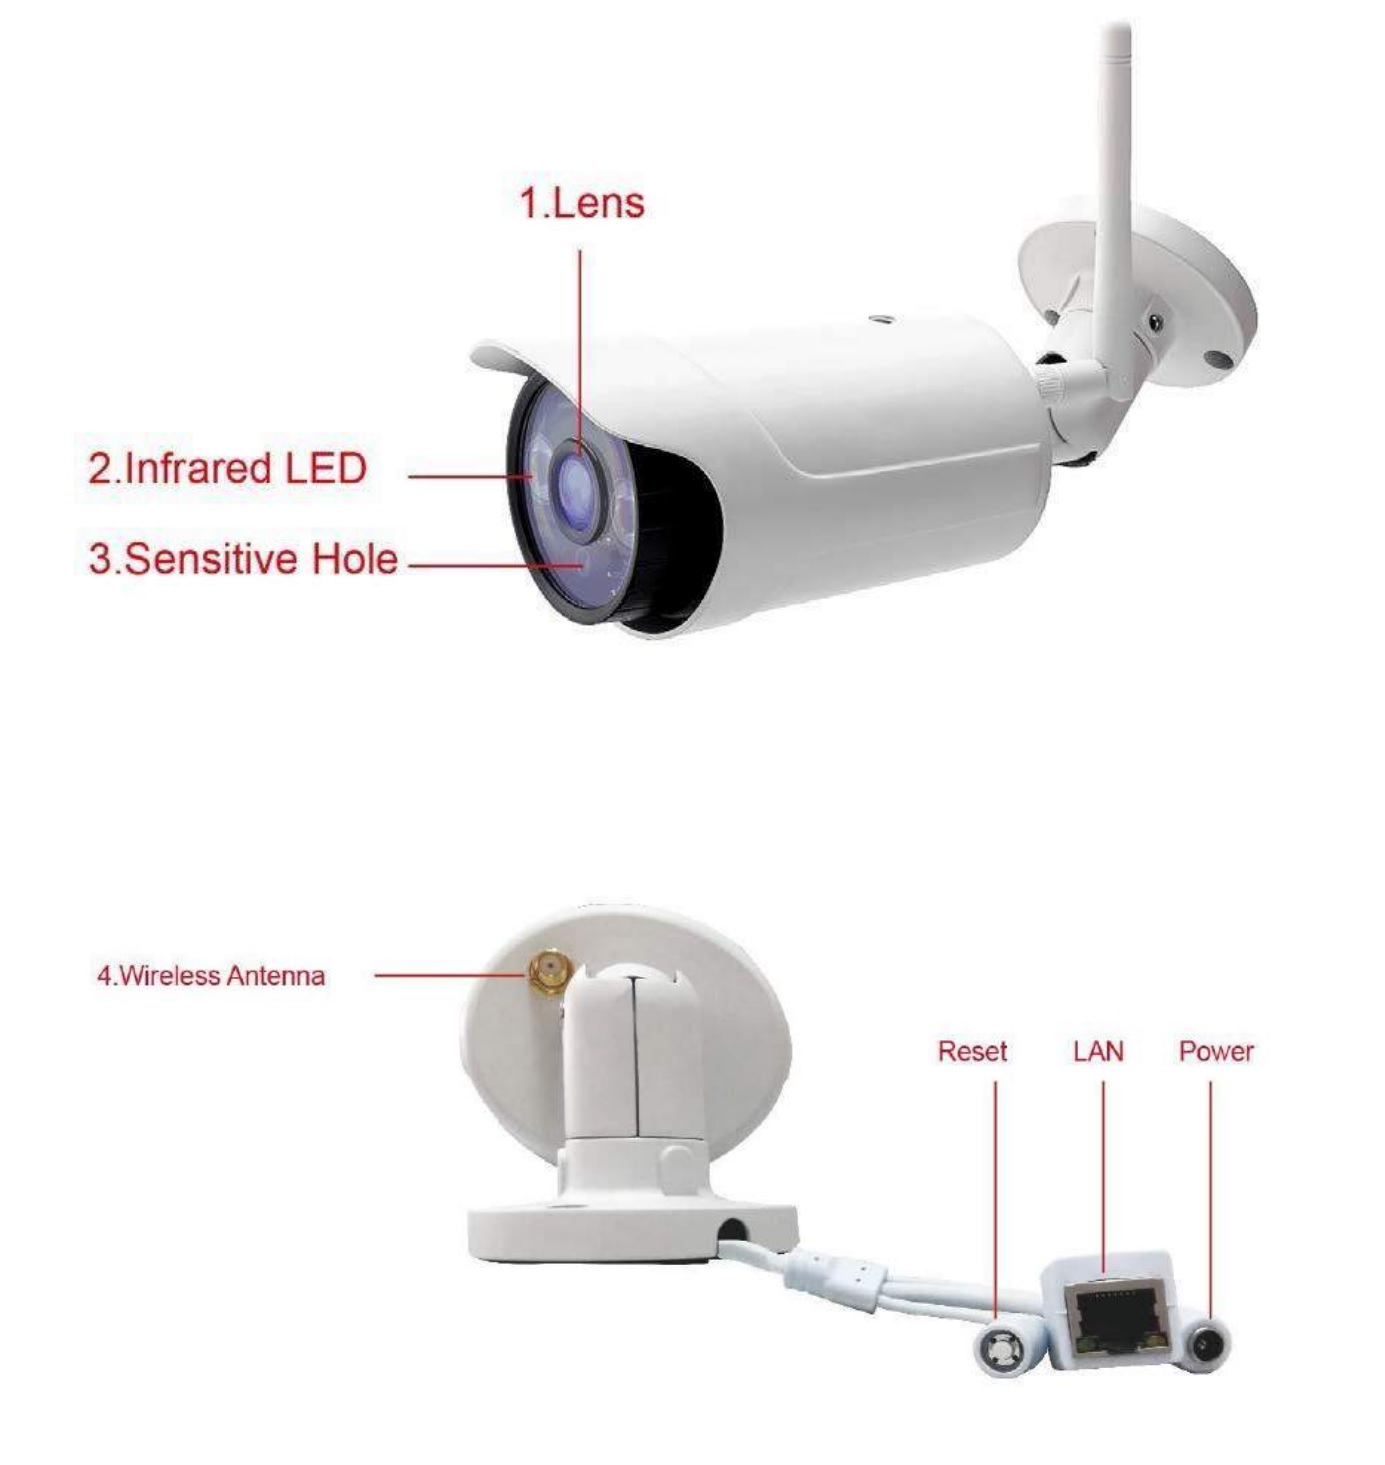
Connecting the Camera

- Screw the WiFi Antenna into the gold screw at the back of the camera.
- Plug the power adapter into the port at the back of the camera.
- Plug one end of the Network>Ethernet cable into camera and the other end into your Wireless Internet Router. It will take approximately 30 seconds for the camera to power up.
- Once the power cable and Ethernet cable have been connected, the green LED light on the HSIP2 will come on.
PC Setup
- Download the IP Camera For PC from the link below:https://www.time2technology.com/product-downloads/Time2-HSIP2-Wireless-Surveillance-Camera.html
- After opening the APP click on the Add Device (+) tab

- Click Search at the bottom
- Click on your camera.
- Once you have selected your camera, the camera information will be filled. Please leave the Password field empty.
- Click OK to save your settings.
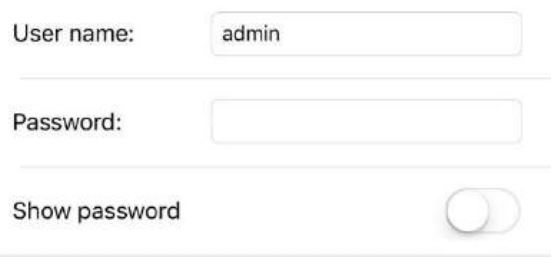
- For extra security you will be asked to to change the username and password. Click on the camera and it will take you to the user settings.
- Change the details for the Administrator only and click Done to save your changes.
- Once the camera appears online click on the camera to view the Live Feed.


Wi-Fi Setup
Using this setting you can set the camera to function over your wireless network.
Please note: When setting the camera up for the first time, it will need to be wired into the internet router first.

Ensure there is a tick in the “use WLAN”.
Click “Search” to search for existing wireless networks then select the network you would like to connect to. All the information will be automatically filled in except the password for your router.
In the “Encryption” box enter your router password and click “Set”.
Remove the Ethernet cable, and the camera will automatically configure itself with the router.
Close down the window and you will see the camera come online using the wireless function.
Camera Controls
Simply swipe in any direction to move the indoor rotating camera. Other actions available are below:Please note the outdoor camera is a static camera and cannot pan/tilt.

Support
For further support with setup and if you require any help to make the most of your camera please contact our customer services support team.https://www.time2technology.com/en/support/
Connect With Us:
![]()
![]()
![]()
References
[xyz-ips snippet=”download-snippet”]