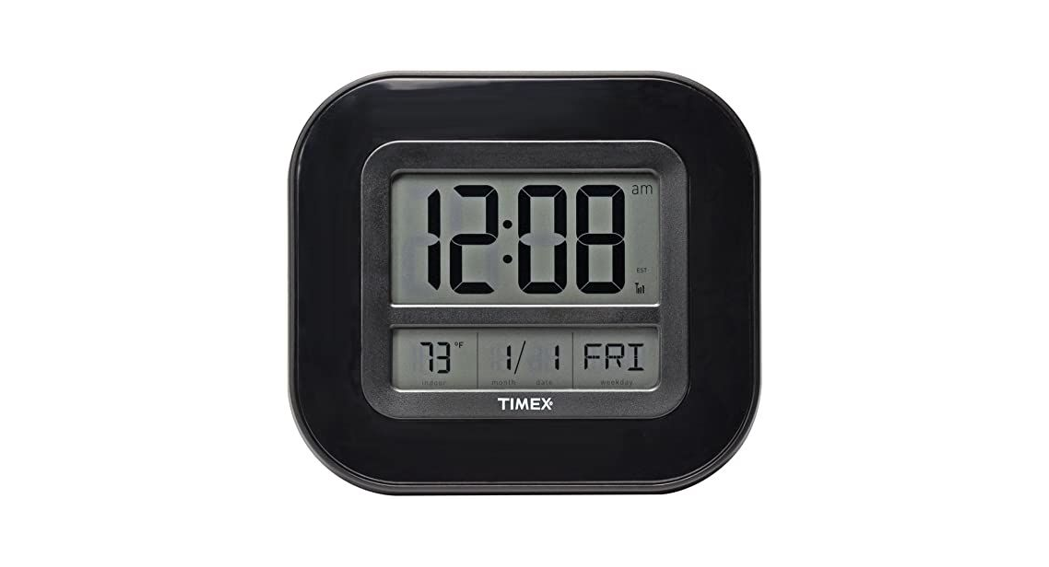
![]() Atomic Wall Clockwith the calendar and indoor temperature
Atomic Wall Clockwith the calendar and indoor temperature
Instruction Manual
Package Contents:
- Atomic Wall Clock
- Instruction Manual
What You Need:
- [2] AA batteries see “install Batteries”
Thank you for purchasing this TIMEX® product. Please read this manual in its entirety to fully enjoy the benefits and features of this product. Please keep this manual for future reference.NOTE: A clear film is applied to the LCD at the factory that must be removed prior to using this product. Locate the clear tab and simply peel to remove.
SECTION 1 • SETUP
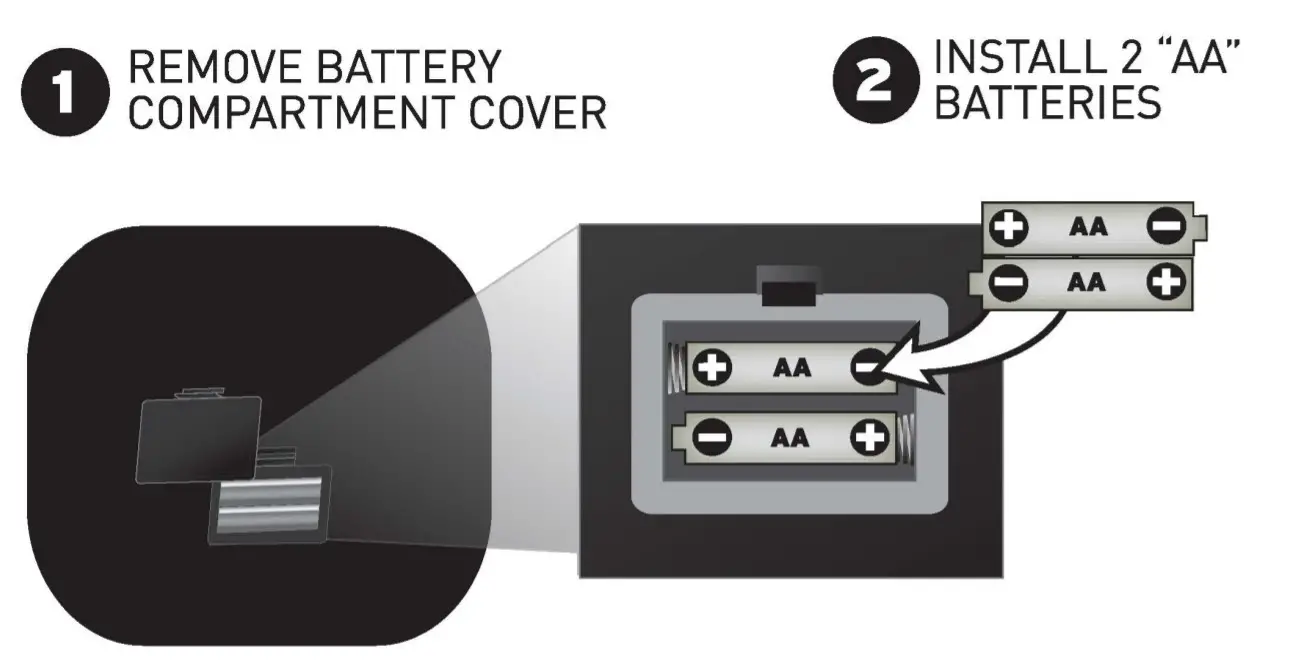
Install BatteriesRemove the battery compartment cover and install 2 fresh “M” batteries as shown here.
Basic SetupAfter installing batteries, it is recommended that you set the clock and calendar initially. After the atomic clock signal is acquired, which may take up to 24 hours, the clock accuracy and daylight saving time changes will be automatically maintained.About the Atomic ClockA clock is considered atomic if it has an accuracy of one second in a million years. Consumer clocks are considered atomic if they attain this accuracy by receiving a signal from an atomic clock. In North America, the National Institute of Standards and Technologies operates an atomic clock in Colorado which transmits the time codes via the radio station WWVB. The TIMEX®clock you have purchased includes a built-in receiver that picks up the signal from the WWVB station. For the best possible reception, place the main unit with the backside facing Colorado. NOTE: Due to solar radiation in the atmosphere, the atomic clock signal is weaker during the day. Most synchronization with the WWVB atomic clock signal happens at night when there is less interference.
Initial Set-Up
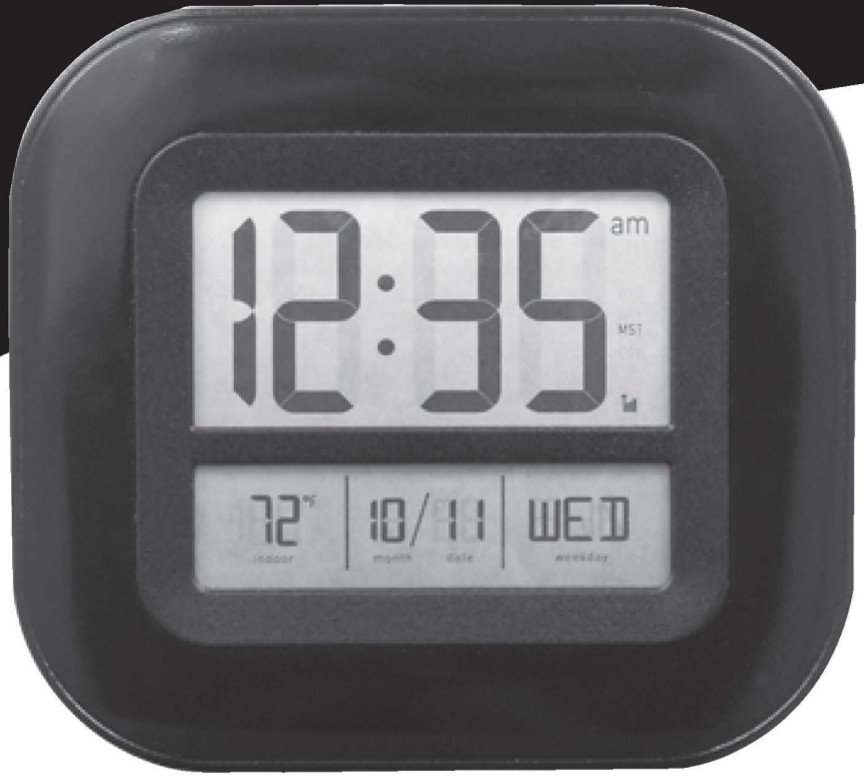
After power-up, the display will show all segments for 3 seconds. The display will read 12:00 pm Jan 1, 2000, with room temperature and flashing ![]() The time zone will default to PST [Pacific Standard Time!.The Atomic Clock will start to search for the atomic signal.If a valid signal is available, the Atomic clock will receive the local time in 3-5 minutes.The full-strength signal bars will appear on the display.If the signal is not available when setting up, you may enter the present time and date by following the manual setup.
The time zone will default to PST [Pacific Standard Time!.The Atomic Clock will start to search for the atomic signal.If a valid signal is available, the Atomic clock will receive the local time in 3-5 minutes.The full-strength signal bars will appear on the display.If the signal is not available when setting up, you may enter the present time and date by following the manual setup.
Manual Set Up
To set the time and day/date:If the ![]() icon is flashing, press the
icon is flashing, press the ![]() button to stop the Atomic clock from searching for a signal.Press and hold the SET button for 3 seconds to begin manual setup mode.
button to stop the Atomic clock from searching for a signal.Press and hold the SET button for 3 seconds to begin manual setup mode.
- Select 12 or 24 hours [standard or military]. Press SET to confirm
- The HOUR will flash.Adjust the hour by pressing the+ or – button. Press SET to confirm
- The MINUTE will flash.Adjust the hour by pressing the+ or – button. Press SET to confirm
- The YEAR will flash [20001.Adjust the year by pressing the+ or – button. Press SET to confirm
- The MONTH will flash.Adjust the month by pressing the+ or – button. Press SET to confirm
- The DATE will flash.Adjust the date by pressing the+ or – button. Press SET to confirm
- The DST will flash.Adjust the DST on or off by pressing the+ or – button.Press SET to confirm
- SETHold the SET button for 3 seconds to enter clock and calendar setting mode.Set sequence: 12/24 > Hour> Minute >Year> Month > Date> DST
- +/ ZONEPress to select the current Time Zone:PST= Pacific TimeMST= Mountain TimeCST= Central TimeEST= Eastern TimeDuring the CLOCK setting, press the [+I button once for 1 step advance or hold for the fast scroll.Hold +/ZONE button for 3 seconds to enter into Daylight Saving Time setup mode
 Atomic signal search)Press to get a manual synchronization of the atomic time signal.
- (-) C/FDuring CLOCKsettings, press 1-1button once for 1 step backward or hold for the fast scroll. In normal mode, press 1-1key to select °C and °F
Troubleshooting
|
Problem |
Possible Solution |
Bad Atomic Clock Reception no bars no bars |
Relocate the main unit. It is important that the backside of the clock is facing the state of Colorado for optimum reception. Make certain there are no large stone or metallic surfaces disrupting the signal line-of-sight to Colorado. Make sure the main unit is placed at least 3 feet [0.91 ml from other electronic appliances and devices that may interfere with the wireless communication [such as TVs, microwaves, computers, etc]. Large metallic surfaces will interfere with the atomic clock signal. |
| Display Not Working | Make certain that the batteries are installed correctly.The batteries may need replacing. |
SECTION 2 • PRODUCT SPECIFICATIONS
Measurement RangesIndoor Temperature 32°F to 122°SpecificationsPower RequirementsMain Unit: 2 x “M’ alkaline or lithium batteriesAtomic ClockFrequency: WWVB 60Khz Synchronizes DailyPLEASE DISPOSE OF OLD OR DEFECTIVE BATTERIES IN AN ENVIRONMENTALLY SAFE WAY AND IN ACCORDANCE WITH YOUR LOCAL LAWS AND REGULATIONS.BATTERY SAFETY: Clean the battery contacts and also those of the device prior to battery installation. Remove batteries from equipment that is not to be used for an extended period of time. Follow the polarity[+/-] diagram in the battery compartment. Promptly remove dead batteries from the device. Dispose of used batteries properly. Only batteries of the same or equivalent type as recommended are to be used. DO NOT incinerate used batteries. DO NOT dispose of batteries in fire, as batteries may explode or leak. DO NOT mix old and new batteries or types of batteries [alkaline/standard]. DO NOT use rechargeable batteries. DO NOT recharge non-rechargeable batteries. DO NOT short-circuit the supply terminals. Please DO NOT return the product to the retail store.For technical assistance and product return information, please call Customer Care: 877-221-1252 Mon. – Fri. 8:00 A.M. to 4:45 P.M. [CST]www.chaneyinstrument.comLIMITED WARRANTY-INTERNATIONAL – Consumer may have more remedies at law than follows.Chaney Instrument Co. warrants to the owner, this product are free from material and workmanship for one year from the date of purchase. Chaney Instrument shall NOT BE LIABLE FOR ANY ACCIDENTAL, INDIRECT, OR CONSEQUENTIAL DAMAGES, WHETHER ARISING IN CONTRACT OR TORT. Chaney instruments obligation (at ifs option) is limited to repair or replace this product. For in-warranty repair, send the product, accompanied by Guarantee, bearing Dealer”s name and date of purchase, with $5.00 to cover handling and postage to:
![]()
Timex®is a registered trademark of Timex Corporation in the U.S.and other countries Manufactured and serviced by Chaney Instrument Co.Lake Geneva, WI 53147www.chaneyinstrument.com© 2010 Chaney Instrument Co.To receive product information, register your product online. It’s quick and easy!Log on to http://www.chaneyinstrument.com/product_reg.htm
References
[xyz-ips snippet=”download-snippet”]