tp-link Smart Wi-Fi Light Switch Dimmer
About This GuideThis guide provides a brief introduction to Smart Dimmer and the Kasa app, as well as regulatory information. Please note that features of Smart Dimmer may vary slightly depending on the model and software version you have, and on your location, language, and internet service provider. All images, steps, and descriptions in this guide are only examples and may not reflect your actual experience.
ConventionsIn this guide, the following convention is used:

More Info
- Specifications can be found on the product page at https://www.tp-link.com.
- Our Technical Support and troubleshooting information can be found at https://www.tp-link.com/support.
Introduction
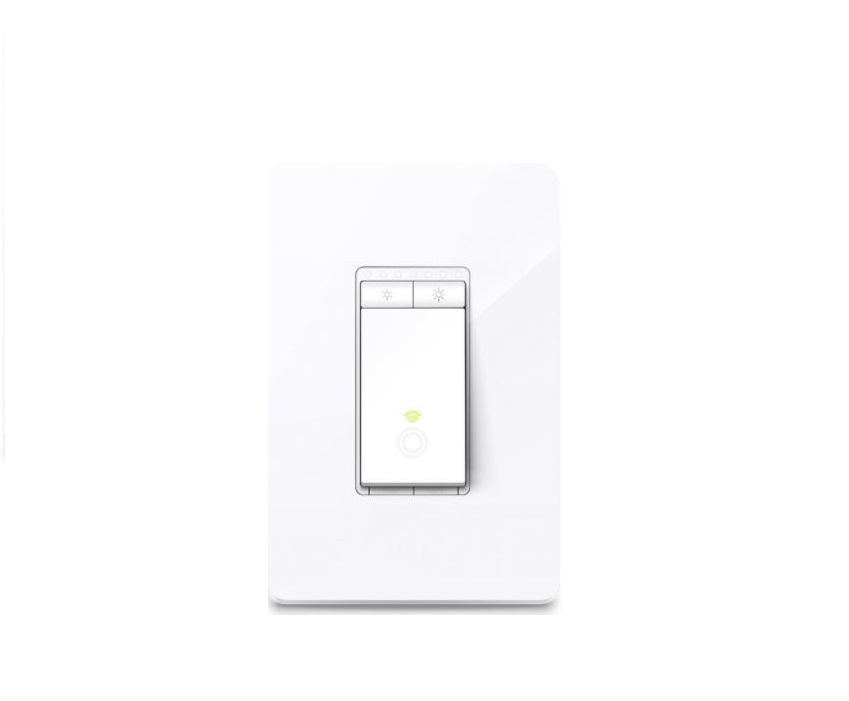
With the Smart Wi-Fi Dimmer, you can control the ambiance of any space with the push of a button. Download the Kasa app and control your dimmer remotely. The Kasa app provides easy step-by-step installation instructions and convenient remote control from anywhere.
- Brightness Control – Control the brightness of your lights to set the perfect ambiance for any activity
- Control Your Lights From Anywhere – Control your dimmer from wherever you are with the free Kasa app
- Hands-free Experience – Control your lights by voice commands through support from Amazon Alexa and Google Assistant
- Works with Nest – Automatically control devices when Nest detects that you’re home and away
- Scheduling – Program lights to turn off and on at set times throughout the day or night

Appearance
Smart Dimmer has Up/Down buttons to adjust the brightness of your lights, an indicator that tells you the current brightness of your lights, two LEDs that changes color according to its status, a RESTART button, and a RESET button. See the explanation below: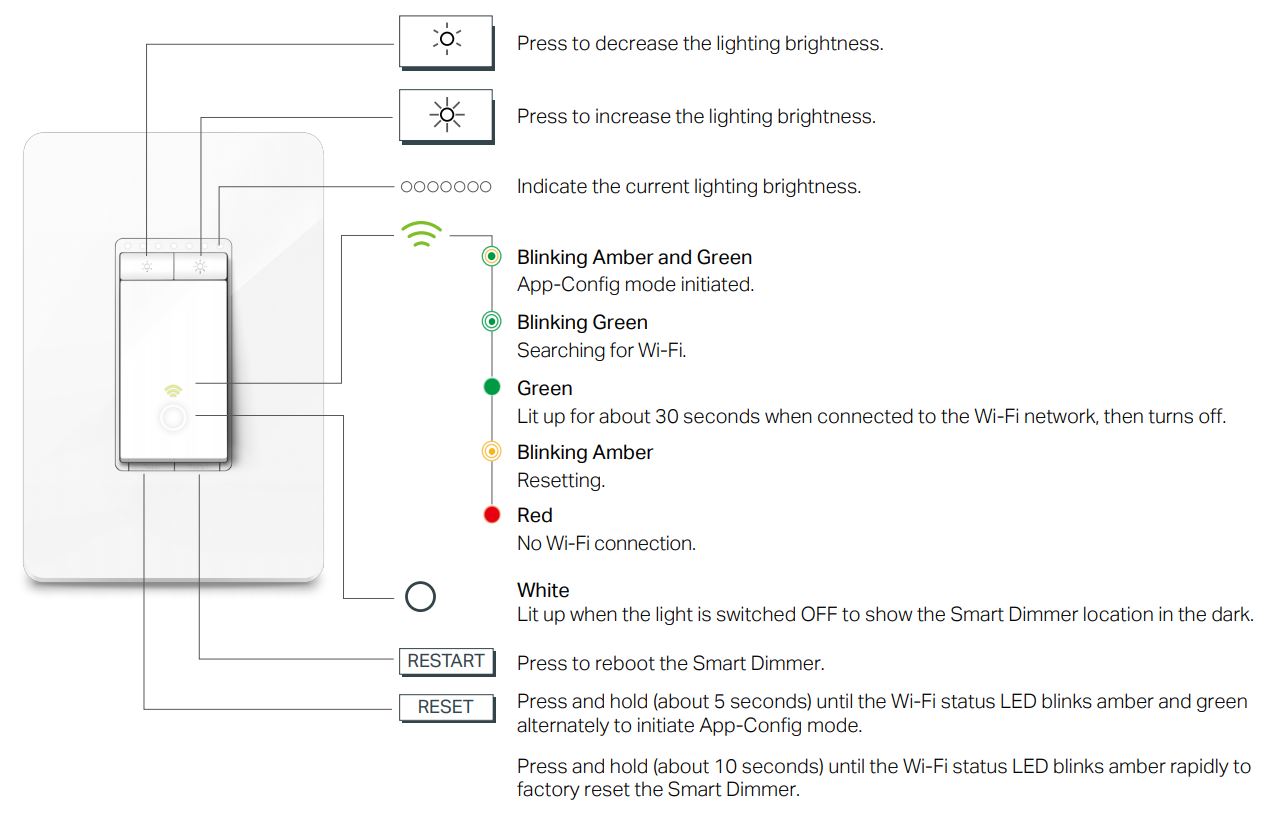
Set Up Your Smart Dimmer
Follow the steps below to set up your Smart Dimmer via Kasa for Mobile app.
1. Download and install the Kasa appGo to Google Play or the Apple App Store or scan the QR code below to download the Kasa app on your Android or iOS smartphone or tablet.![]()
![]()


2. Login or sign up with TP-Link IDOpen the app. Use your TP-Link ID to log in.If you don’t have a TP-Link ID, tap Create Account and the Kasa app will guide you through the rest.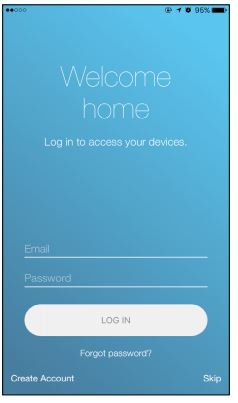
3. Wire your Smart DimmerFollow the Kasa app instructions to wire your Smart Dimmer. Then install and secure your dimmer after the wiring.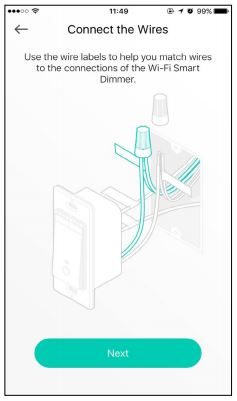
Set Up Your Smart Dimmer
Follow the steps below to set up your Smart Dimmer via Kasa for Mobile app.
4. Connect to your home networkEnter your Wi-Fi password and add your dimmer to your home Wi-Fi network.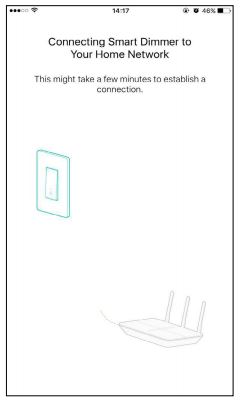
5. Set dimmer rangeFind the minimum level that your bulbs light up and do the dimming test to ensure your bulbs are compatible with dimming.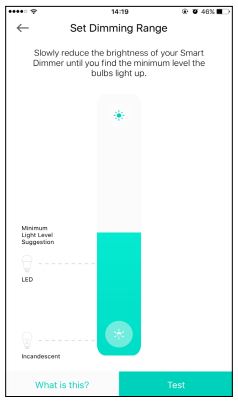
6. Complete and enjoyYour Smart Dimmer is all set up and saved in your device list. You can now enjoy using it.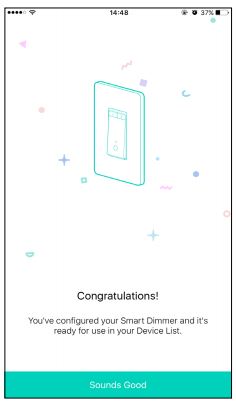
Main Device Controls
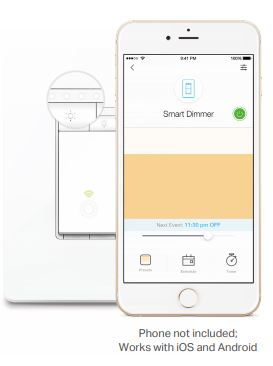
After you successfully set up your Smart Dimmer, you will see the home page of the Kasa app. Here you can view the status of all devices that you’ve added to Kasa and manage them. Tap on a smart dimmer to check the current brightness of your dimmer.
Home Page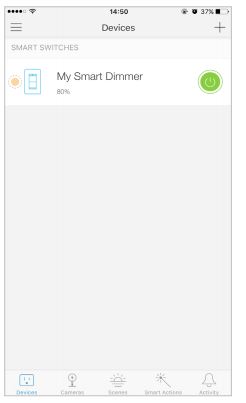
Device Status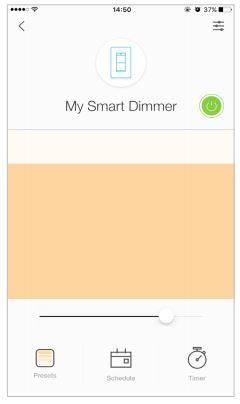
Configure Your Smart Dimmer
On the Device Status page, you can add Presets, create Schedule, set Timer, and change the settings of your dimmer.
Add PresetsTap![]() to add and edit brightness presets to your smart dimmer.
to add and edit brightness presets to your smart dimmer.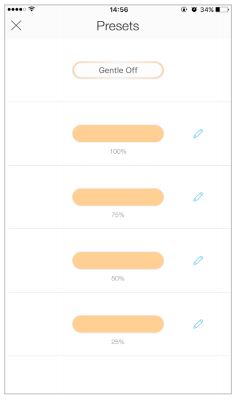
Create ScheduleTap ![]() to create a schedule for your smart dimmer to simplify your daily routine by creating automatic On/Off action.
to create a schedule for your smart dimmer to simplify your daily routine by creating automatic On/Off action.
On the Device Status page, you can add Presets, create Schedule, set Timer, and change the settings of your dimmer.
Set TimerTap![]() to set the time to turn your smart dimmer on or off after specific times.
to set the time to turn your smart dimmer on or off after specific times.
Device SettingsTap![]() to view and change the settings of your smart dimmer. Moreover, you can set a smart configuration for easy control.
to view and change the settings of your smart dimmer. Moreover, you can set a smart configuration for easy control.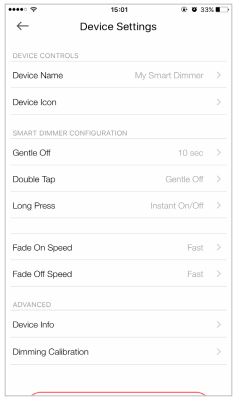
Create Scenes
A scene is a preset group of smart devices that can be programmed, customized, and activated simultaneously at the touch of a button from your smartphone or tablet, allowing you to easily set your mood, activity, or fit any special occasion. This page allows you to preset how your smart home devices should act automatically on special occasions.
Discover Kasa
Use the Kasa app to pair your Smart Dimmer with Amazon Alexa or Google Home Assistant and enjoy a fully hands-free experience. Kasa helps manage the rest of your smart home too, working with Nest to trigger changes when you arrive home or leave for the day. Launch the Kasa app and go to Add Device > WORKS WITH KASA > Nest Home and Away / Amazon Alexa / Google Assistant for detailed instructions.
Authentication
COPYRIGHT & TRADEMARKS
Specifications are subject to change without notice.![]() is a registered trademark of TP-Link Technologies Co., Ltd. Other brands and product names are trademarks or registered trademarks of their respective holders.
is a registered trademark of TP-Link Technologies Co., Ltd. Other brands and product names are trademarks or registered trademarks of their respective holders.
No part of the specifications may be reproduced in any form or by any means or used to make any derivative such as translation, transformation, or adaptation without permission from TP-Link Technologies Co., Ltd. Copyright © 2020 TP-Link Technologies Co., Ltd. All rights reserved.
FCC compliance information statement![]()
Product Name: Smart Wi-Fi Light Switch, DimmerModel Number: HS220Responsible party:TP-Link USA Corporation, d/b/a TP-Link North America, Inc.Address: 145 South State College Blvd. Suite 400, Brea, CA 92821Website: https://www.tp-link.com/us/Tel: +1 626 333 0234Fax: +1 909 527 6803E-mail: [email protected]
This equipment has been tested and found to comply with the limits for a Class B digital device, pursuant to part 15 of the FCC Rules. These limits are designed to provide reasonable protection against harmful interference in a residential installation. This equipment generates, uses, and can radiate radio frequency energy and, if not installed and used in accordance with the instructions, may cause harmful interference to radio communications. However, there is no guarantee that interference will not occur in a particular installation. If this equipment does cause harmful interference to radio or television reception, which can be determined by turning the equipment off and on, the user is encouraged to try to correct the interference by one or more of the following measures:
- Increase the separation between the equipment and receiver.
- Connect the equipment into an outlet on a circuit different from that to which the receiver is connected.
- Consult the dealer or an experienced radio/ TV technician for help. This device complies with part 15 of the FCC Rules. Operation is subject to the following two conditions:1. This device may not cause harmful interference.2. This device must accept any interference received, including interference that may cause undesired operation. Any changes or modifications not expressly approved by the party responsible for compliance could void the user’s authority to operate the equipment.
Note: The manufacturer is not responsible for any radio or TV interference caused by unauthorized modifications to this equipment. Such modifications could void the user’s authority to operate the equipment.
FCC RF Radiation Exposure StatementThis equipment complies with FCC RF radiation exposure limits set forth for an uncontrolled environment. This device and its antenna must not be co-located or operating in conjunction with any other antenna or transmitter.
“To comply with FCC RF exposure compliance requirements, this grant is applicable to only Mobile Configurations. The antennas used for this transmitter must be installed to provide a separation distance of at least 20 cm from all persons and must not be co-located or operating in conjunction with any other antenna or transmitter.
” We, TP-Link USA Corporation, have determined that the equipment shown above has been shown to comply with the applicable technical standards, FCC part 15. There is no unauthorized change is made in the equipment and the equipment is properly maintained and operated.Issue Date: 2020.6.3
Canadian Compliance StatementThis device complies with Industry Canada license-exempt RSS. Operation is subject to the following two conditions:1. This device may not cause interference, and2. This device must accept any interference, including interference that may cause undesired operation of the device.
Radiation Exposure Statement:This equipment complies with IC radiation exposure limits set forth for an uncontrolled environment. This equipment should be installed and operated with a minimum distance of 20cm between the radiator & your body.
Industry Canada StatementCAN ICES-3 (B)/NMB-3(B)
Safety Information
- Keep the device away from water, fire, humidity, or hot environments.
- Do not attempt to disassemble, repair, or modify the device.
- Do not use the device where wireless devices are not allowed.
- Alert to a service person
CAUTIONDOUBLE-POLE / NEUTRAL FUSING
Please read and follow the above safety information when operating the device. We cannot guarantee that no accidents or damage will occur due to improper use of the device. Please use this product with care and operate at your own risk.Warnings
- Install only in a suitable UL Listed outlet box.
- CAUTION – Risk of Electric Shock – More than one disconnect switch may be required to de-energize the equipment before servicing.
- Tighten terminal screws to 13 lbs-in
- The supported specified line number for the thread terminal copper wire: 12AWG 14AWG and 16AWG.
- Supported Load Types:120VAC 60Hz300W Incandescent150W LED
- Operating Temperature: 0 ºC-40 ºC (32°F-104°F)
- Operating Humidity: 5%-90%RH, Non-condensing
Explanation of the symbols on the product label Symbol

References
[xyz-ips snippet=”download-snippet”]