tp-link Wireless PCI Express Adapter Installation Guide
1 Connect to a Computer
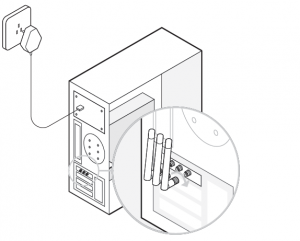
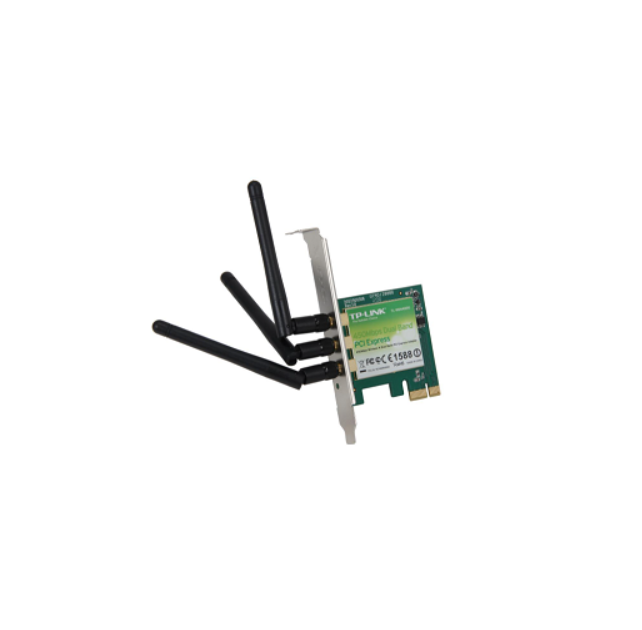
A. Unplug the power cable and remove the case panel.B. Locate an available PCI(-E) slot and carefully insert the adapter.Note: For some models, a low-profile bracket is provided. You can replace the standard-sized bracket with the low-profile one if needed.
C. Connect the antennas to the adapter directly.Note: If the adapter has the base, install the antennas on the base and connect the base to the adapter (recommended).

D. Replace the case panel, plug in the power cable and turn on your computer.
2 Install Driver
A. Insert the CD and run the Autorun.exe.Note: You can also download the driver from this product’s Support page at www.tp-link.com.B. Select your adapter and follow the instructions to complete the installation.Note: If you can’t install the driver successfully, disable the antivirus software and firewall, then try again.

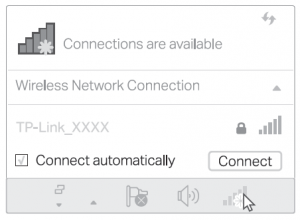
3 Join a Wireless NetworkA. Click the network icon ( or ) on the taskbar.B. Select your Wi-Fi network, click Connect, and enter the password when prompted.
For detailed instructions, please refer to the User Manual from this product’s Support page at www.tp-link.com.
EU declaration of conformity
TP-Link hereby declares that the device is in compliance with the essential requirements and other relevant provisions of directives 2014/53/EU,2011/65/EU and (EU)2015/863.
Safety Information
- Keep the device away from water, fire, humidity or hot environments.
- Do not attempt to disassemble, repair, or modify the device.
- Do not use damaged charger or USB cable to charge the device.
- Do not use the device where wireless devices are not allowed. Please read and follow the above safety information when operating the device. We cannot guarantee that no accidents or damage will occur due to improper use of the device. Please use this product with care and operate at your own risk.
Read More About This Manual & Download PDF:
References
[xyz-ips snippet=”download-snippet”]


