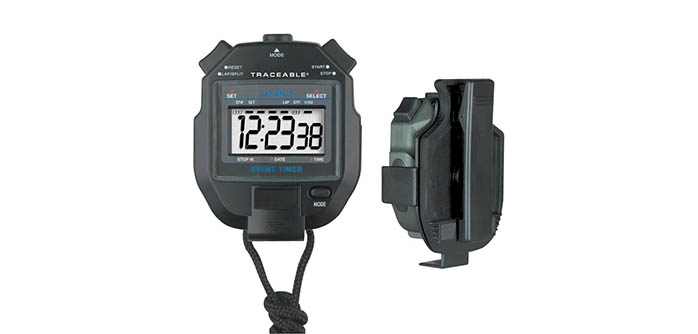
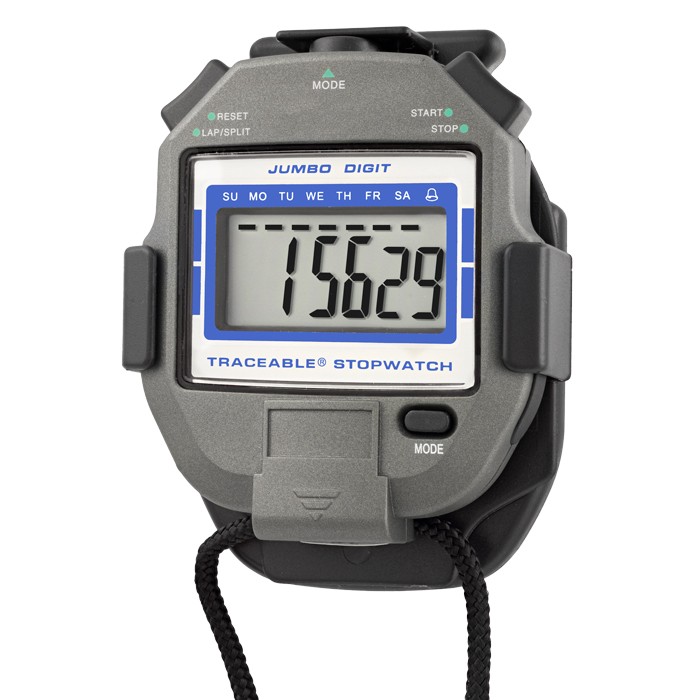
TRACEABLE Jumbo DGIT Stopwatch
 .
.
SPECIFICATIONS
- Capacity: 23 Hours, 59 Minutes, 59 Seconds.
- Resolution: 1/100th second (> 30 minutes) 1 second (< 30 minutes)
SINGLE ACTION TIMING
- Press the MODE button until the unit displays the stopwatch mode (indicated by a flashing bar under SU).
- Press the LAP/SPLIT/RESET button to clear the display to zero.
- The first press of the START/STOP button starts the stopwatch timing.
- The second press of the START/STOP button stops the stopwatch timing. (Flashing bars under FR and SA indicate that timing has been stopped).
- After the time is recorded, press the LAP/SPLIT/RESET button to clear the display to zero. RESET will only clear the display to zero after the stopwatch has been stopped.
TIME-IN/TIME-OUT TIMING
- Press the MODE button until the unit displays the stopwatch mode (indicated by a flashing bar under SU).
- Press the LAP/SPLIT/RESET button to clear the display to zero.
- The first press of the START/STOP button starts the stopwatch timing.
- The second press of the START/STOP button stops the stopwatch timing. (Flashing bars under FR, SA, and SU indicate that timing has been stopped). The stopwatch will hold the reading where stopped (Time-Out).
- The third press of the START/STOP button starts the stopwatch at the point that it was previously stopped (Time-In). Any number of Time-In/Time-Out intervals may be taken.
- At the end of the timing press, the START/STOP button to stop the stopwatch, record the time, and then press the LAP/SPLIT/RESET button to clear the display to zero. RESET only clears the display to zero when the stopwatch has been stopped.
LAP/SPLIT TIMING
Lap/split timing freezes the display for partial times while the internal clock continues to run and measure the total elapsed time. Each press of the LAP/SPLIT/RESET button captures the lap/split time or displays the cumulative running time.
- Press the MODE button until the unit displays the stopwatch mode (indicated by a flashing bar under SU).
- Press the LAP/SPLIT/RESET button to clear the display to zero.
- The first press of the START/STOP button starts the stopwatch timing.
- The first press of the LAP/SPLIT/RESET button “freezes” the display for recording a time while the internal clock continues to run. (The blinking bars under TH, SA, and SU indicate the internal clock is running.)
- The second press of the LAP/SPLIT/RESET button “releases” the display. The display is instantly updated to the cumulative running time.
- Successive presses of the LAP/SPLIT/RESET button will “freeze” or “release” the display. Any number of lap/splits may be taken.
- At the end of the last event, press the START/STOP button to stop the stopwatch and press the LAP/SPLIT/RESET button to clear the display to zero. RESET only clears the display to zero when the stopwatch has been stopped. While the stopwatch is running, two fast times can be captured by pressing the LAP/SPLIT/RESET button first and the START/STOP button second. The blinking bars under TH, SA, and SU indicate the event time is stopped and the display is showing the “frozen” lap/split time of the first event. “Release” the display by pressing the LAP/SPLIT/RESET button again. The blinking bars under FR, SA, and SU indicate the event time is stopped and the display is showing the cumulative total time. Press the LAP/SPLIT/RESET button to clear the display to zero.
CONTINUOUS TIMING
For timing which lasts for over 24 hours, the stopwatch instantly rolls over to zero when the maximum display is reached and continues timing. Simply make note of the days that have elapsed.
SETTING TIME-OF-DAY/DATE
- Press the MODE button until the unit displays the clock mode.
- Press and hold the MODE button for 3 seconds. The unit will display the alarm time with the hour digits flashing.
- Press the MODE button again. The unit will display the time-of-day with the seconds flashing.
- Press the LAP/SPLIT/RESET button to set the seconds to zero. (If the seconds are above 30, then pressing LAP/SPLIT/RESET will reset the seconds to zero and advance the minutes by one).
- Press the START/STOP button and the minutes will flash.
- Press the LAP/SPLIT/RESET button to advance the minutes.Note: Pressing the button a single time will advance the display by one, press and hold the button to advance the display rapidly.
- Repeat steps 5 and 6 to set hours, month, date, and day.Note: When setting hours, an A or P to the right the time indicates AM/PM time.
- When finished, press the MODE button to record the changes and return to the clock mode. To display the date, while in the clock mode, press and hold the START/STOP button.To display the time in 24-hour format; while in the clock mode, while pressing and holding the START/STOP button, press the MODE button. Each press of the MODE button will toggle the time-of-day display from AM/PM to 24-hour time.
SETTING TIME-OF-DAY ALARM
- Press the MODE button until the unit displays the clock mode.
- Press and hold the MODE button for 3 seconds. The unit will display the alarm time with the hour digits flashing.
- Press the LAP/SPLIT/RESET button to advance the hours.
- Press the START/STOP button. The minutes will flash.
- Press the LAP/SPLIT/RESET button to advance the minutes.
- Press the MODE button to record the changes and return to the clock mode.To display the alarm time, while in the clock mode, press and hold the LAP/SPLIT/RESET button.
ACTIVATE/DE-ACTIVATE
TIME-OF-DAY ALARM AND HOURLY CHIME
The time-of-day alarm and hourly chime may be activated independently of each other. Press the MODE button until the unit displays the clock mode. While pressing and holding the LAP/SPLIT/RESET button, each press of the START/ STOP button will toggle through the following settings: Hourly Chime Activated -icon will appear on the displayHourly Chime and Time-of-Day Alarm Activated-and icons will appear on the display Time-of-Day Alarm Activated- icon will appear on the displayHourly Chime and Time-of-Day Alarm De-Activated-No icons will appear on the display With the time-of-day alarm activated, when the alarm time is reached, the alarm will sound for one minute and then automatically turn off to preserve the battery life. A sounding alarm may be turned off by pressing the LAP/SPLIT/RESET button. With the hourly chime activated, a chime will sound at the top of every hour.
ALL OPERATIONAL DIFFICULTIES
If this stopwatch does not function properly for any reason, replace the battery with a new high quality battery (see “Battery Replacement” section). Low battery power can occasionally cause any number of “apparent” operational difficulties. Replacing the battery with a new fresh battery will solve most difficulties.
BATTERY REPLACEMENT
A faint display, incorrect display, or no display are all indicators that the battery must be replaced. To replace the battery, remove the screws on the back of the unit. Remove the back. Remove the screw on the battery clip. Remove the exhausted battery and replace it with a new 3-volt lithium CR2032 size battery. Make certain the new battery is installed with the positive side visible. Replace the battery clip and tighten the screw. Replace the back of the unit. Replace the screws and tighten securely.
WARRANTY, SERVICE, OR RECALIBRATIONFor warranty, service, or recalibration, contact:
TRACEABLE® PRODUCTS12554 Old Galveston Rd. Suite B230Webster, Texas 77598 USAPh. 281 482-1714 • Fax 281 482-9448E-mail [email protected]www.traceable.comTraceable® Products are ISO 9001:2018 Quality- Certified by DNV and ISO/IEC 17025:2017 accredited as a Calibration Laboratory by A2LA.
 report this ad
Cat. No. 1051 Traceable® is a registered trademark of Cole-Parmer. ©2020 Traceable® Products. 92-1051-90 Rev. 6 041720![]()
References
[xyz-ips snippet=”download-snippet”]