NannyCam H32
INSTRUCTIO1NS FOR USE
PACKAGE CONTENTS:
- Parent Unit (with display) + power adapter
- Baby Unit (camera) + power adapter
- Instructions for Use
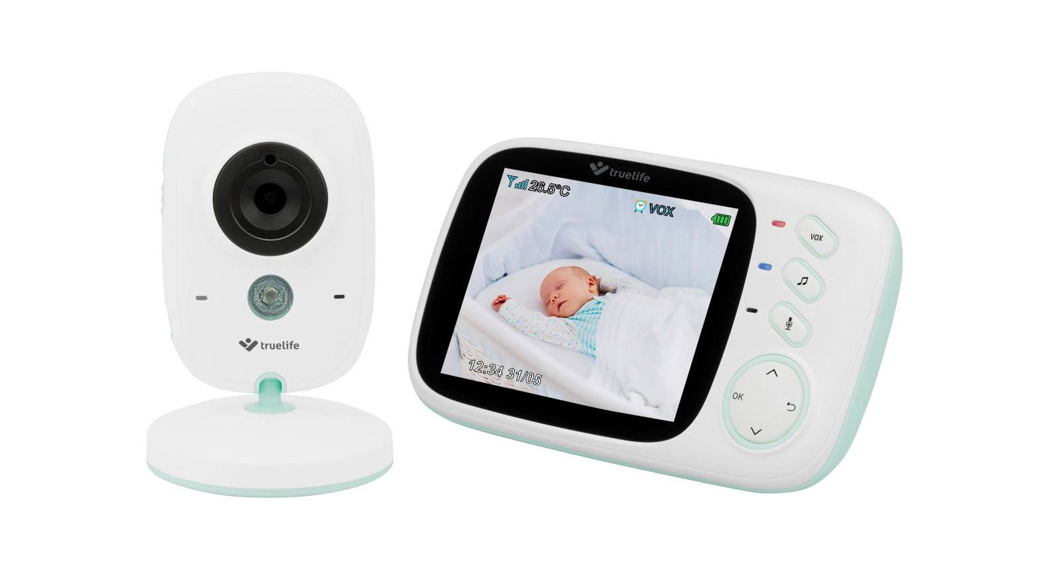
BABY UNIT OVERVIEW:
| 1. Light Sensor2. Camera Lens3. Blue LED Power Indicator4. Microphone5. Infrared LED for night vision | 6. Power Key – turn camera on/off7. Power Adapter Connector8. Thermal Sensor9. Reset Button for pairing10. Speaker |
PARENT UNIT OVERVIEW:
| 1. Power Switch (screen on/off)2. Power Input / Battery Charging3. LCD Display4. Microphone5. Blue LED – indicates device is on6. Red LED – indicates connec-tion with camera7. VOX Mode (on/off) | 8. Melody (on/off)9. PTT Key (push-to-talk)10. Speaker11. OK / Menu Key12. Return / Back Key13. Volume +14. Volume – |
GETTING STARTED:
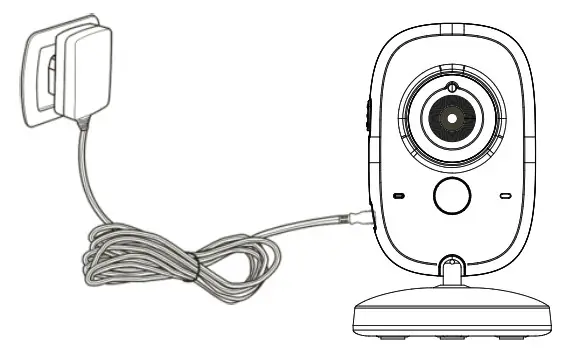
A) Baby Unit (camera)
- Connect the small plug of the power adapter to the baby unit and the other end to the mains socket.
- Next slide the power switch to the “ON” position.
- The blue LED indicates the camera is functioning correctly.Note: Baby Unit requires a constant connection to the mains.
 B) Parent Unit (display)
- Connect the small plug of the power adapter to the parent unit and the other end to the mains socket.
- The blue LED will illuminate, indicating the battery is charging.
- Press the “ON / Menu” to switch on the display.Note: For optimal capacity and battery life, fully charge the device before using for the first time.

SETUP AND FUNCTIONS:
- When the parent and baby units are switched on and within range, a live image from the camera will appear within a few seconds.
- Place the camera in a suitable location and adjust the camera lens until you are satisfied with the image on the parent unit.Note: Do not place the baby unit within baby’s reach. If there is interference on the picture or sound, try moving the units to different locations, and ensure they are not close to other electrical equipment that may interfere with the transmission.
Monitoring Screen Icons
![]()
| 1. Signal strength indicator2. Temperature in baby’s room*3. Melody is playing4. VOX function activated | 5. Alarm activated6. Battery indicator7. Microphone activated (push to talk)8. Date and time |
Note: *The baby monitor thermometer is not certified and the temperature data should only be used as a general guideline.RangeWhen the distance between the baby and parent unit is too far, the signal may be interrupted and the image and sound may become frozen. If there is a connection loss due to the units being out of range, a black screen is displayed and the message “Connecting…”. The parent unit will try to reconnect to the camera. Note: If the they do not reconnect even after the units have been brought within range, try to pair the units again, see the following section “Camera Pairing”.
Powering a video baby monitor via a power bankA TrueLife video monitor is primarily intended for home use and to be powered from the mains. Do not use VOX power saving mode when using a power bank. In this mode, the electrical consumption of the camera (baby unit) is so low that some power banks might think the device is charged and turn off automatically. This will interrupt transmission.
![]()
- Press the “OK / Menu” key on the parent unit to access the menu. Navigate using the “up” and “down” arrow keys. The “Back” key takes you back one page or to the monitoring screen.
- The menu contains 6 icons:
![]()
- Camera Pairing*
- Alarm Alarm settings
- Settings Basic settings
- VOX VOX mode settings
- Languages Language settings menu
- System InfoNote: *The parent and baby units are already paired, it is not necessary to do this again. Only select if you want to re-pair the units, e.g. when the signal has been lost.
- 1 Camera Pairing To re-pair, press the “OK / Menu” key twice. Next press and hold the “Reset” key on the back of the baby unit for 10 seconds. When successfully paired, the message “Register Successful” is displayed.
- 2 Alarm Alarm settings Press the “PTT” key (microphone symbol) to move the cursor. Press the “up” and “down” arrow keys to change value and press OK to set the time.
- 3 Settings Basic settings Here you can set the time and date, the time/ date format, the unit of temperature, the frequency and the LCD backlight. Press the “PTT” key (microphone symbol) to move to the sub-menu.
- 4 VOX VOX mode settings Here you can activate or deactivate VOX mode and adjust its sensitivity. When VOX mode is activated, after a short period of silence the display turns off and audio transmission is stopped to save battery. This setting is perfect for a night of babysitting. Crying or any other noise immediately activates the camera and monitoring begins. As a result, you are always aware of the situation and can see what is happening straight away. The VOX sensitivity can also be adjusted to suit normal background noise levels.
- 5 Languages Language settings menu Choose your language from the list.
SPECIFICATIONS:
- Frequency: 2.4 GHz
- Operating Temperature: -10 ~ 45°C
- Operating Humidity: <85%
- Range: up to 300 metres (in an open space)
Display:
- LCD Size: 3.2″ TFT LCD
- LCD Resolution: 320×
- Battery: Li-Polymer 750 mAh
- Dimensions (W × H × D): 120 × 70 × 17 mm
Camera:
- Sensor: 0.3 MP CMOS
- Night Vision Range: 5 metres
- Light Sensor and Thermal Sensor
- Dimensions (W × H × D): 67 × 106 × 25 mm
USING THE DEVICE SAFELY:
- Read the enclosed Safety Instructions.
- When using the device, read the latest version of the manual which is available for download at: www.truelife.eu.
- Printing errors reserved.
References
[xyz-ips snippet=”download-snippet”]