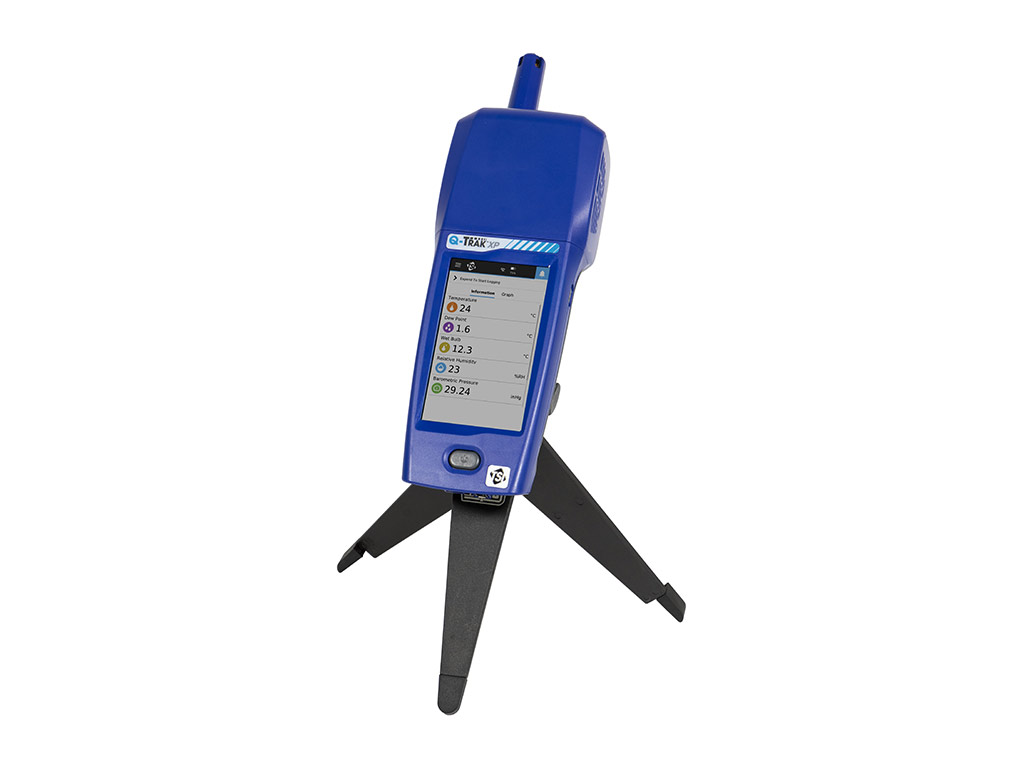
tsi Q-Track XP Indoor Air Quality Monitor
Safety
Refer to the Q-Trak™ XP Indoor Air Quality Monitor Mode 7585 user manual for safety information.
 WARNINGThe instrument must be used in the manner described In the user manual. Failure to follow all of the procedures described in the manual can result in serious injury to you or can cause irrevocable damage to the instrument.
Unpacking and Parts Identification
Carefully unpack the instrument and accessories from the shipping container. Check the individual parts against the list of components below. If anything is missing or damaged, notify TSI® immediately. All standard equipment can be purchased separately if needed.
| Part No. | Description |
Picture |
| 7585 | Includes Q-Trak”‘ XP Base Meter 7580, Multi-SensorIAQ Module 801430 and Carbon Dioxide (CO2) sensor 801399 |  |
| 7580 | Base Meter only – Handle portion |  |
| 801399 | C02(Carbon Dioxide), NDIR (Nondispersive Infrared sensor) | 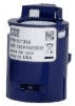 |
| 801430 | IAQ Multi-Sensor Gas Module with Built-In Sensors:Particulate Matter, Temperature, Relative Humidity and Barometric Pressure | 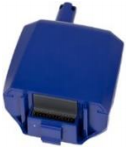 |
| 800121 | Carrying Case | 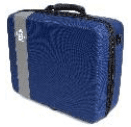 |
| 800123 | Lithium ton Rechargeable Battery Pack |  |
| 804001 | USB Cable | 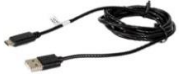 |
| 800122 | AC Adapter/Power Supply | 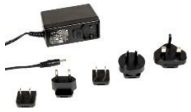 |
| 6013908 | Q-T rak,.. XP IAQ Monitor Quick Start Guide |  |
| 800120 | Gas Sensor Calibration Cap |  |
| 7004035 | USB Flash Drive with Q-Trak”‘ XP manuals and other literature. |  |
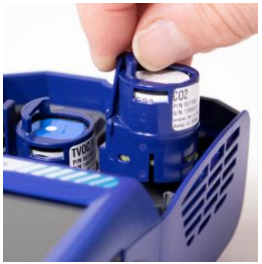
Installation of Gas Sensors
In addition to the standard built-in sensors, the device can accept up to six gas sensors.
Install the gas sensors as follows:
- Ensure the instrument is powered OFF.
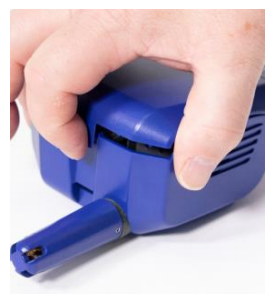
- Remove the sensor module cover.

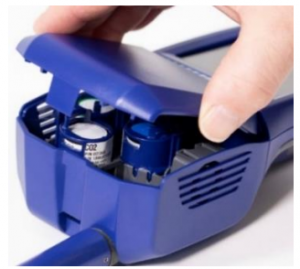
- Position the sensor as shown, making certain the pins make good contact with the device. Gas sensors can be installed in any available slot. Listen for a click to confirm sensor is connected properly.
- Attach cover to the sensor module.
Providing Power to the Q-Trak™ XP Monitor
The Q-Trak™ XP monitor can be powered with the lithium-ion battery or with the A/C adapter.
Operating the Instrument with the Lithium-Ion Battery
The lithium-ion battery must be installed by the user and fully charged before use.Install the battery:
- Remove the battery compartment cover.
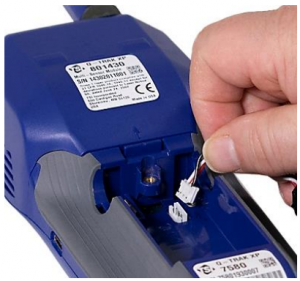
- Connect the battery to the handle connector.
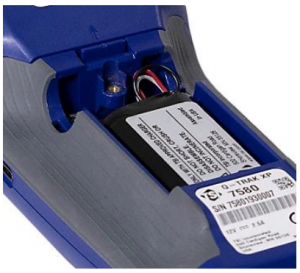
- Insert the battery as shown in the picture below, keeping the battery wires to the side and clear of the battery cover screw.
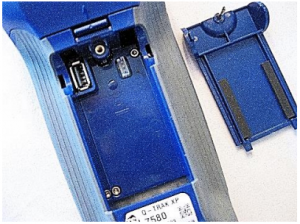
Installing the Wi-Fi® Dongle (optional)
If purchased, install the dongle into the USB port located inside the battery compartment.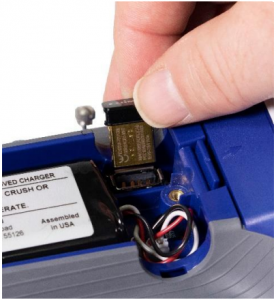 Attach the battery compartment cover, ensuring battery wires are clear of the screw.
IMPORTANTCalibrate the battery power gauge ![]()
Charging the Battery and Calibrating the Power Gauge
- With the battery installed, turn on the instrument by pressing the power button and run until the battery is fully discharged. The instrument will automatically turn off when the battery is fully discharged.
- Connect the AC adapter to the instrument and fully charge the battery. This may take up to 3 hours. Note the lightning bolt indicator when charging vs fully charged .
- The instrument is now ready for use with the battery. This Power Gauge calibration procedure does not need to be repeated unless the battery is replaced or disconnected.
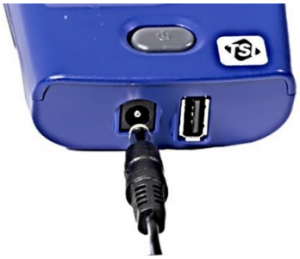
Operating the Instrument with the AC Adapter
The instrument can be operated with or without a battery using the A/C adapter.To operate the instrument with AC adapter:
- Plug the AC adapter into an electrical outlet.
- Plug the other end into the instrument.
Powering ON the Q-Trak™ XP IAQ Monitor
- Press and release the power button In 35 seconds the instrument is ready for use.
- The first time the Q-Trak ™ XP monitor is powered ON the Welcome to Q-Trak\’” XP page is presented. Select the appropriate Language and Time Zone then select DONE.
- After selecting DONE, the Dashboard page is displayed in Survey mode.
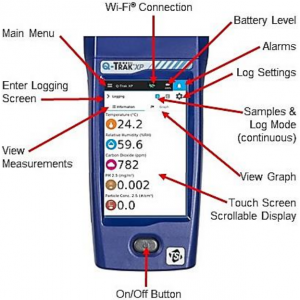
To display the Main Menu, select the ![]() icon in the upper left corner of the header on any page of the display.
icon in the upper left corner of the header on any page of the display.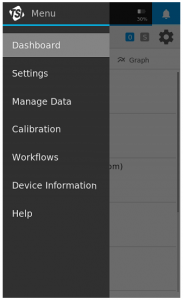 Select Settings to setup the following:
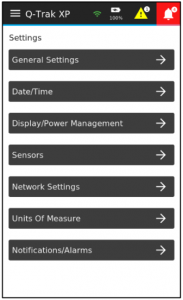
Manuals, Software, and Other Resources
- User Manuals, App Notes, and other resources are available for download at www.tsi.com/7585, click on the “Resources” tab.
- TrakPro™ Ultra Software is available at:https://tsi.oom/supportitsi-software-and-flrmware/ and enter the search term Q-Trak XP.
[xyz-ips snippet=”download-snippet”]