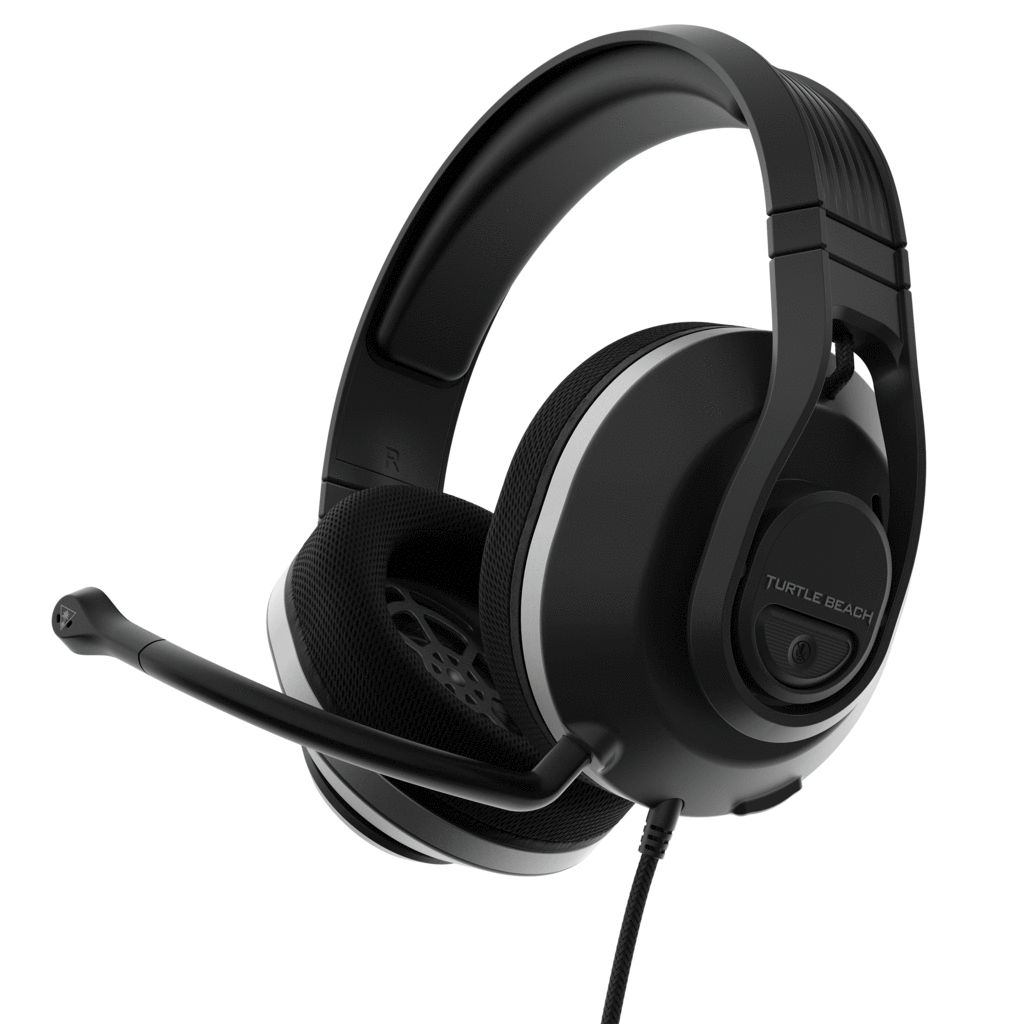
TURTLE BEACH Recon 500 Headset
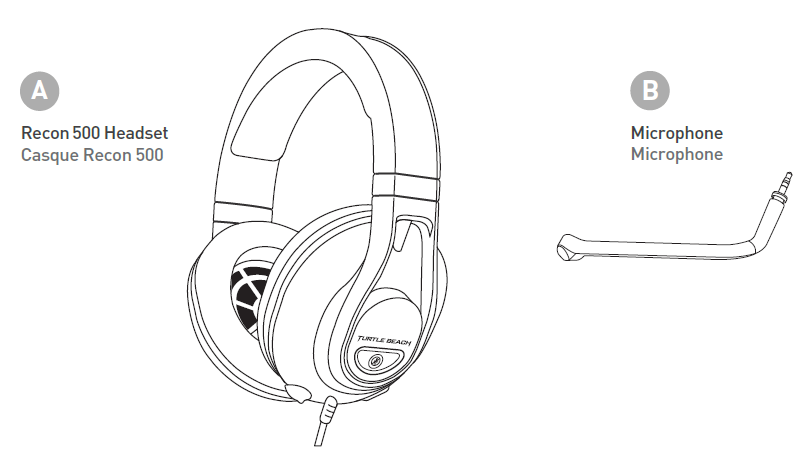
CONTENTS
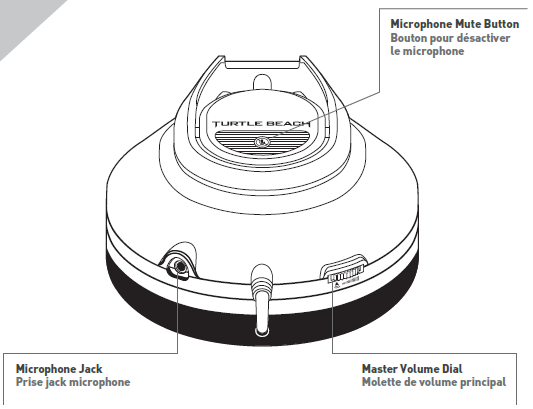
HEADSET CONTROLS
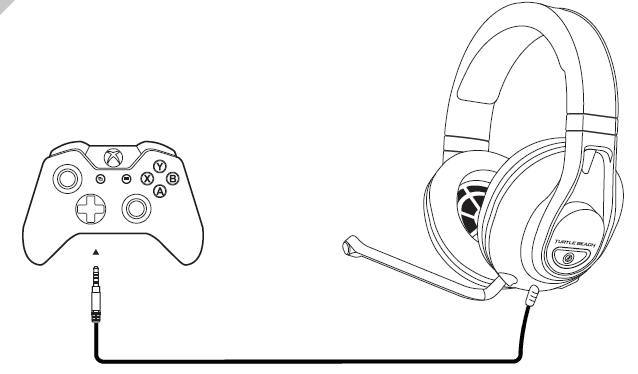
SETUP FOR XBOX
Note
The Recon 500 requires the Xbox One Controller with 3.5mm headset jack. Purchase the Ear Force Headset Audio Controller from turtlebeach.com for use with the original Xbox One Controller.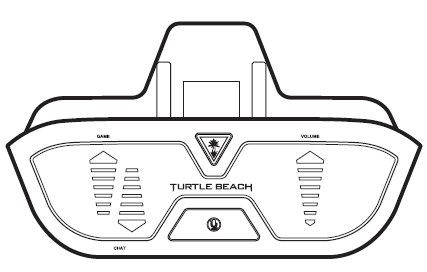
VOLUME SETUP
- Press the Xbox Button on your controller.
- Press Right Trigger or scroll to the buttons at the bottom of the Xbox tab and select the Speaker button. ( )
- Set Headset Volume to maximum.
- Set Headset Chat Mixer to the middle setting.
- Set Mic Monitoring to your preferred level.
This option is not always visible (before the Audio option would only appear if you had a headset connected to your controller), but if no headset is connected the options will all be grayed out.
SURROUND SOUND SETUP
(AVAILABLE ONLY ON XBOX SERIES X|S & XBOX ONE)
- Press the Xbox Button on your controller.
- Go to the Profile & System Tab. ( )
- Select Settings >> General >> Volume & Audio Output.
- Set Headset format under the Headset audio column to Windows Sonic for Headphones.
SETUP FOR PLAYSTATION®
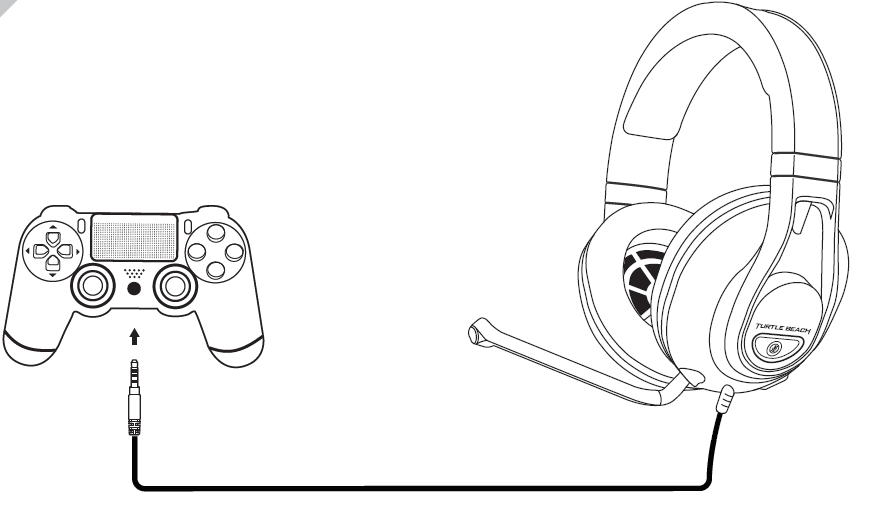
- Connect your wired headset to the aux port in the DualSense controller.Once you do this, the microphone function will automatically switch from the controller’s integrated mic to your headset.
- Go to Settings >> Sound >> Audio Output >> Output Device.• Select headset connected to controller for output device.• Set Output to Headphones to All Audio*.
- Go to Settings >> Sound >> Volume >> Master volume >> Headphones.• Set Volume Control (headphones) level to maximum.
- Adjust your microphone levels by going to Settings >> Sound >> Microphone >> Adjust Mic Level >> Microphone level.*As desired, Go to Adjust 3D Audio Profile and enable the 3D Audio function to enhance the audio through your headset.
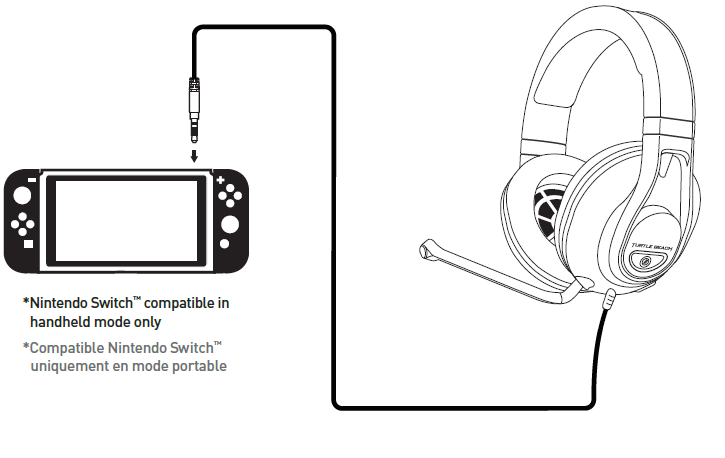
SETUP FOR NINTENDO SWITCH™
Note: Chat available for games that support in-game chat capability.
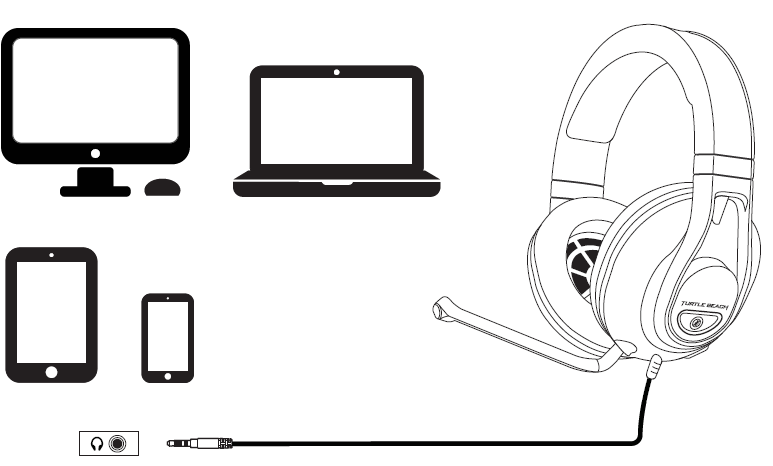
SETUP FOR PC/MAC® & MOBILE
Note: If your PC uses separate Green/Pink connectors for audio you will need a PC Splitter Cable. This adapter is available online at turtlebeach.com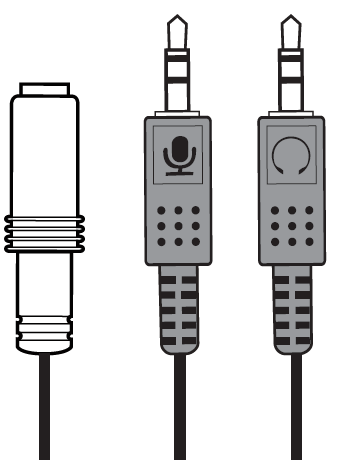
Regulatory Compliance Statements for the EAR FORCE RECON 500
Federal Communications Commission (FCC) Compliance Notices
Class B Interference Statement
This equipment has been tested and found to comply with the limits for a Class B digital device, pursuant to Part 15, Subpart B of the FCC Rules. These limits are designed to provide reasonable protection against harmful interference in a residential installation. This equipment generates, uses, and can radiate radio frequency energy and, if not installed and used in accordance with the instructions, may cause harmful interference to radio communications. However, there is no guarantee that interference will not occur in a particular installation. If this equipment does cause harmful interference to radio or television reception, which can be determined by turning the equipment off and on, the user is encouraged to try to correct the interference by one or more of the following measures:
- Reorient or relocate the receiving antenna.
- Increase the separation between the equipment and receiver.
- Connect the equipment into an outlet on a circuit different from that to which the receiver is connected.
- Consult the dealer or an experienced radio/TV technician for help.
FCC Caution:This device complies with Part 15 of the FCC Rules. Operation is subject to the following two conditions: (1) This device may not causeharmful interference, and (2) this device must accept any interference received, including interference that may cause undesired operation.This product is compliant with the Consumer Product Safety Improvement Act of 2008, Public Law 110-314 (CPSIA).
Canadian ICES StatementsCanadian Department of Communications Radio Interference RegulationsThis digital apparatus does not exceed the Class B limits for radio-noise emissions from a digital apparatus as set out in the RadioInterference Regulations of the Canadian Department of Communications. This Class B digital apparatus complies with Canadian ICES-003.
Declaration of Conformity
indicates compliance with the Essential Requirements of the EMC Directive of the European Union (2014/30/EU). This equipment meets the following conformance standards:
Safety:EN 60950-1: 2006 + A11: 2009 + A1: 2010 + A12: 2011 + A2: 2013 (T-Mark License),IEC 60950-1: 2005 (2nd Ed.) + Am 1: 2009 + Am 2: 2013 (CB Scheme Certificate),EN 62368-1: 2014 + A11 (T-Mark License),IEC 62368-1: 2014 (CB Scheme Certificate),EN 50332-1: 2013, EN 50332-2: 2013, EN 71-3: 2013Additional licenses issued for specific countries available on request.
The products are licensed, as required, for additional country specific standards for the International Marketplace. Additional issued licenses available upon request.
Please visit the following URL for a complete copy of the Declaration of Conformity: http://www.turtlebeach.com/homologation
This symbol on the product or its packaging indicates that this product must not be disposed of with your other household waste. Instead, it is your responsibility to dispose of your waste equipment by handing it over to a designated collection point for the recycling of waste electrical and electronic equipment. The separate collection and recycling of your waste equipment at the time of disposal will help conserve natural resources and ensure that it is recycled in a manner that protects human health and the environment. For more information about where you can drop off your waste for recycling, please contact your local authority, or where you purchased your product.
Turtle Beach Europe Ltd is obligated as a producer with a main activity of selling under The Producer Responsibility Obligations (Packaging Waste) Regulations 2007. To fulfil our obligation we are registered with Comply Direct and their Recycling Room.Here you will find advice and information on packaging waste management, recycling symbols and the waste hierarchy principles of reduce, reuse and recycle. https://www.complydirect.com/the-recycling-room/
This is a Class B product based on the standard of the VCCI Council. If this is used near a radio or television receiver in a domestic environment, it may cause radio interference. Install and use the equipment according to the instruction manual.
To access the rating label:
- Remove the left ear pad by pulling the ear pad straight up using your thumb.
- Once you’ve released the cloth from the lip on top, pull the ear pad straight back and it should slip right off.

To replace the ear pad, follow the same process in reverse.
Not seeing what you’re looking for here? Visit turtlebeach.com/support for the latest Tech Support information.
References
[xyz-ips snippet=”download-snippet”]


