![]() HaloStickPro5.5’ LEDRingLightUser Manual
HaloStickPro5.5’ LEDRingLightUser Manual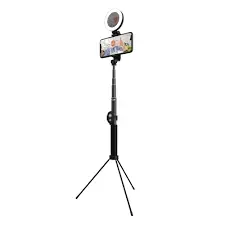
INTRODUCTION & FEATURES
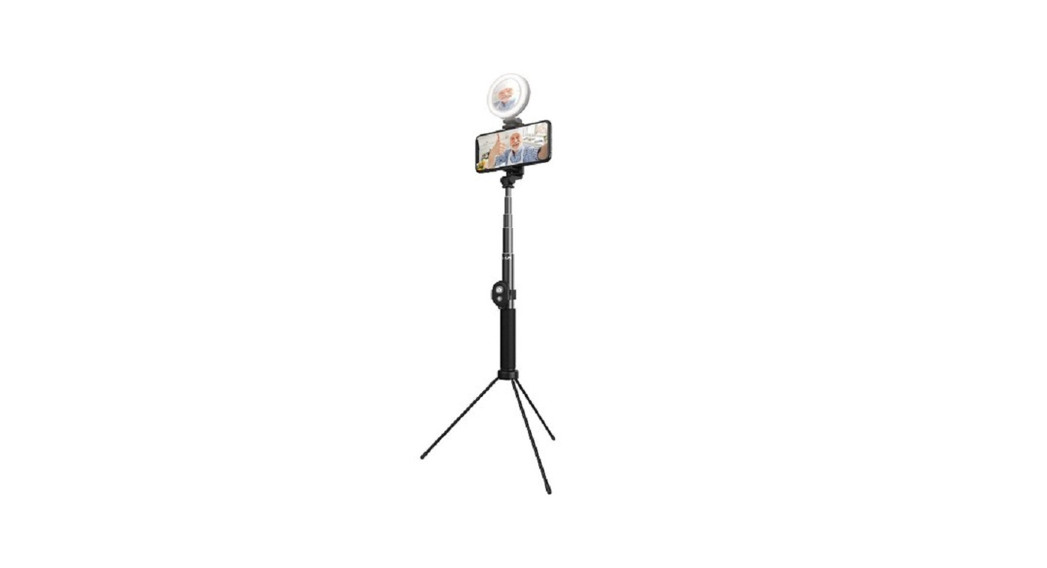
Please read this user manual in its entirety before using your new On-Air HaloStick Pro.HaloStick Pro takes your selfies to the next level. Ultracompact and extendable up to 5.5 ft., it features a detachable tripod base so you can set it up anywhere. The ring light and mirror elevate your visual while the Bluetooth shutter lets you capture perfect pictures and videos from a distance.Features:
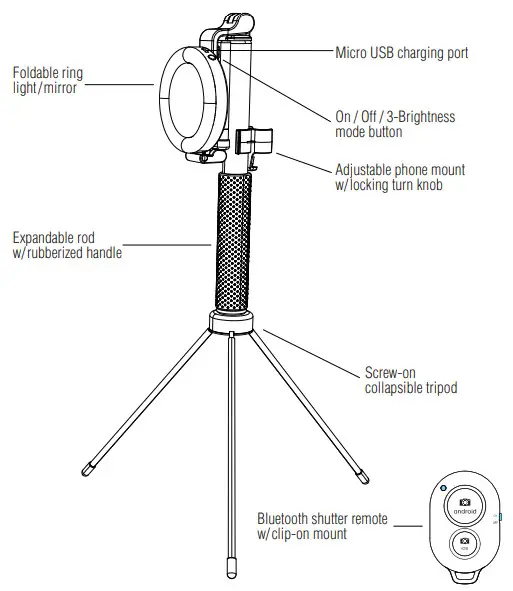
- Foldable ring light w/ built-in mirror
- All-in-one On/Off/3-Brightness mode button
- Adjustable phone mount w/ locking turn knob
- Expandable rod w/ rubberized handle
- Screw-on collapsible tripod
- Bluetooth shutter remote w/ clip-on mount
- Micro USB charging port and cable
PRODUCT OVERVIEW & FUNCTIONS
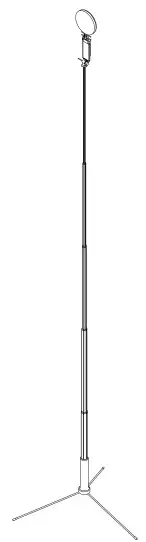
Drawing of fully extended Halo Stick Pro
USING YOUR HALO STICK PRO
Compatible with iPhone & Android Folding, Portable DesignSTEP 1: Screw on tripod base(if only using as a handheld selfie stick, disregard this step)STEP 2: Expand to the desired lengthSTEP 3: Place Halo on a flat, stable surfaceSTEP 4: Unfold phone mount to the desired angle and lock with turn knobSTEP 5: Insert your phone into the mountSTEP 6: Turn on the ring light and press the button again up to 3 times for desired brightness
BLUETOOTH PAIRING:
 report this ad
STEP 1: When you have turned the remote on, it will automatically enter pairing mode. The LED indicator will begin to flash blue repeatedly.STEP 2: Once in pairing mode, open the Settings menu on your smart device (smartphone, tablet, etc.)STEP 3: Enable Bluetooth pairing and wait for your device to locate the shutter remotelySTEP 4: When this happens, “OnAir Remote” will appear on the device list; select this option. Follow the prompt to pair the remote.STEP 5: The LED will turn off after a successful connection.
CHARGING HALO STICK:
Connect to a power source via Micro-USB cable and Halo Stick Pro will begin chargingIf the Halo Stick Pro malfunctions, do not attempt to repair it yourself. Doing so will violate the tzumi Warranty and may cause permanent damage. Instead, contact the Customer Support team at tzumi.com/support for assistance.©Copyright 2019 All Rights Reserved. Made In China.
References
[xyz-ips snippet=”download-snippet”]