UCTRONICS Smart Bluetooth Robot Car Kit User Guide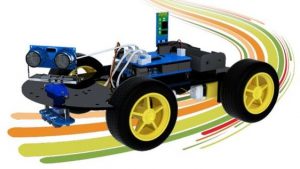
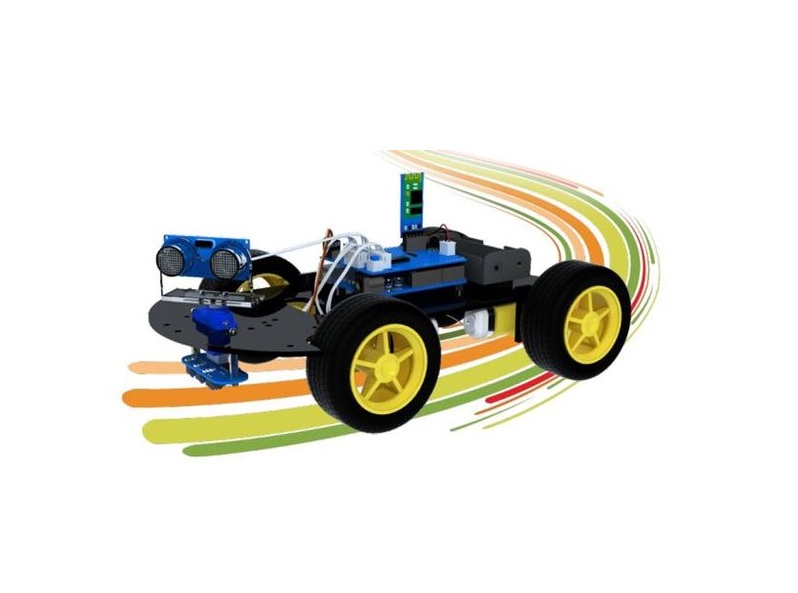
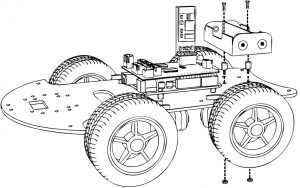
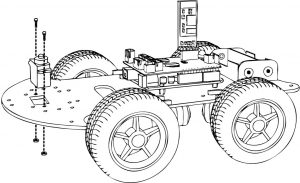
Product Overview

Packing list
- M3*30 socket screws 2 bars, M3*6 socket screws 6 bars

- M3*30 screws round head 8 bars
- M2 nuts, 2 pieces, M3 nuts, 16 pieces
- M2*10 screws round head 2 bars, M3*6 screws round head 6 bars
- M3*5*4 countersunk headscrews2 bars
- M2*4 micro servo screw 1 barM2*8 micro servo self-tapping screws 2 bars
- Ultrasonic bracket 1 piece
- Servo accessory 1 set
- T-type fastener 8 pieces
- 18650 Battery 2 pieces
- 18650 Battery charger 1 piece
- Remote controller 1 piece
- Wheel 4 pieces
- Battery container 1 piece
- Servo 1 piece
- Deceleration DC motor 4 pieces
- 5 Pin line tracking module cable 1 piece4 Pin ultrasonic module cable 1 piece
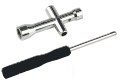
- Fixing tool 1 set
- Chassis 1 piece
- Ultrasonic module 1 piece
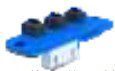
- Motor drive board 1 piece
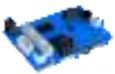
- UNO R3 board for Arduino 1 piece
- Line tracking module 1 piece
- HC-05 Bluetooth module 1 piece


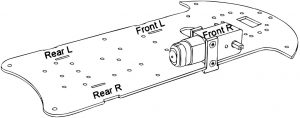
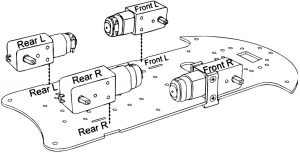
DC motors installation
Step 1: Place the DC motor in the position marked on the chassis
For example, the Front L and Front R marks should be matched between the motor and chassis

Step 2: Install the DC motor

- 8 x M3*30 round head screws
- 4 x DC motors
- 8 x M3 nuts
- 1 x Chassis
- 8 x T-type fasteners
Step 3: Repeat the above steps
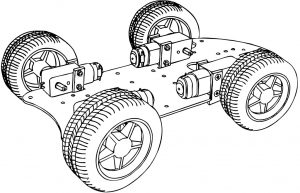
Tire installation
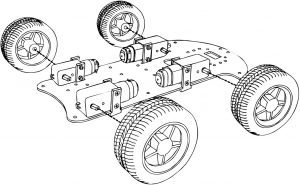
- 4 x Tires
Driver controller boards installation
Step 1: Install Arduino UNO R3
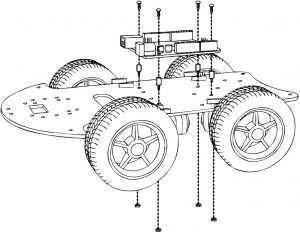
- 4 x M3 nuts
- 4 x M3*6 socket screws
- 4 x M3*6 round head screws
- 1 x UNO R3 board for Arduino
Step 2: Install motor driver board
Step 3: Install Bluetooth module
- 1 x HC-05 Bluetooth module
Battery container installation
- 2 x M3 nuts
- 1 x Battery container
- 2 x M3*6 socket screws
- 2 x M3*5*4 countersunk head screws

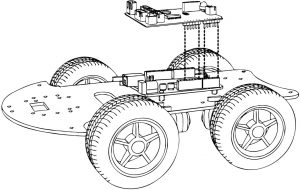
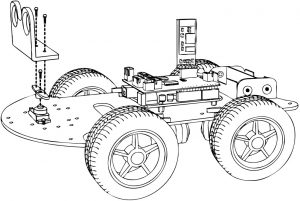
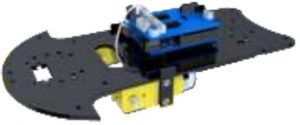
Pan servo installation
Step 1: Mount the Pan servo
- 1 x Servo
- 2 x M2 nuts
- 2 x M2*10 round head screws
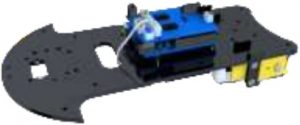
Step 2: Mount the accessory of the Pan servo
- 1 x Servo accessory
- 1 x M2*4 micro servo screw
- 2 x M2*8 micro servo self-tapping screws
- 1 x Holder for HC-SR04 Ultrasonic Module
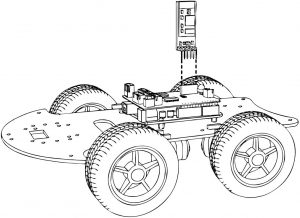
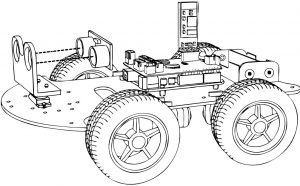
Step 3: Ultrasonic Module installation
- 1 x HC-SR04 Ultrasonic Module
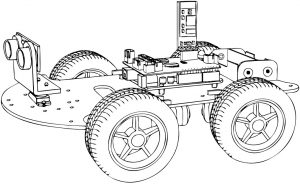
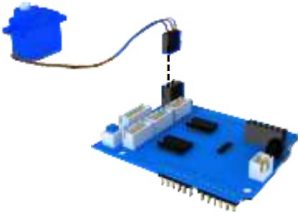
Servo wiring
Connect the cables in the orientation shown in the illustration below. Note the positions of the yellow and brown wires
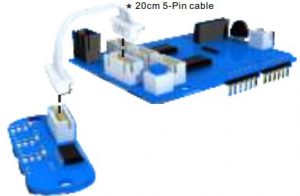
Tracking module wiring
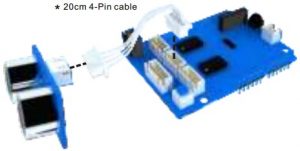
Ultrasonic module wiring
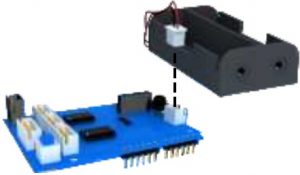
Battery container wiring
DC motors wiring
J2 connector for Front DC motors
J1 connector for Rear DC motors
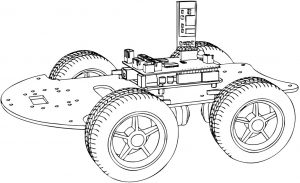
After finishing installing and wiring, please insert two 18650 batteries, push the button in the front of the motor board and wait 5 seconds for the car to work.
That is not all for this car kit.There is a CD that comes with the car kit, check the CD For:
- Arduino example sketch and library
- Mobile apps to control the car
- Instruction manual
- Working modes demo
- and more
If you:
- Prefer an online and updated version
- Do not have a CD reader
- Find the CD defective or missing
Please go to:https://www.uctronics.com/wiki/index.php?title=K0072
With additional content of:
- Troubleshooting
- User experience sharing
- and more
Dear Customer:
Thanks for using the UCTRONICS Smart Bluetooth Robot Car Kit K0072 for Arduino. You can find more information at the links below. Please don’t hesitate to let us know if you need any hands-on support from us.We love helping our customers learn and play with our products.
Contact us:
Custom support: [email protected]Business: [email protected]Tel: +86 025 84271192Web: http://www.uctronics.com/contacts/
References
[xyz-ips snippet=”download-snippet”]