
5-7 STEP ROLLING SAFETY LADDERS

10″ DEEP TOP STEP1-800-295-5510uline.com
TOOLS NEEDED
Step Ladder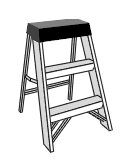
Rubber Mallet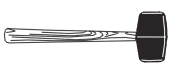
9/16″ Wrench or Socket (2) 7/16″ Wrench or Socket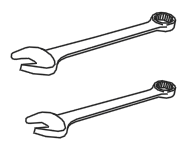
Safety Glasses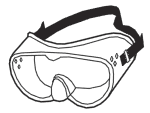
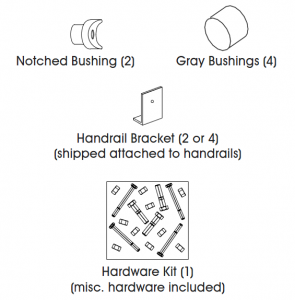
PARTS
ASSEMBLY
Hardware Kit (1) (misc. hardware included)
WARNING! Assembly of these types of ladders can be inherently dangerous. Please take all necessary precautions during the assembly process. Always use a separate ladder to finish assembly in high places. Never climb a ladder that is not completely assembled. Do not assemble or use a ladder with missing or damaged parts. Use proper lifting mechanics when assembling a ladder. Watch for overhead electrical hazards and obstructions.
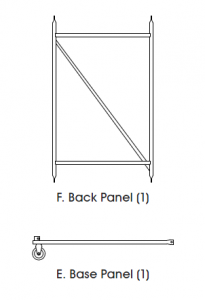
STEP 1: FRAME ASSEMBLY
NOTE: DO NOT tighten bolts until instructed to.NOTE: Back panel (F) has both round and slotted holes. The round holes are at the bottom, and the slotted holes are at the top. (L1)
- Place the ladder stile (D) on the floor. Be sure to assemble on a protective surface so the finish does not get damaged. (See Figure 1)
- Using (6) 3/8-16 x 1¼” hex head cap screws and self-locking nuts, bolt the top of back panel (F) to the insides of L1. (See Figure 1)
- Bolt the bottom of back panel (F) to base panel (E) on the insides of L2. (See Figure 1)
- Bolt base panel (E) to the insides of L3. (See Figure 1)
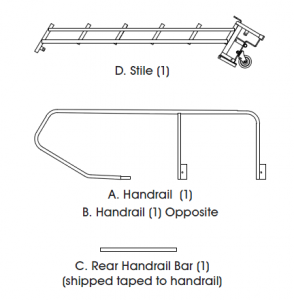
STEP 2: INSTALL HANDRAILS
NOTE: DO NOT tighten bolts until instructed to.
- With ladder on its side, install side handrail (A) into rear stile tubes. Use the rubber mallet as needed for mating parts. (See Figure 2, Step 1)
- Detach handrail brackets that are shipped attached to the handrails.
 3. Clamp side handrails outside of stile tubes using detached handrail brackets and 3/8-16 x 2″ hex head cap screws, gray bushings and self-locking nuts (See Figure 2, Step 2)4. Repeat step 2 with side handrail (B).
 3. Clamp side handrails outside of stile tubes using detached handrail brackets and 3/8-16 x 2″ hex head cap screws, gray bushings and self-locking nuts (See Figure 2, Step 2)4. Repeat step 2 with side handrail (B).
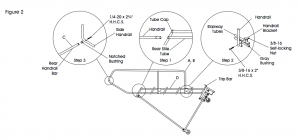
STEP 3: INSTALL REAR HANDRAIL BAR
- Detach rear handrail bar (C) that is taped to the handrail.
- Insert notched bushing into each end of rear handrail bar (C).
- Position rear handrail bar between mounting holes of side handrails (A) & (B). Attach using (2) 1/4-20 x 2¾” hex head cap screws. (See Figure 2, Step 3)NOTE: You may now tighten all handrail bolts.
STEP 4: LEVEL LADDER
- Stand ladder upright on level surface.
- Activate safelock by stepping on trip bar located infront of first step.
- Make sure ladder rests level on the crutch tips andrubber bumpers.
- When steps are level, tighten all bolts.NOTE: DO NOT proceed until ladder is stable.
1-800-295-5510uline.com
[xyz-ips snippet=”download-snippet”]