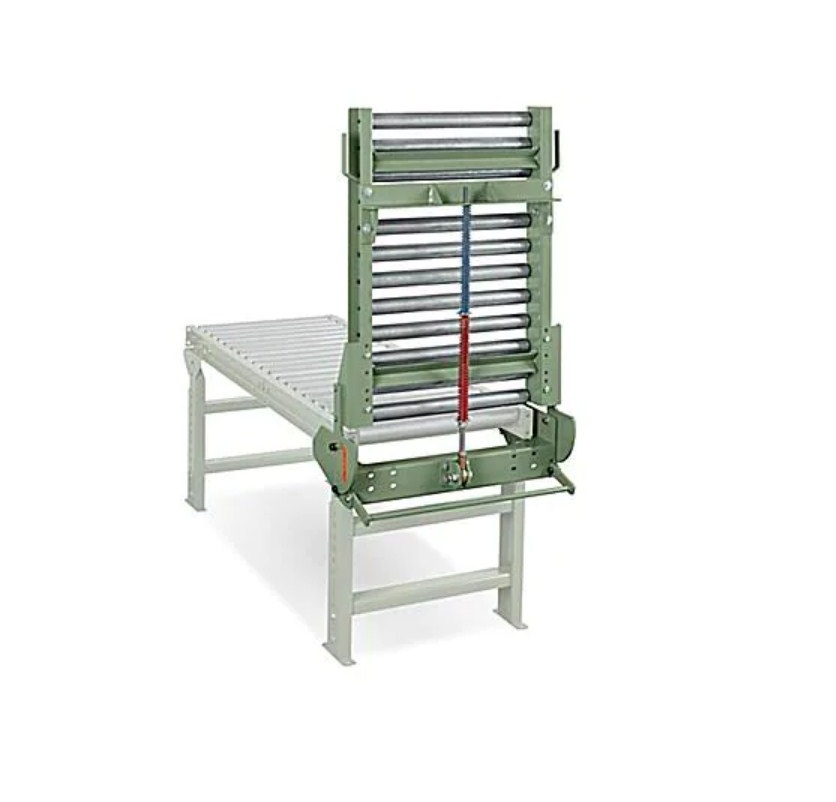
ULINE Conveyor Gates User Guide
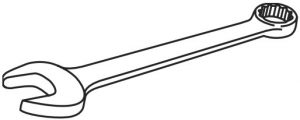
TOOL NEEDED
- 9/16″ (14 mm) Wrench

PARTS
- Gate x 1
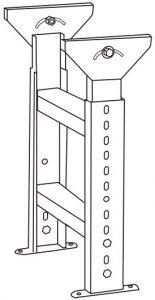
- H-Stand x 4 (not included)
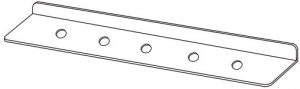
- Steel Angle x 2
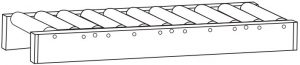
- Gravity Roller x 2 (not included)
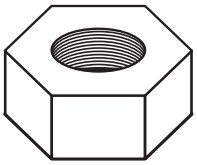
- 9/16″ (14 mm) Nut x 8
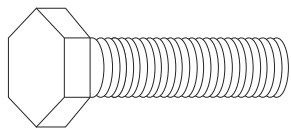
- 9/16″ (14 mm) Bolt x 8
- Washer x 8
- Split Washer x 8


INSTALLATION
![]() NOTE: At least two people are needed to install gate.
NOTE: At least two people are needed to install gate.
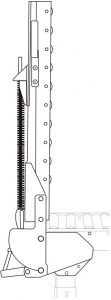
- While gate is at a 90° angle, line up bolt holes with H-stand holes. (See Figure 1)
- Place gravity roller section on top of gate and line up with bolt holes in gate and H-stand. (See Figure 2)
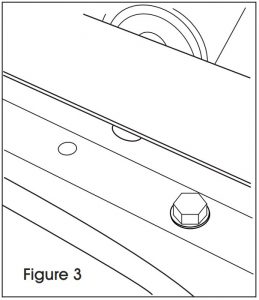
- Insert two bolts with split washers into lined-up bolt holes and hand tighten with washers and nuts to Repeat for opposite side. Once secured, use wrench to tighten.(See Figure 3)
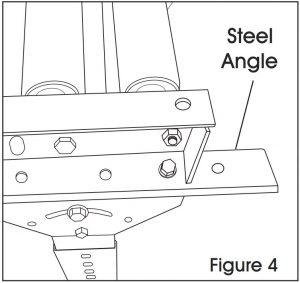
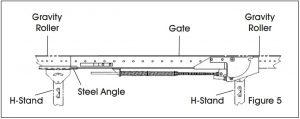
- On second gravity roller section, line up steel angle holes with H-stand. The steel angle should overhang the H-stand. Place gravity roller on top and line up bolt holes. Insert two bolts with split washers into lined-up bolt holes and hand tighten with washers and nuts to secure. Repeat for opposite side. Once secured, use wrench to tighten. (See Figures 4-5)
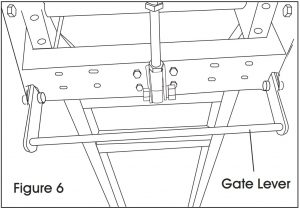
- Lift gate lever to lower gate onto steel angle. (See Figure 6)


Contact Us
Phone: 1-800-295-5510Web: uline.com

[xyz-ips snippet=”download-snippet”]