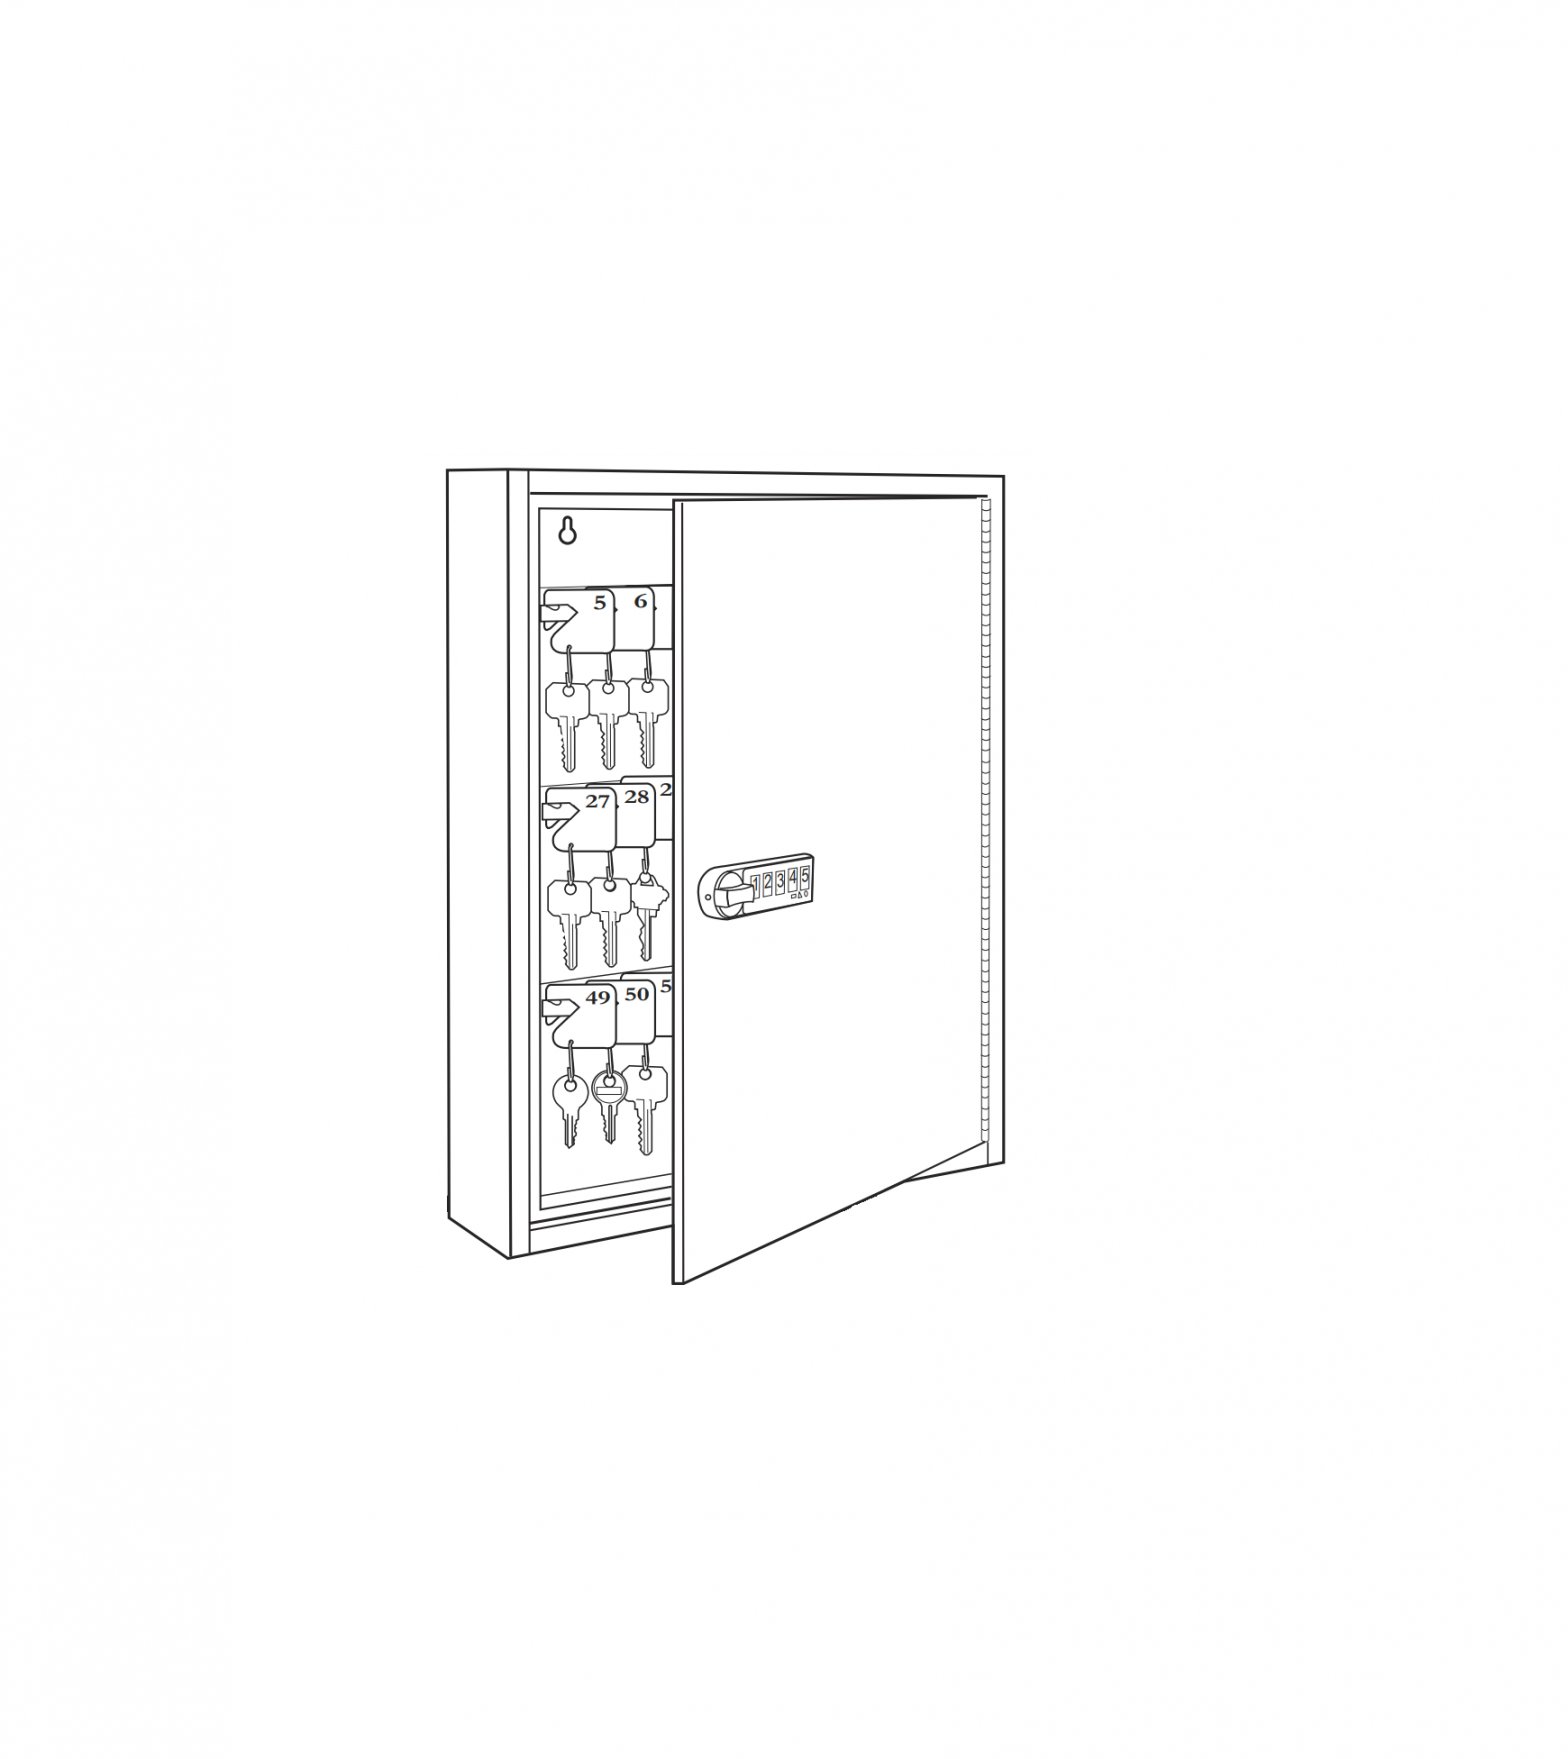
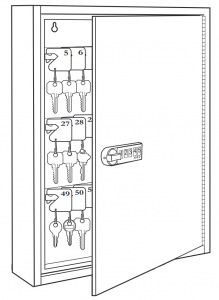
ULINE Digital Key Cabinet
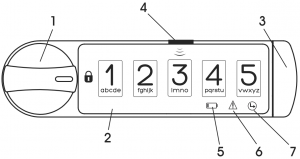
OVERVIEW OF CONTROLS
ELECTRONIC LOCK
|
# |
DESCRIPTION |
|
1 |
Knob |
|
2 |
Keypad |
|
3 |
Battery Holder with Cover |
|
4 |
Program Button |
|
5 |
Yellow LED – Low Battery |
|
6 |
Red LED – Error |
|
7 |
Green LED – Proceed |
ELECTRONIC LOCK FUNCTIONS
|
FEATURE |
KNOB | KEYPAD BUTTONS | PROGRAM BUTTON | GREEN AND RED LEDS |
YELLOW LED |
| FUNCTION | Moves lock mechanism 90 or 180 degrees clockwise or counterclockwise to lock and unlock cabinet. | For entering and programming lock codes. | Initiate programming mode by pressing the front thin edge of the black button | Will flash and illuminate to indicate operating conditions. | Will flash five times after lock is operated to signify the battery level is low and should be replaced. |
INSTRUCTIONS
This lock can operate using 3 codes (factory or master code, supervisor code and user code).
Factory/Master Code – This code must be reprogrammed to a 6-digit master code. (Check down below)
Supervisor/User Codes – 3 to 6 digits need to be programmed into the lock by following the steps. All codes are retained by the lock after unlocking and if the battery is changed.
A Note on Codes – The numbers 6, 7, 8 and 9 can be entered by pressing two keys simultaneously in order to produce a sum.
For example, 2 and 4 can be pressed simultaneously to produce the number 6.
![]() NOTE: If the code was programmed using 2 + 4 as the 6 digit, the 2 + 4 must be used when accessing the lock. Other combinations that equal six, such as 1 + 5, are distinguished from 2 + 4.
NOTE: If the code was programmed using 2 + 4 as the 6 digit, the 2 + 4 must be used when accessing the lock. Other combinations that equal six, such as 1 + 5, are distinguished from 2 + 4.
PROGRAMMING
TO PROGRAM TO A 6-DIGIT MASTER CODE:
![]() NOTE: The factory code is 135243. It must be overwritten by a new 6-digit master code.
NOTE: The factory code is 135243. It must be overwritten by a new 6-digit master code.
- With knob in the unlocked position, press the program button 5 times until the green LED lights up.
- Enter the default 6-digit factory code.a. If the code is correctly entered, the green and red LEDs will simultaneously flash.b. If the code is incorrectly entered, the red LED will flash.
- Enter the factory code again. The red, green and yellow LEDs will simultaneously light up.
- Enter the desired 6-digit master code. The red, green and yellow LEDs will simultaneously flash.
- Enter the newly created master code again.a. If incorrect, the red LED will flash.b. If the code is entered correctly, the red, green and yellow LEDs will flash consecutively for 5 seconds.
The master code is now stored. The factory code is erased. To program a new master code, follow the same procedure above, entering the current master code instead of the factory code.
TO PROGRAM A SUPERVISOR CODE:
![]() NOTE: Default supervisor code is 123. It must be overwritten by a new 3-6 digit supervisor code
NOTE: Default supervisor code is 123. It must be overwritten by a new 3-6 digit supervisor code
- With the knob in either the unlocked or locked position, press the program button.
- Enter the master code.a. If you do not enter a master code within 10 seconds, the red LED will flash and exit programming.b. If you enter the master code incorrectly, the red LED will flash and exit programming.c. If you enter the master code correctly, the red LED will light up for 10 seconds.
- Enter a supervisor code 3-6 digits in length.
- Push the program button again to finish. Storing a code successfully is indicated by the green LED flashing 6 times.
TO PROGRAM A USER CODE:
- With the knob in the unlocked or locked position, press program button twice. The red LED will light up.
- Enter the supervisor code.a. If you do not enter the supervisor code within 10 seconds, the red LED will flash and exit programming.b. If you enter the supervisor code incorrectly, the red LED will flash and exit programming.c. If you enter the supervisor code correctly, the yellow LED will light up for 10 seconds.
- Enter a user code 3-6 digits in length. If you do not enter a user code within 10 seconds, the red LED will flash and exit programming.
- Push the program button again to finish. Storing a code successfully is indicated by the green LED flashing 6 times.
TO ERASE THE USER CODE:
- Press the program button twice. The red LED will light up.
- Enter the supervisor code.a. The yellow LED will light up for 10 seconds.b. If the supervisor code is entered incorrectly, the red LED will flash twice and exit programming.
- Enter 1-1-1-1-1.
- Press the program button. If the user code is successfully erased, the green LED will flash 6 times.
OPERATION
When entering a valid code, you should hear a click sound. The green LED will light up, and you can turn the knob to the unlocked position.
An incorrect code is indicated by 3 flashes of the red LED.
Five incorrect entries will result in the lock being temporarily disabled for 2 minutes. During this time, any entry attempts will be met with 3 flashes of the red LED.
TO RE-LOCK:
Turn the knob from the unlocked position to the locked position. Listen for the lock mechanism to operate (there will be a click sound). Confirm the knob is locked.
USING LOCK IN LOCKER MODE:
Follow the procedure below to change operation mode from single user/station mode to locker mode :
- Unlock the unit.
- Remove the battery for 10 seconds.
- Press the program key while the battery is removed.
- Insert battery and continue holding program key.
- Wait until all three LEDs turn on and off.
- Release the program key.
- Enter the 6-digit master code.
- If code was entered correctly, the yellow LED will light up.
- Press number 2 button.
- Once the lock switches to locker mode, the LEDs will each flash for 1 second in the following order: green, yellow, red.
- Proceed to operate the lock in locker mode.
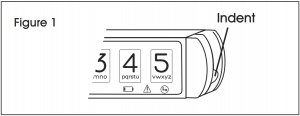
REPLACING THE BATTERY
- Use indent to pull battery away from the unit. (See Figure 1)

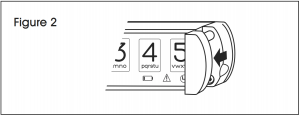
- Make sure it is fully extended out. (See Figure 2)
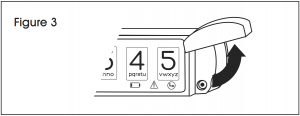
- Swing battery cover up. (See Figure 3)
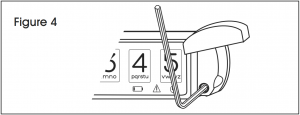
- Using Allen wrench, remove retaining screw. (See Figure 4)
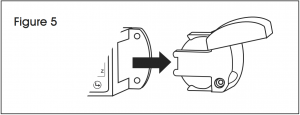
- Pull out battery holder. (See Figure 5)
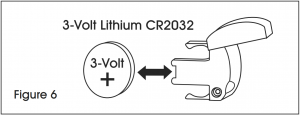
- Replace battery. (See Figure 6)
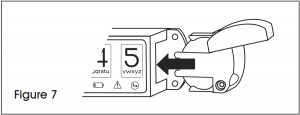
- Push in battery holder. (See Figure 7)
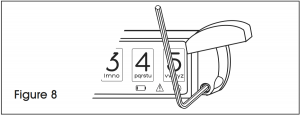
- Tighten screw. (See Figure 8)
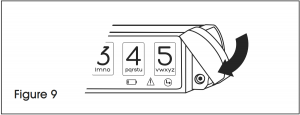
- Swing battery cover down. (See Figure 9)
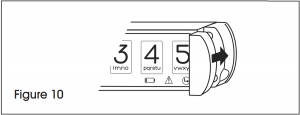
- Push into locked position. (See Figure 10)
- If the battery is inserted while the knob is locked, you should hear the lock mechanism click and the unit will lock. If the battery is inserted while the knob is unlocked, after turning the knob to the locked position, you will hear the lock mechanism click and the unit will lock.
![]() NOTE: If the unit will not lock after inserting the battery, enter the master code, move the knob to the unlocked position, then move the knob to the locked position. You should hear the lock mechanism click and the unit will lock. If the unit does not lock, replace the battery
NOTE: If the unit will not lock after inserting the battery, enter the master code, move the knob to the unlocked position, then move the knob to the locked position. You should hear the lock mechanism click and the unit will lock. If the unit does not lock, replace the battery

1-800-295-5510uline.com
[xyz-ips snippet=”download-snippet”]