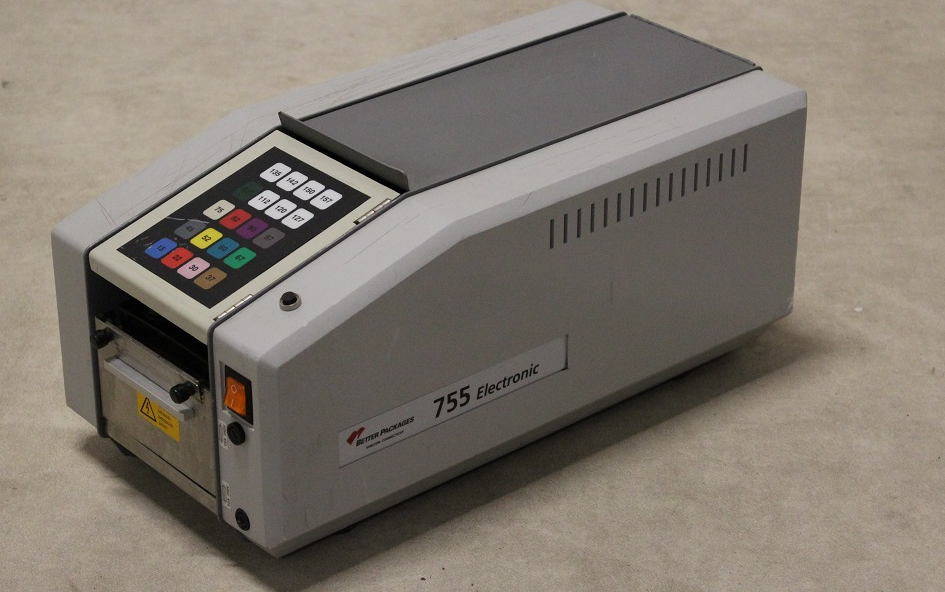
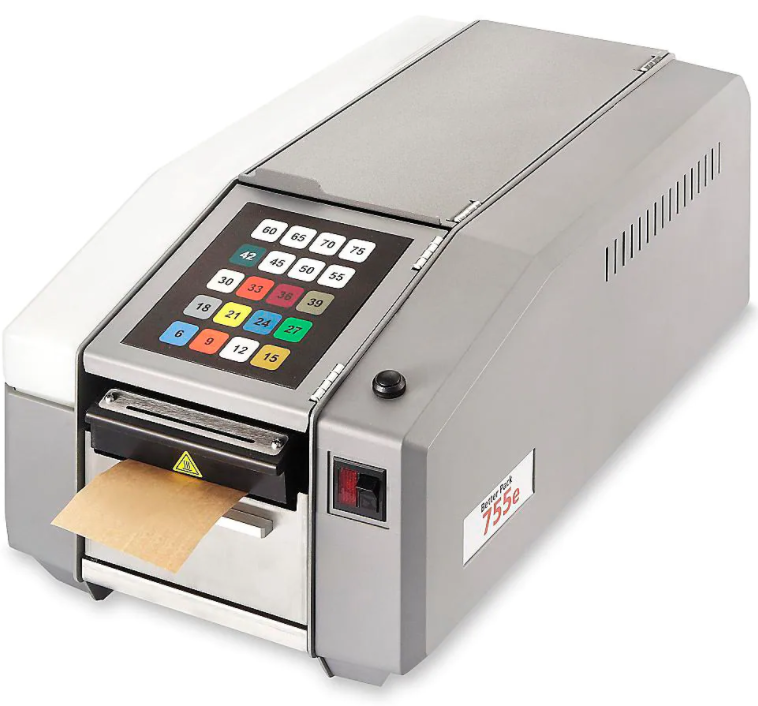
ULINE H-16 Better Pack Cadillac 755 Tape Dispenser
INSTRUCTIONS
UNPACKING NOTES
When unpacking your new electric machine, check the following before discarding packaging material:
- There should be two brushes in the water tank.
- The upper tape plate is held in position by packaging materials but may have been dislodged in shipping. Remove all holding material before using machine.
SETTING UP YOUR MACHINE
- If the upper plate has been dislodged in shipping, replace as follows: With the center slot toward the front of the machine, slide under feed wheel shaft from the rear until the cut-out portions on sides are over the retaining “buttons.” Drop plate and slide forward so that end of plate is under the rod just to the rear of the shear and the back end is under the “buttons.”
- Remove tank and brushes. Wash brushes thoroughly in warm water and soap or mild detergent. Replace brushes in water tank. Note the two brushes are beveled. Replace them in tank, being sure each brush is positioned with the high side toward the front of the tank. Replace tank and brushes in the machine.
- Fill bottle with water and place in the bottle holder so the spout of the bottle is in the tank. Set correct water level. (See adjustments, water level.)
- Adjust roll guides inside rear of machine to proper width for tape. (See roll guide adjustment.)
- Loading tape: Take the roll and unwind about 18″. Place the roll in the basket so that the strip unwinds off the rear of the roll as the leading end is brought up toward the front of the machine with gummed side down. Thread tape over the roller at the upper rear and slide leading edge forward under upper tape plate and feed wheel.
- Set pressure plate weight and top heater temperature. (See adjustments, moistening and top heater settings.)
- Electrical Connection
- Plug Machine into wall outlet.WARNING! For your safety all the metal parts of this machine are electrically grounded through a 3-wire power supply cord and a 3-prong grounding type plug, which must be plugged into a 3-wire grounded type receptacle. If you are not sure the electrical system in your building is properly grounded, call a licensed electrician.
- When all connections have been made, turn on the power switch at the right front of machine. Pilot light should light and indicates the machine is ready for operation.
ELECTRIC ADJUSTMENTS
- ROLL GUIDE ADJUSTMENT
- The tape roll guides in the tape basket should be properly set for the widths of tape being dispensed. The roll of tape should preferably be centered between the frames by confining the tape loosely between the roll guides, which engage in between the spring-loaded spacers on the tie rods.
- To set the roll guides in position, lift them out, move to the desired position and re-insert.
- WATER LEVEL ADJUSTMENT
- The amount of water required for proper moistening of different grades and types of tape will differ. Heavier glues on reinforced tapes will normally require a high water level. Lighter tapes require less water and a lower level. The water level is controlled by the position of the front water bottle bracket. To adjust the water level, loosen the two screws on the bottle bracket, move to the desired position and tighten both screws.
- ADJUSTABLE MOISTENING AND TOP HEATER SETTINGS
- To give the most efficient moistening for all kinds of tapes, your machine is equipped with an adjustable water level and adjustable weights on the thermo- statically controlled top heater and pressure plate assembly.
- Increasing the height of the water level increases the amount of water applied to the tape.
- Increasing the weight on the top heater and pressure plate increases the amount of water applied to tape. The weights (three in number) are attached to the front end of the top heater and pressure plate assembly and held in place by two screws. To remove, loosen the screws slightly and lift out the weights as required. Lightest pressure is with all weights removed. Maximum pressure is with all weights in place.
- For example, certain gummed paper tapes have glue, which normally requires somewhat less water for best moistening results. With such tapes very little weight is required and all weights at front of pressure plate and top heater assembly are generally removed. The heater setting should be at the 11 o’clock position.
- Other tapes requiring slightly more water usually work best with the medium weight pressure. Only one or two weights should be used at the front of the top heater and pressure plate assembly. Here again the heater setting generally is at the 12 o’clock position.
- Other tapes may have as much as two or three times the amount of glue to be moistened. With these tapes, all the weights are usually required with the heater setting at the 1 o’clock position.
- A SIMPLE MOISTENING TEST
- Too much water results in a weak seal. Furthermore, the tape, when applied to the carton, will tend to slide and require excessive rubbing. If this happens, one or more weight bars should be removed from the top heater. If necessary, lower the water level by adjusting the front water bottle bracket. Because excessive pressure results in unusual brush wear, it is always best to reduce pressure before lowering the water level.
- Use a pattern and deposit test to check for too little water.
OPERATING
OPERATING INSTRUCTIONS
- After following the setting up instructions and adjusting the machine for correct water level, pressure plate weight and top heater temperature, load machine with tape and you are now ready to operate the machine.
- To feed tape just quickly touch the “button” for the length of tape you wish to dispense. Only light momentary pressure is needed on the dispensing “button”. The “button” controls an individual switch, which resets when the proper length is dispensed. If the “button” is held down too long, the switch remains closed and a maximum measured length of tape will be dispensed.
RANDOM LENGTHS
- This key at the right front of the machine is for visually measured lengths of tape. If the key is held down, the maximum length is dispensed. With a little practice, the operator can quickly develop his “time” sense and dispense lengths with considerable accuracy.
- Each operating “button” on your H-16 is furnished with a color. These colors can be used as visual signals for the most frequently used tape lengths.
- Where it fits into your sealing operation, this simple system of color-coding for frequently used lengths can, over a period of time, result in savings in both material and labor in addition to making the operator’s job of proper length selection much easier.
MAINTENANCE
CLEANING
Keep your machine clean. Accumulations of dirt and tape dust will prevent you from getting the most out of your machine.
SHEAR BLADES
- When using reinforced tapes laminated with asphalt or resin, this material can accumulate on the blades and interfere with cutting the tape. This material should be removed by applying suitable oil to the areas of accumulation until it is removed. A small brush is the best instrument for removal.
PRESSURE PLATE
- Remove accumulations of old dried glue from the under side where it touches the moistening brushes.
BRUSHES
- The brushes should be removed from the tank at least once a week and washed to remove accumulations of old dried glue. Be careful to replace the brushes in the tank with the high side of the bevel to the front of the tank. Incorrect placement can result in poor moistening and tape jamming in the machine.
LUBRICATION
- All vital moving parts of this machine have oil retaining porous bushings and should not require additional oil for the average life of the machine.
WARNING! Do not oil feed wheel shaft. Oil can creep in through the bearings and affect internal parts.
1-800-295-5510uline.com
![]()
References
[xyz-ips snippet=”download-snippet”]