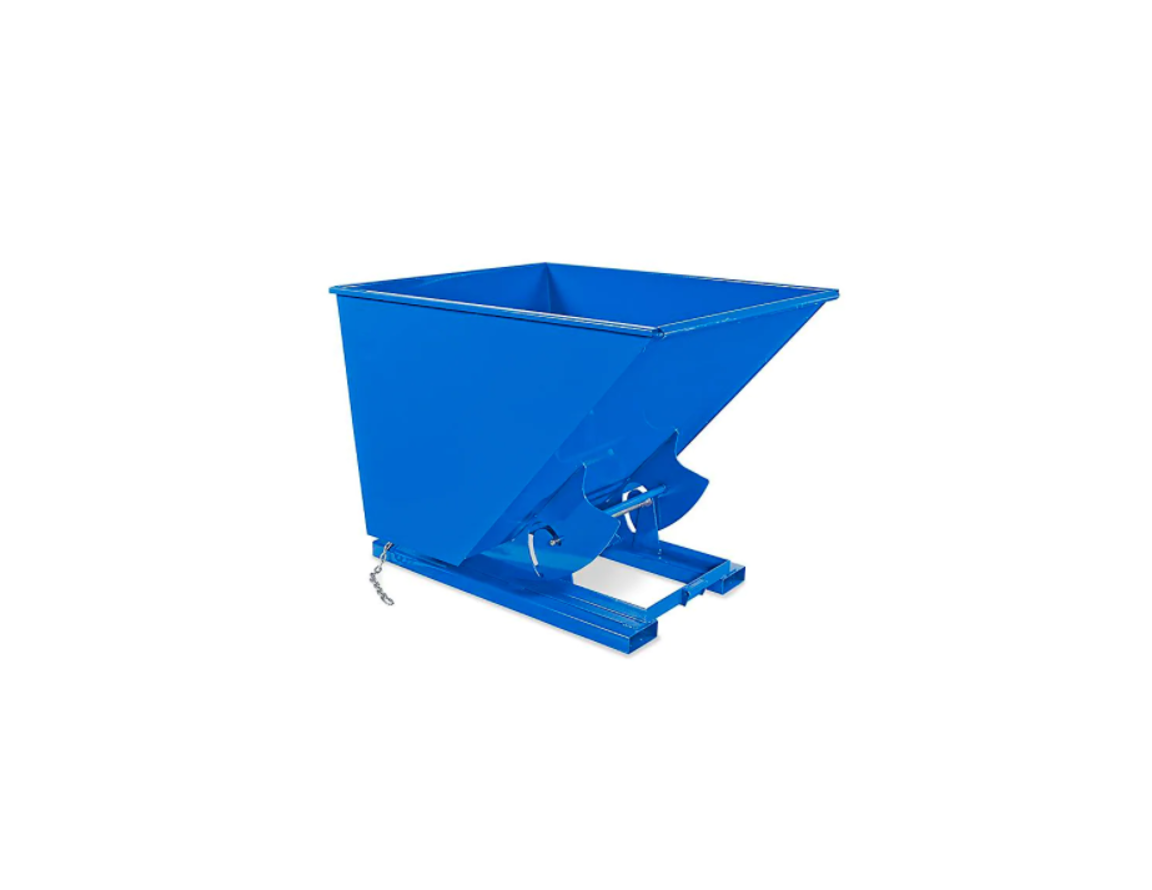
ULINE H-2112 Dumping Hopper Caster Installation Guide
CASTER INSTALLATION
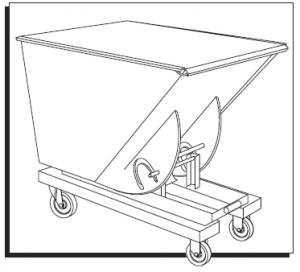
 NOTE: Install casters one-at-a-time on each end of hopper.Two (2) rigid and two (2) swivel casters are included.You MUST determine placement of casters before installation. Placing the two swivel casters in the back is recommended.
- Drive lift truck forward until hopper’s fork pockets contact vertical legs of lift truck (See Figure 1) Figure 1
- Connect and secure safety chain to lift (See FIgure 2 and 3) Figure 2
- Adjust chains for minimum
- Raise forks to chest height, approximately 3‘CASTER INSTALLATION CONTINUED
- Attach casters to exposed end of each fork (See Figure 4)a Set one 3⁄8″ flat washer above each hole in forkb Insert one 3⁄8 x 1¼” bolt through washer, corresponding bolt hole and bolt hole in casterc Slide another 3⁄8″ flat washer over threaded end of bolt. Add 3⁄8″ lock washer and secure with 3⁄8″d Tighten connections with 9⁄16″ wrenches.WARNING! Never crawl or stand under an elevated hopper. Limit exposure to reaching under hopper to fasten hardware. Figure 4
- After installing two casters, slowly lower forks and disconnect safety
- Back lift truck away until forks are free of hopper’s fork
- Drive lift truck to opposite end of hopper and repeat Steps 1–5.
- After installing casters, slowly lower forks and disconnect safety
- Back lift truck away until forks are free of hopper’s forkWARNING! Adding casters will reduce the rolling load capacity of some models.
CASTER TYPE CAPACITY (LBS.) Steel Casters 1,200 lbs./caster Mold-on Rubber Casters 600 lbs./caster Poly-on Steel Casters 1,200 lbs./caster
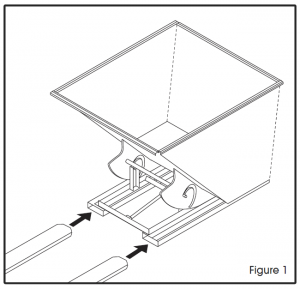 Figure 1
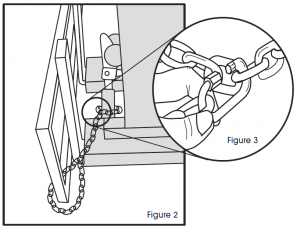 Figure 2
 WARNING! Never crawl or stand under an elevated hopper. Limit exposure to reaching under hopper to fasten hardware.
 Figure 4
Read More About This Manual & Download PDF:
[xyz-ips snippet=”download-snippet”]