ULINE H-2241 Air Freshener Dispenser
TOOLS NEEDED
|
|
|
|
 Drill
Drill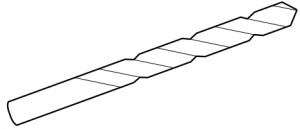 Drill Bit
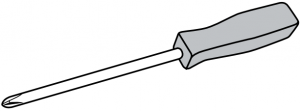 Phillips Screwdriver
PARTS
|
|
|
|
|
|
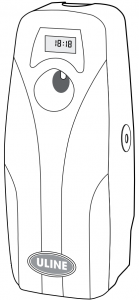
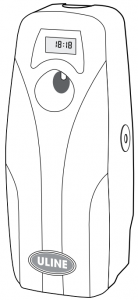 Dispenser x 1
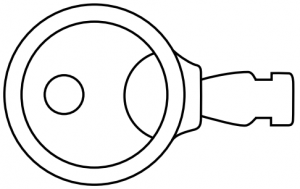 Plastic Key x 1
 Wall Anchor x 4
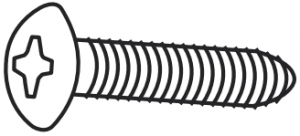 Screw x 4
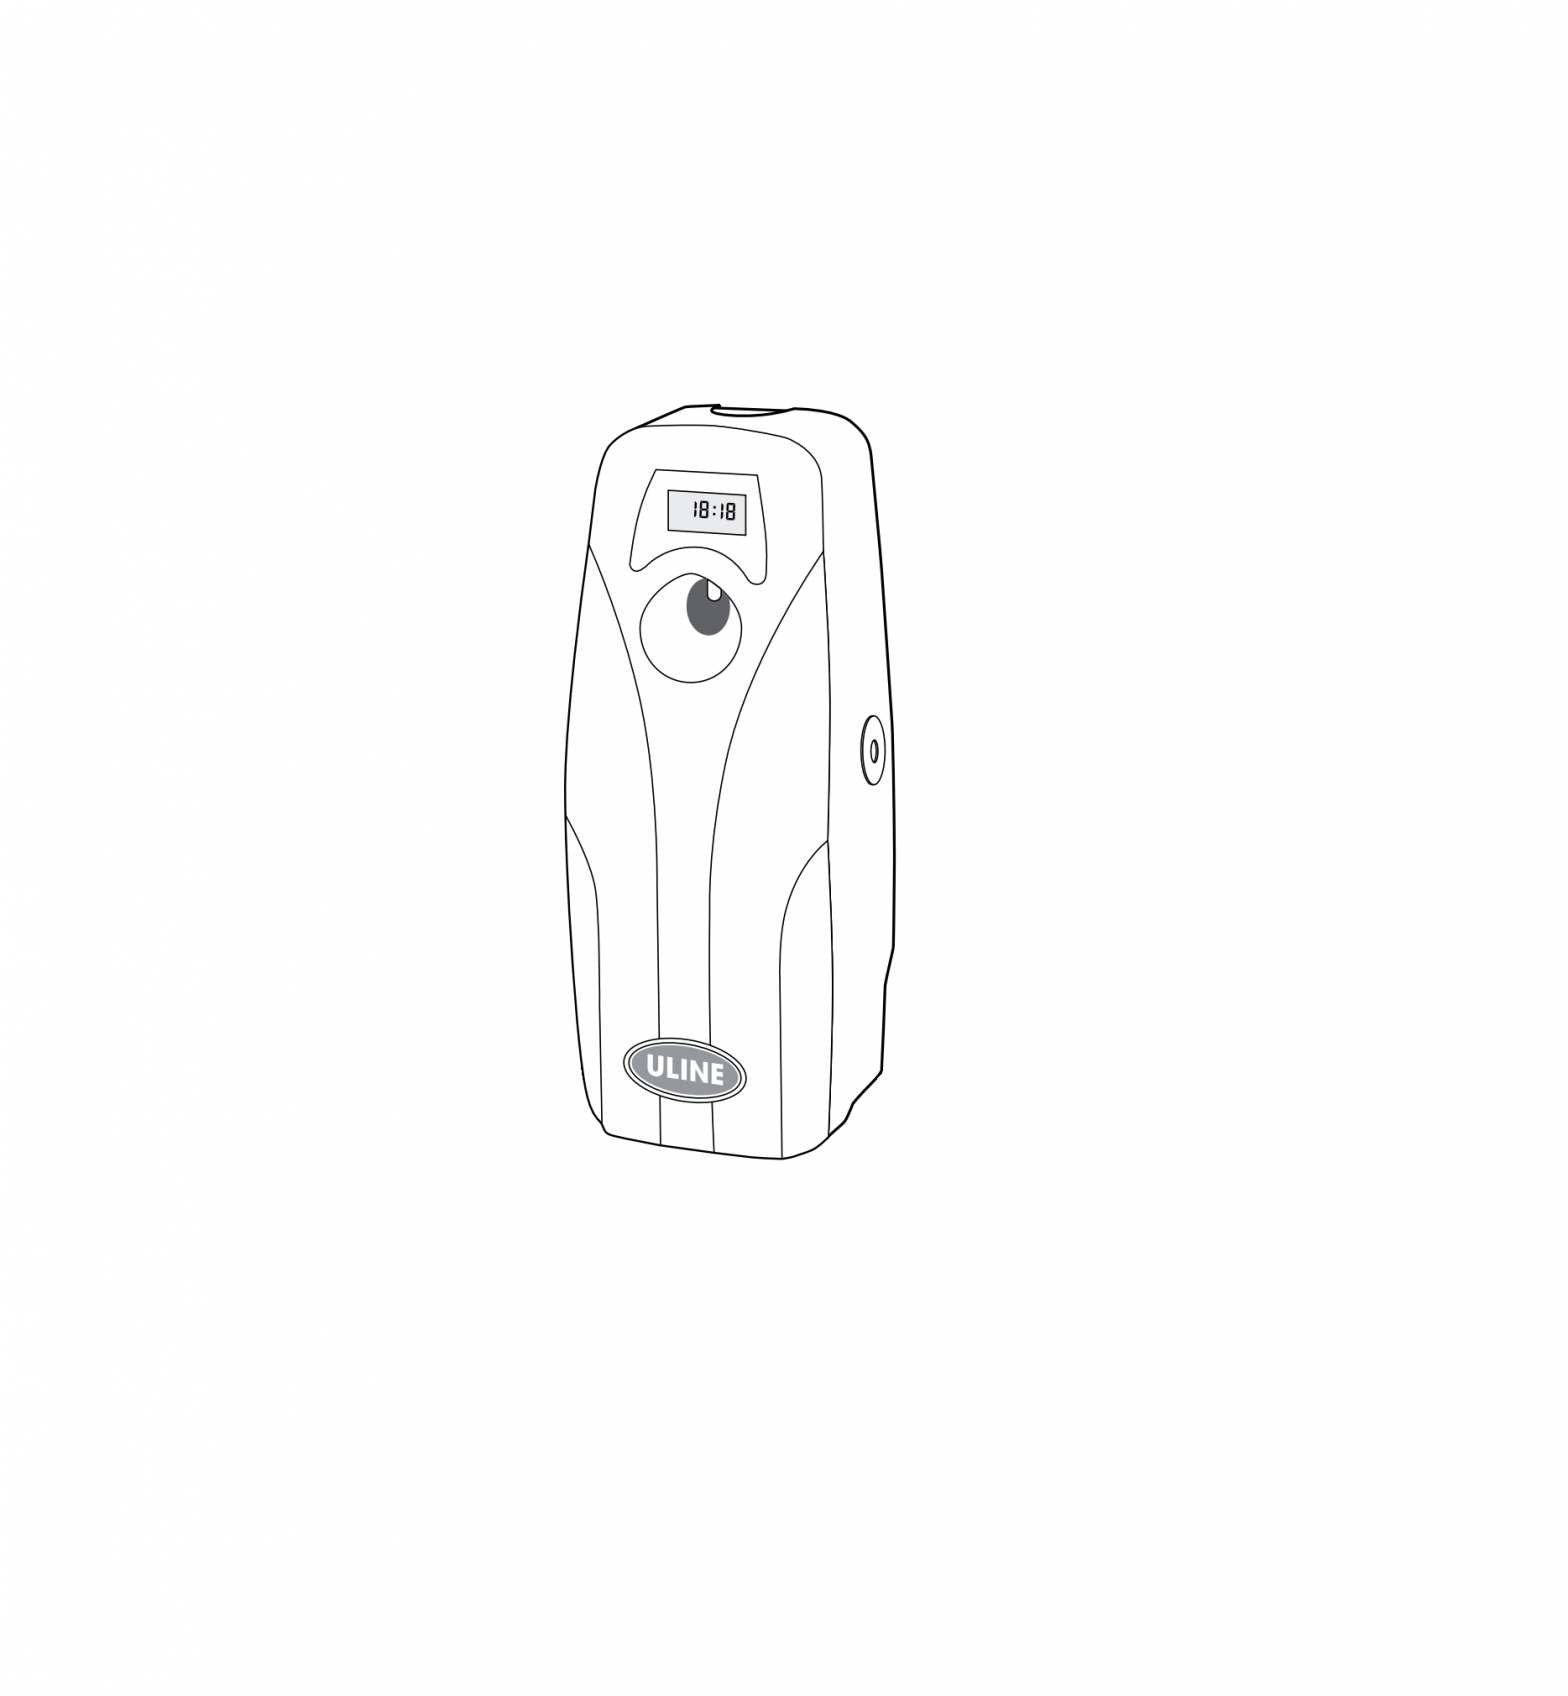
DISPENSER DIAGRAM
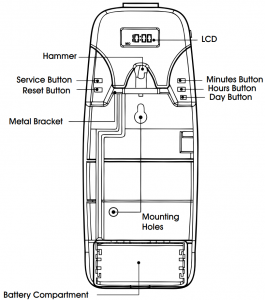
PRECAUTIONS
|
MOUNTING AND PROGRAMMING
MOUNTING THE DISPENSER
For best operation, mount the dispenser 7 to 9 feet above the floor.
- Open dispenser by pushing key into lock on side of unit. Twist key to vertical position to unlock, then pull down on face of dispenser to open.
- Place the dispenser in the desired location to be mounted. Make a mark on the wall surface through the two mounting holes.
- Drill the holes at the marks and insert the anchors.
- Place the unit on the wall and affix the screws.
- Ensure the dispenser is mounted securely.
PROGRAMMING THE DISPENSER
- Insert 2 “D” alkaline batteries in the battery compartment, leaving black ribbon behind batteries for easy removal.
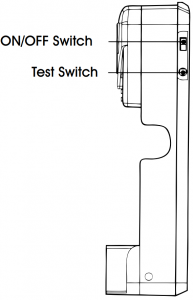
- Turn the unit ON. ON/OFF switch is located on the side of the dispenser.
 NOTE: Do not insert aerosol can in the dispenser yet.
 - Set the clock by pressing the MIN and HRS buttons.Clock is set in military time.
- Set day by pressing the DAY button repeatedly until correct day is illuminated.
- Dispenser is set and activated.
TO SET ACTIVE DAYS
![]() NOTE: Factory default is all days active.
NOTE: Factory default is all days active.
- Press the SERVICE button four times until “Off Days” is illuminated
- Press the DAY button to illuminate and deactivate each day of the week.a. Press the DAY button once to deactivate unwanted days. Deactivated days will be displayed.b. Press the DAY button twice to skip the active days.
- There will be a slight pause between each day as the dispenser cycles through all the days of the week.
- Once there is no activation on the DAY button for 5 seconds, the dispenser will save and go to the date and time screen.
- Active days can have specific times in which the dispenser turns on and off.a. Press the SERVICE button once to ON to set the time to start each active day. Change time by using the MIN and HRS buttons.b. Press the SERVICE button two times to OFF to set the time to end each active day. Change time by using the MIN and HRS buttons.c. Once there is no activation on the DAY button for 5 seconds, the dispenser will save and go to the date and time screen.
TO CHANGE THE SPRAY INTERVALS
![]() NOTE: The default is every 15 minutes 24 hours a day.
NOTE: The default is every 15 minutes 24 hours a day.
- Press the SERVICE button three times to INT to set interval time each active day. Change interval by using the MIN button.
- Once there is no activation on the DAY button for 5 seconds, the dispenser will save and go to the date and time screen.
- The dispenser is fully programmed.
- Test spray by putting a can into the dispenser and press the circle button underneath the ON/OFF button on the side of the dispenser. Do not stand directly in front of the dispenser.
BATTERY LIFE
- Hold down the SERVICE button for 3 seconds to view the battery life.
- When battery life is low, a battery icon will appear on the main screen.
- The dispenser will hold settings for 60 seconds while changing the batteries. Otherwise all settings will revert back to factory settings.
CAN LIFE
- Hold down the SERVICE button for 3 seconds and press the SERVICE button again to view the remaining days left in the aerosol can.
- Each time the can is replaced, press the RESET button.
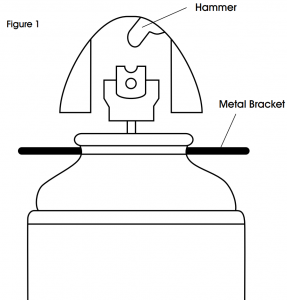
LOADING
- Push hammer up before can is inserted. (See Figure 1)
- Ensure can is inserted firmly into the metal bracket. (See Figure 1)
 1-800-295-5510uline.com
[xyz-ips snippet=”download-snippet”]