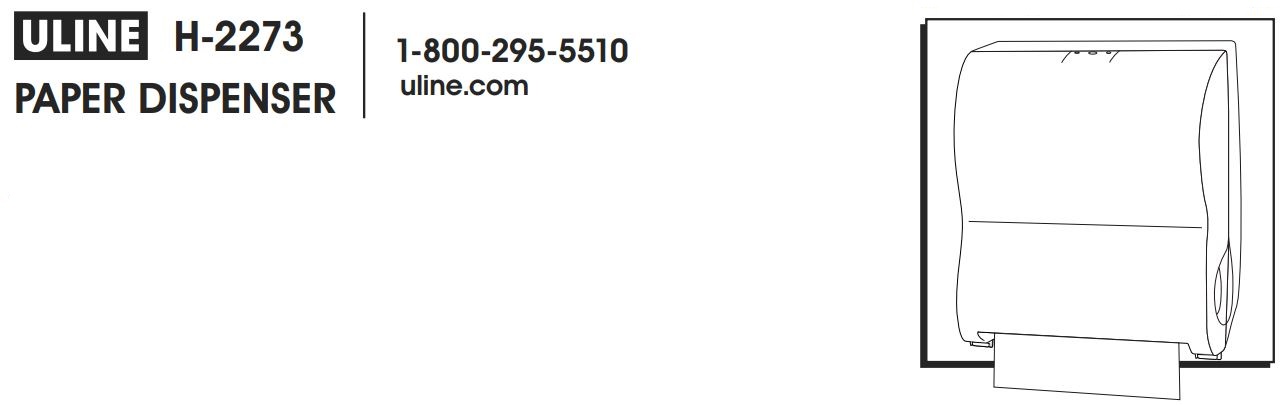
ULINE H-2273 Paper Dispenser User Guide
TOOLS NEEDED

PARTS

MOUNTING
- Open dispenser cover completely by using either standard key or snap-in key. Hold dispenser to ideal mounting place on wall.
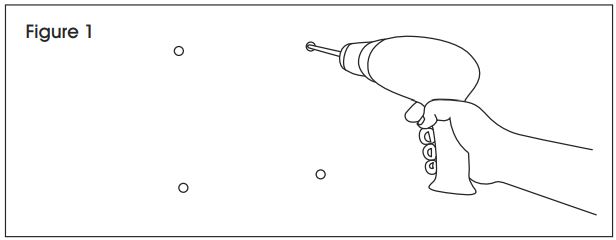
- Mark the four holes on the wall where screws will be inserted.
- Set dispenser aside and drill into wall at four marked locations with an appropriate drill bit. (See Figure 1)
 Hold dispenser to wall so that the holes in the wall and the dispenser match up. Insert four screws into previously drilled holes.NOTE: Recommended placement is 54″ from the floor to the bottom of the dispenser. Allow 12″ of clearance below the dispenser to pull paper towel and 4″ of clearance on the right side to access knob.
 Hold dispenser to wall so that the holes in the wall and the dispenser match up. Insert four screws into previously drilled holes.
LOADING
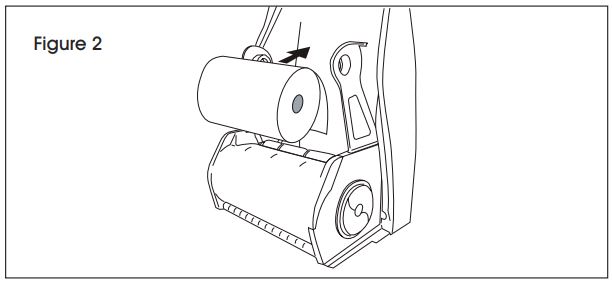
1. Install roll of paper so that it unwinds from the back. (See Figure 2)
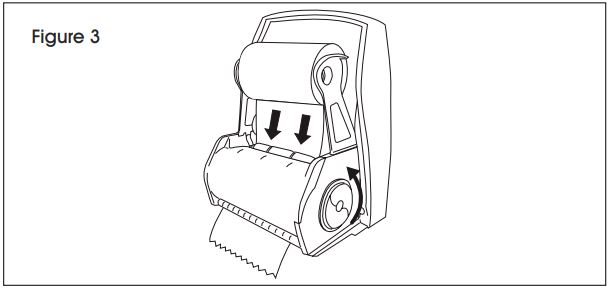
2. Tuck the paper behind and under the white roller. Twist the knob located on the right-hand side until the paper feeds through the clear dispensing module. (See Figure 3)
![]() NOTE: Using the blue transfer clips to load a new roll is unnecessary.
NOTE: Using the blue transfer clips to load a new roll is unnecessary.
STUB ROLL LOADING
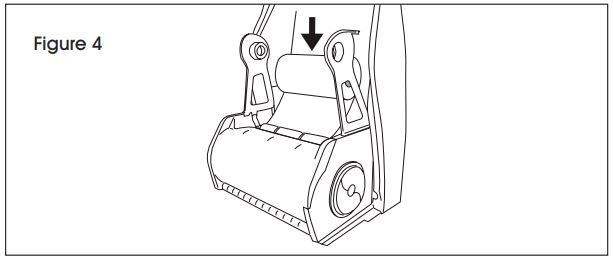
- Remove the remaining stub roll from the roll support arms without unthreading the paper and place in the stub roll tray at the bottom of the dispenser. (See Figure 4)
- Place a new roll on the roll support arms with the paper unwinding from the back.
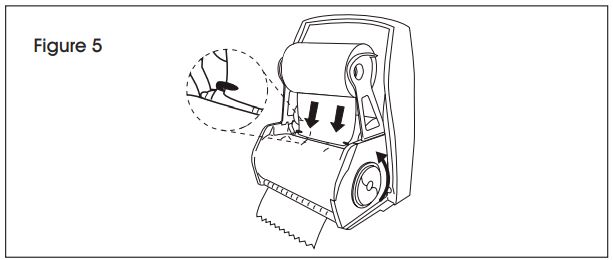
- Place the end of the new roll of paper under the blue transfer clips. (See Figure 5)
- When the stub roll is exhausted, a user can start the pre-loaded roll by turning the knob two full turns.
LOCK AND KEY
- The standard lock with a removable standard key is provided for security.
- If a keyed lock is not required, a snap-in key is provided. The snap-in key is installed by pushing it down firmly into the lock and rocking it slightly until it snaps.
![]() 1-800-295-5510uline.com
1-800-295-5510uline.com
[xyz-ips snippet=”download-snippet”]