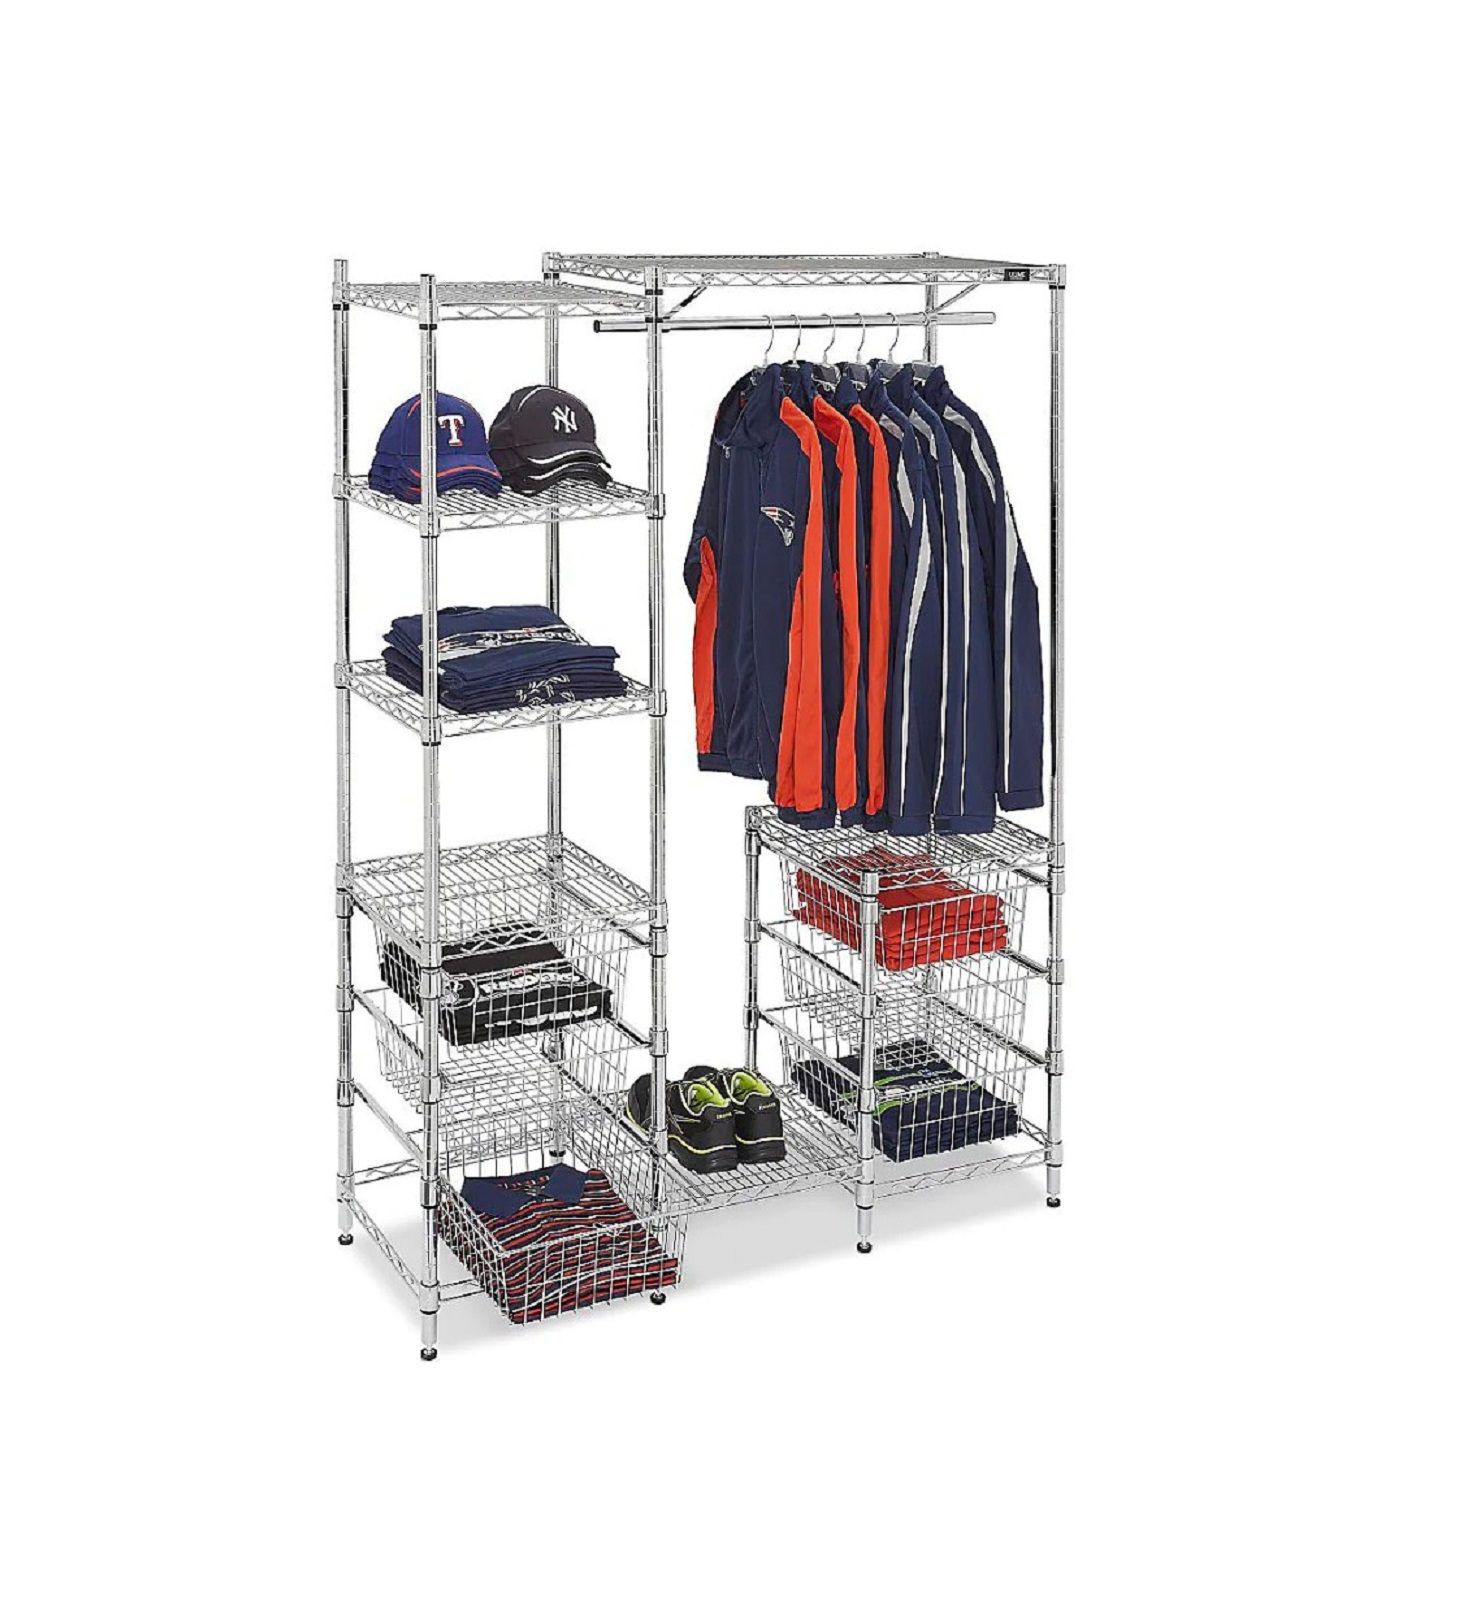
ULINE H-2450 Garment Storage Center With Baskets Installation Guide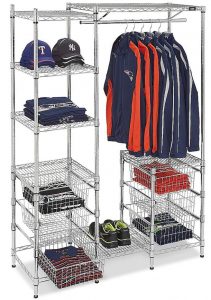
PARTS
- Shelf Support (60 Sets)

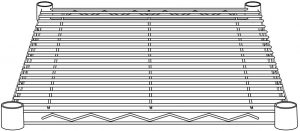
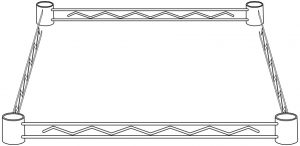
- 18 x 18″ Shelf x 6
- 36 x 18″ Shelf x 1
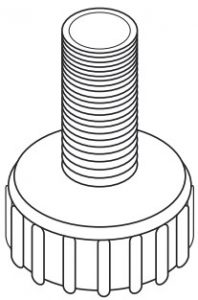
- Self-leveler x 8
- 18 x 18″ Frame x 2
- Garment Rod x 1
- Basket Support Bar (6 Sets)
- Garment Rod Hanger x 2
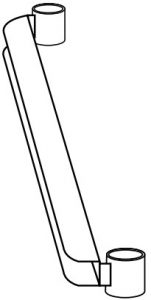
- Tall Post Top with Connector x 6
- Tall Post Bottom x 6
- Short Post x 2
- Pin x 12
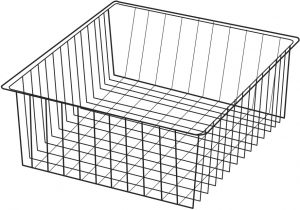
- Basket x 6


ASSEMBLY
POST ASSEMBLY
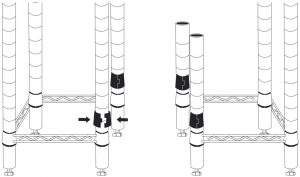
- Connect tall post tops and tall post bottoms to each other by screwing them together. (See Figure 1)
![]() NOTE: Tall post tops have a black plastic cap in the top of the post.
NOTE: Tall post tops have a black plastic cap in the top of the post.
TO INSTALL SELF-LEVELERS
![]() NOTE: If installing casters, do not install self- levelers
NOTE: If installing casters, do not install self- levelers
- Make sure post is positioned as (See Figure 2)
- Insert self-leveler into open end of Tap on ground to slide self-leveler into post.
- Repeat step 2 for all other posts

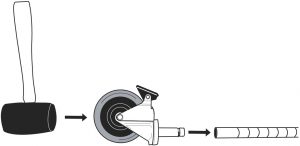
TO INSTALL OPTIONAL CASTERS
- Make sure post is positioned as (See Figure 3)
- Engage the wheel brakes to keep casters from rolling during assembly. Use a rubber mallet to tap caster stem into posts. (See Figure 3)
UNIT ASSEMBLY
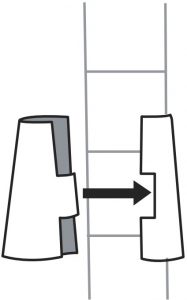
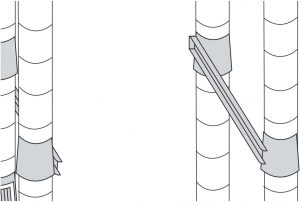
- Snap shelf supports into the very bottom groove of two short and two tall (See Figure 4)
- Slide posts through underside of square frame until it slides firmly over the (See Figure 5)
- Take the other four tall posts, snap shelf supports into the very bottom groove on all four posts. Slide posts through underside of square frame until it slides firmly over the supports. (See Figure 6)
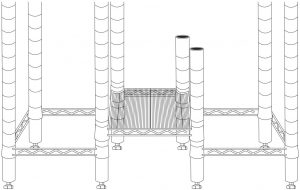
- Position each of the four posts as shown and snap four sets of shelf supports into the groove directly above the square frames of the inner four (See Figure 7)
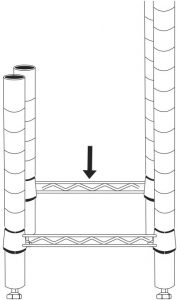
- Slide a square shelf onto the inner four posts until it slides firmly over the supports. (See Figure 8UNIT ASSEMBLY CONTINUED
- Snap four sets of shelf supports onto the outer posts with five grooves And four sets of shelf supports on the inner posts with three grooves visible. (See Figure 9)
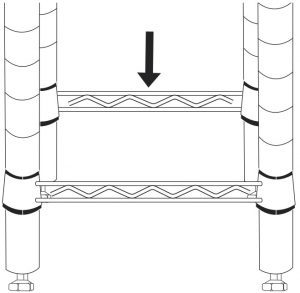
- Slide four basket support bars onto the posts until bars slide firmly over the (See Figure 10) NOTE: Make sure all the basket support bars have the open end facing the same direction, forward.
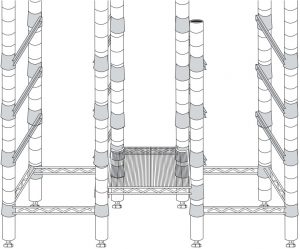
- Snap eight sets of shelf supports onto the posts with five grooves visible on all eight Slide four basket support bars onto the posts until bars slide firmly over the supports. (See Figure 11)
- Repeat step 8 one more (See Figure 11)
- Snap eight sets of shelf supports directly above the last set of basket support
- Slide two square shelves onto the posts until shelves slide firmly over the (See Figure 12)LEFT SIDE OF THE UNIT
- Snap four sets of shelf supports onto the left four posts with twelve grooves visible between the lower
- Slide a square shelf onto the posts until it slides firmly over the (See Figure 13)
- Repeat steps 12 and 13 (See Figure 13)RIGHT SIDE OF THE UNIT
- Snap four sets of shelf supports at the top of the two inner tall posts and two outer (See Figure 14)
- Slide the rectangular shelf onto the posts until it slides firmly over the (See Figure 14)
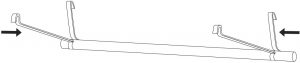
- Slide garment rod hangers onto garment rod. (See Figure 15)
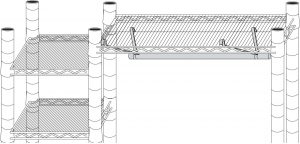
- Slide the longer end of garment rod hangers through the shelf wires. (See Figure 16)
- Hook the short end of garment rod hangers onto the center wire of the shelf. (See Figure 17)
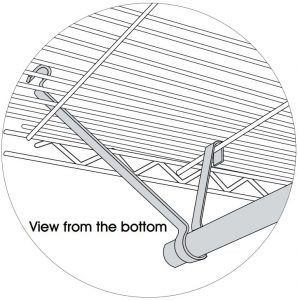
- Pull garment rod back and down, one side at a time, until long end of garment rod hanger snaps into place.
- Once unit is assembled, slide the baskets
- Insert pins in the center of the basket support
 UNIT ASSEMBLY CONTINUED
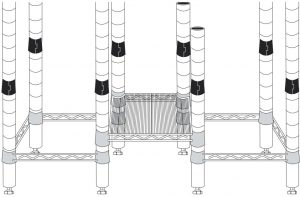
 LEFT SIDE OF THE UNIT
 RIGHT SIDE OF THE UNIT
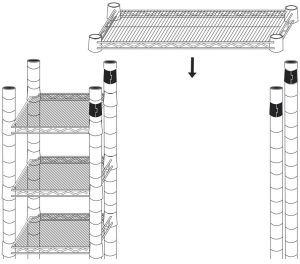
Contact Us
Phone: 1-800-295-5510Web: uline.com

[xyz-ips snippet=”download-snippet”]