![]()
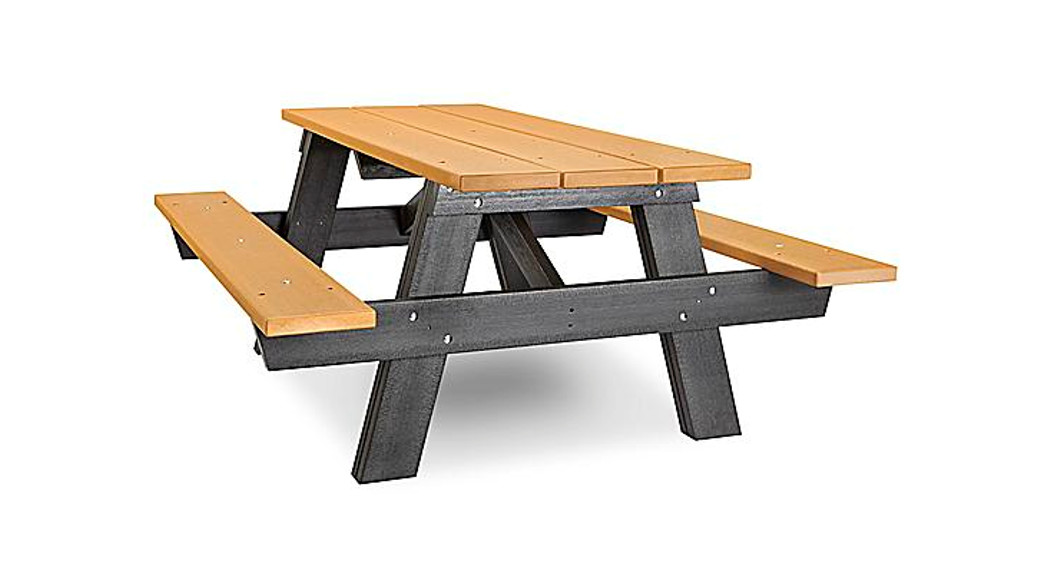
H-2563 6′ A-FRAME PICNIC TABLE
1-800-295-5510uline.com

TOOLS NEEDED

7/16″ (11 mm) Socket Bit |
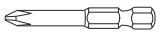
Phillips Head Drill Bit |

Power Drill |

Two Person Assembly (Optional) |
PARTS

ASSEMBLY
 |
 |
 |
 |
![]() NOTE: It is important to keep the lag screws loose throughout the assembly. Tighten during step 8.
NOTE: It is important to keep the lag screws loose throughout the assembly. Tighten during step 8.![]() WARNING! Do not lean on tabletop or seats when assembling.
WARNING! Do not lean on tabletop or seats when assembling.
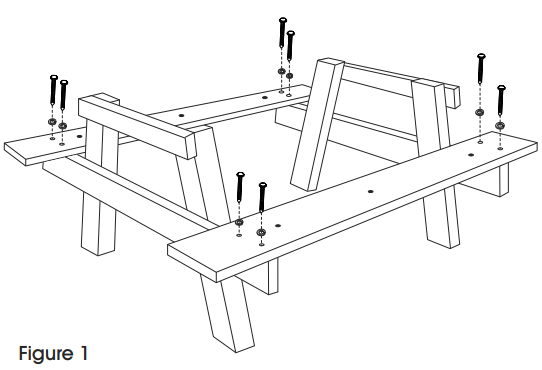
- Verify all parts are present before beginning.
- Place the two A-Frame bases on a flat level surface.
- Place one seat with a metal brace on each side of the A-Frame bases. Align the pre-drilled holes over the middle of the A-Frame base supports. The seat with a metal base should be flush with the end of the support.
- Loosely attach seats with a metal brace to A-Frame base with the 3/” lag screws and washers using the power drill and 7/16″ socket bit (will tighten later in step 8). (See Figure 1)
- Align the middle pre-drilled holes of tabletop boards to the tabletop support (different angle). Attach 31/2′ lag screws and washers using the power drill and 7/16′ socket bit. (See Figure 2)
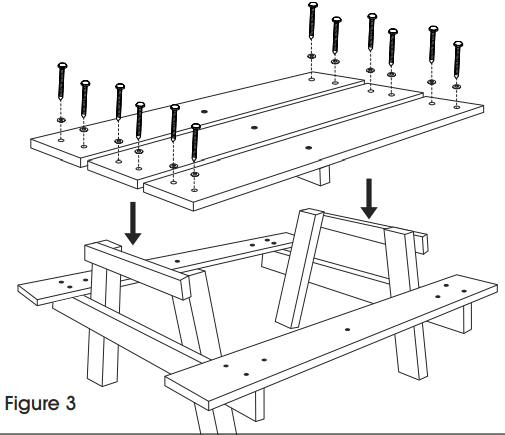
- Place the three tabletop boards on the A-Frame bases. Align the pre-drilled holes with the A-Frame base. Loosely attach tabletop board slats to A-Frame base with the 3/” lag screws and washers using the power drill and 7/16″ socket bit (will tighten later in step 8). (See Figure 3)
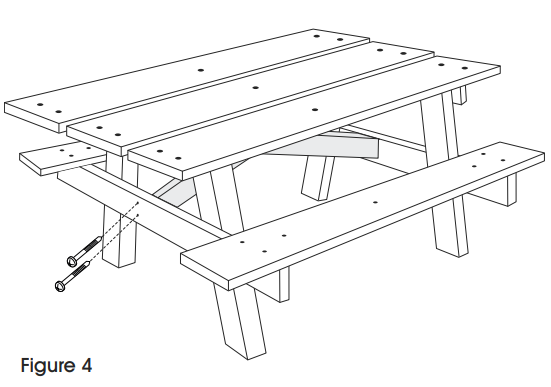
- Loosely drill the two tabletop supports (equal angles) to the underside of the A-Frame table with the tabletop support (different angle) in the middle using 3″ deck screws (will tighten later in step 8). (See Figure 4)
- Make sure the table is square and tighten all lag and deck screws. NOTE: H-6681 Mounting hardware sold separately.
![]()
1-800-295-5510uline.com0721 IH-2563H-2563
[xyz-ips snippet=”download-snippet”]