
ULINE H-2888 6′ Recycled Plastic Bench With Back

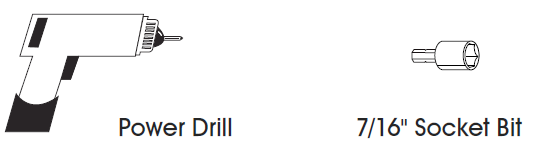
Tools Needed
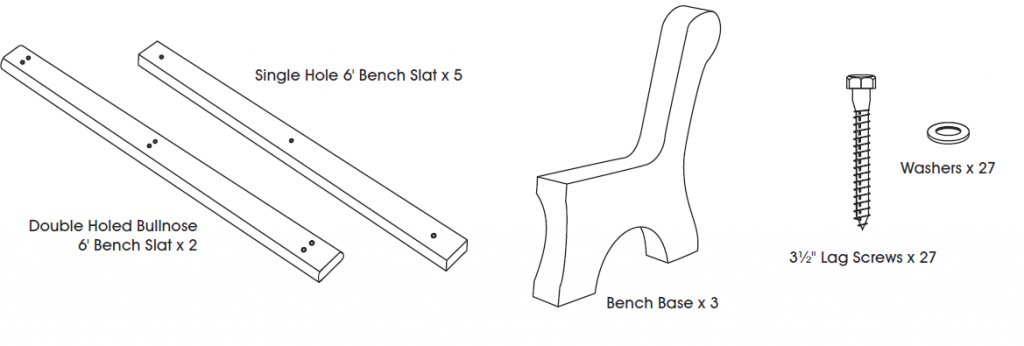
PARTS
ASSEMBLY
NOTE: It is important to keep screws loose throughout assembly. Tighten during step 7.
- Verify all parts are present before beginning.
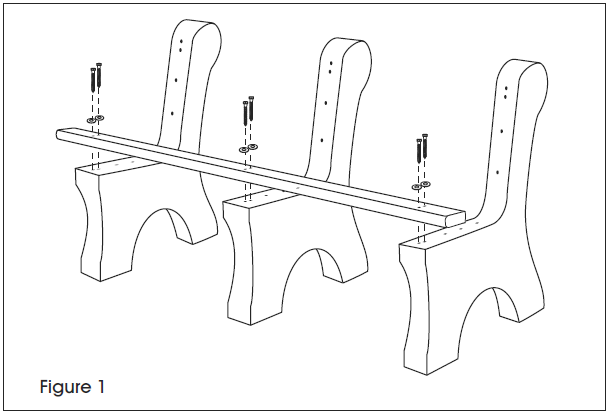
- Place the three bench bases on a flat, level surface.
- Align a double holed bullnose bench slat on the front set of pre-drilled holes on the bench base seat. Loosely attach bench slat to the bench bases with the 3½” lag screws and washers using the power drill and 7/16″ socket bit (will tighten later in step 7). (See Figure 1)
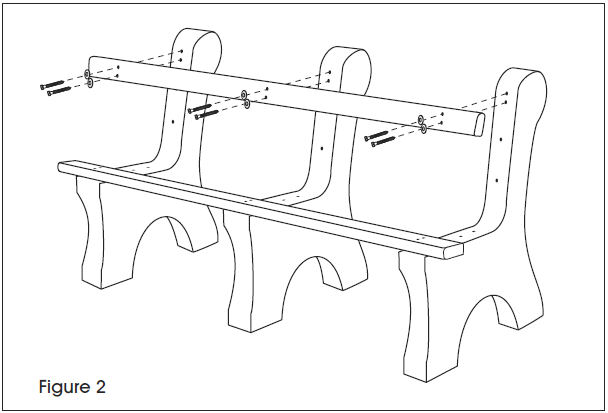
- Align the second double holed bullnose bench slat on the top set of pre-drilled holes on the bench base backrest. Loosely attach double holed bullnose bench slat to the bench bases with the 3½” lag screws and washers using the power drill and 7/16″ socket bit (will tighten later in step 7). (See Figure 2)
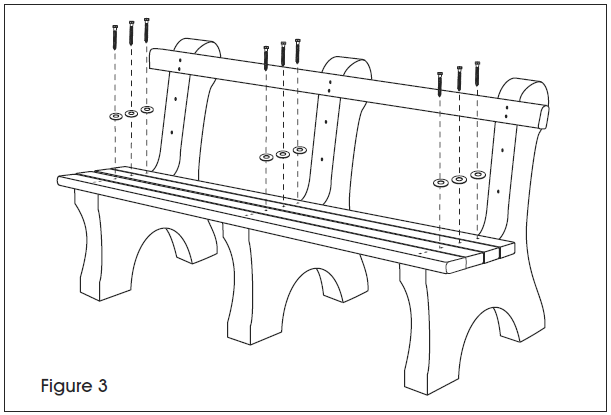
- Align three single hole bench slats on the pre-drilled holes of the bench base seat. Loosely attach the single hole bench slats with the 3½” lag screws and washers using the power drill and 7/16″ socket bit (will tighten later in step 7). (See Figure 3)
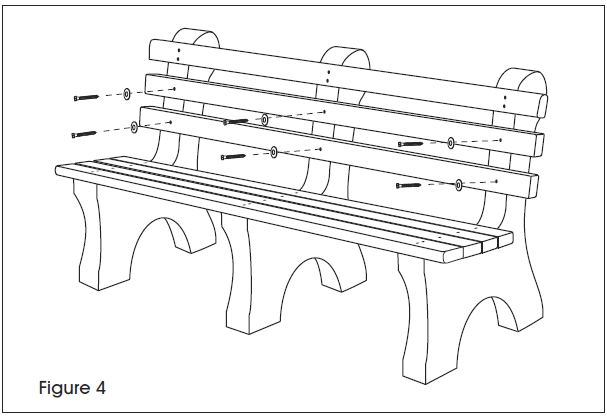
- Align the remaining two single hole bench slats on the pre-drilled holes of the bench base backrest. Loosely attach the single hole bench slats with the 3½” lag screws and washers using the power drill and 7/16″ socket bit (will tighten later in step 7). (See Figure 4)
- Make sure the bench is square and tighten all lag screws.
NOTE: H-2565 Mounting hardware sold separately.

1-800-295-5510 uline.com
[xyz-ips snippet=”download-snippet”]