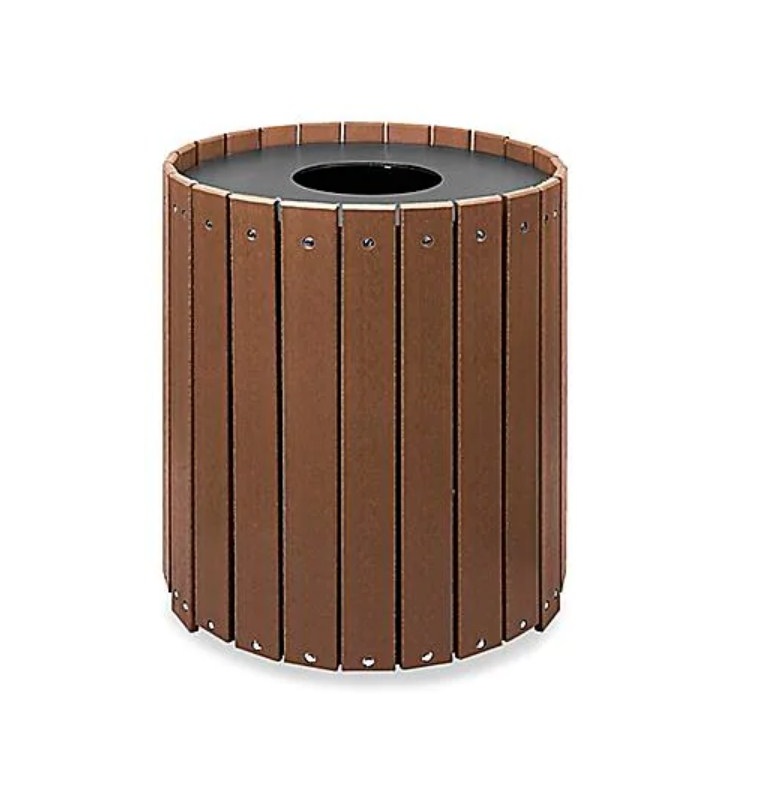
ULINE H-2889 32 Gallon Recycled Round Recetacle Installation Guide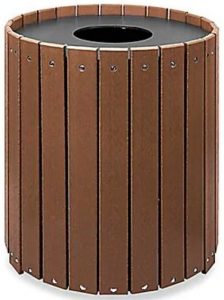
TOOLS NEEDED
- Power Drill

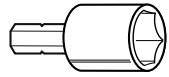
- 7/16″ Socket Bit
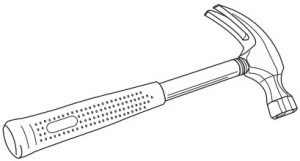
- Hammer (Optional)

PARTS
- 2″ Hex Head Cap Bolt x 56
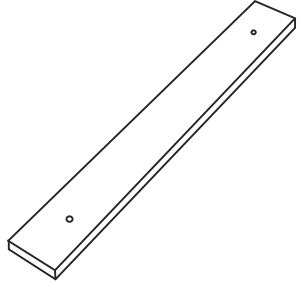
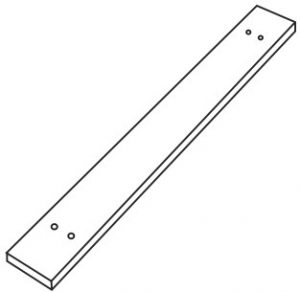
- 32″ Resinwood Slat x 20 (With Two Holes)
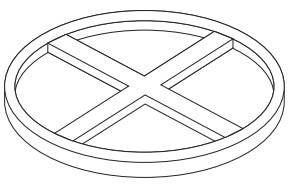
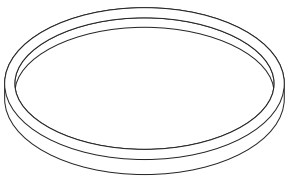
- Bottom Ring x 1
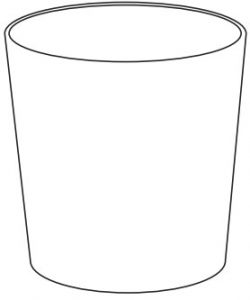
- 32 Gallon Rigid Liner x 1
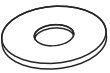
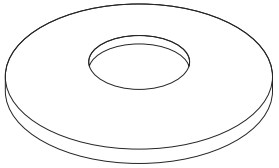
- Flat Washer x 56
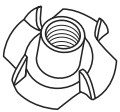
- 1/4″ Tee Nut x 56
- 33″ Resinwood Slat x 4 (With Four Holes)
- Top Ring x 1
- Lid x 1

ASSEMBLY
- Verify all parts are present before beginning. NOTE: Before starting, note that four resinwood slats are longer (33″) than the rest to lift can off the ground. These must be evenly spaced apart with shorter (32″) slats between them.
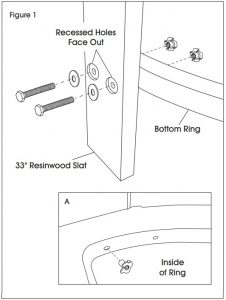
- Take the bottom ring and begin with one of the two longer 33″ resinwood slats, which have two holes on top and two on bottom of plank.NOTE: The slats have a top and bottom. The top edge is beveled, while the bottom edge is flat. Recessed holes need to face outward.
- Place the 33″ resinwood slat on outside of the bottom Place hex head cap bolts and washers through the slat then through the pre-drilled holes in the bottom resinwood ring.
- Take 1/4″ tee nuts and align with holes (prongs facing into the inside of the bottom resinwood ring) and tighten. (See Figure 1) NOTE: Place round portion of the nut inside pre-drilled holes on ring. (See Figure 1A) Apply pressure to nut on inside ring while drilling bolt to prevent nut from popping out. NOTE: Do not over-tighten. User still must attach resinwood slats to top ring.
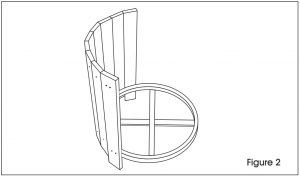
- Fasten 5 of the 32″ resinwood slats then fasten another 33″ resinwood (See Figure 2)
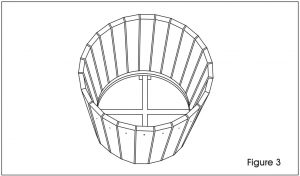
- Repeat this process with each resinwood slat until all resinwood slats have been attached to the bottom ring. (See Figure 3)
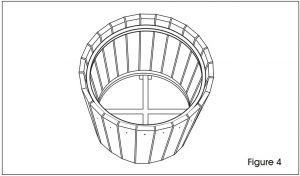
- Using the same directions listed in steps 2, 3 and 4, line up the top ring with the resinwood slats and repeat the process until all resinwood slats have been attached to the top ring. You may now tighten all bolts remembering to make sure the can is put together evenly. (See Figure 4)
- Place the rigid liner inside the can and place the plastic lid on top. (See Figure 5)

Contact US
Phone: 1-800-295-5510Web: uline.com

[xyz-ips snippet=”download-snippet”]