
ULINE H-2920, H-2921, H-2922, H-4468, H-4469 Mail Sorter Installation Guide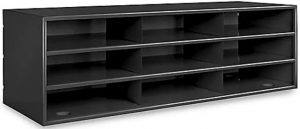
TOOLS NEEDED
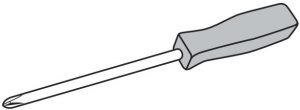
- Phillips Screwdriver

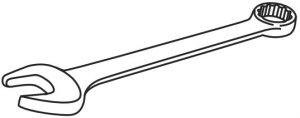
- 3/8″ Wrench
TOOLS NEEDED FOR OPTIONAL WALL MOUNTING
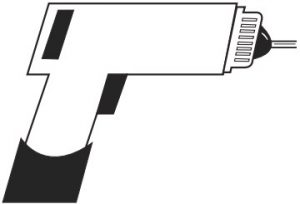
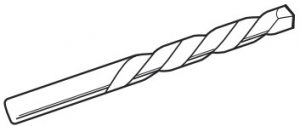
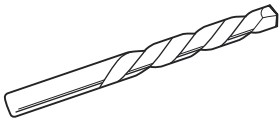
- Power Drill
- 1/4″ Drill Bit
- 1/16″ Drill Bit
PARTS
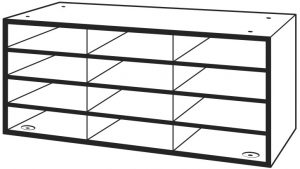
- Mail Sorter Unit
- Rubber Foot x 4
- 1/2″ Bolt x 2
- 3/8″ Bolt x 2
- Nut x 4
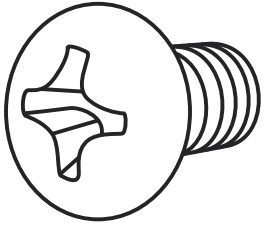
- Screw x3 (Included) (Optional)
- Drywall Anchor x3 (Included) (Optional)


ASSEMBLY
- To prevent sliding or scratching when mounting an individual rack directly on the floor or on a desk, attach self-adhesive rubber feet to four bottom corners. (See Figure 1)
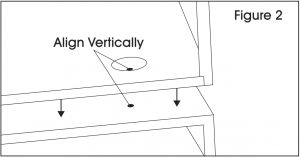
- When combining modular units to construct a larger rack, place individual racks on top of each other, making sure to line up the mounting holes located on the top and bottom of each unit. (See Figure 2) NOTE: For H-4468, stack two 15-compartment mail sorters on top of each other. For H-4469, stack three 15-compartment mail sorters on top of each other.
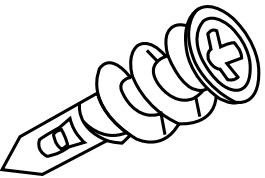
- Insert four bolts provided into recessed mounting holes. Use the 1/2″ bolts for the rear holes and the 3/8″ bolts for the front holes. Attach four nuts provided and tighten securely using Phillips screwdriver and 3/8″ wrench. Repeat this procedure until all racks are connected. (See Figure 3)


WALL MOUNTING (OPTIONAL)
![]() NOTE: Mounting hardware is intended for drywall.
NOTE: Mounting hardware is intended for drywall.
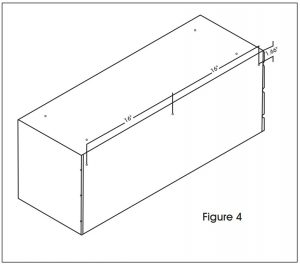
- Three mounting holes, located on 16″ centers, are on the back of the mail sorter. (See Figure 4)
- On the wall where the cabinet is to be mounted, mark three points 16″ apart in a level, straight line. NOTE: If points are located on a wall stud, you will not use the drywall anchors. Otherwise, anchors must be used.
- Pre-drill the three holes using a 1/4″ drill bit for the drywall anchors or 1/16″ drill bit if using screws only.
- Insert the drywall anchor into 1/4″ pre-drilled hole and screw in tightly.
- Insert a screw (into the anchor, if used, or directly into pre-drilled hole) and turn screw until almost tight, leaving a 1/16″ gap. Repeat this procedure for each hole
- Hang the cabinet on the wall, ensuring that all three holes are mounted on the screws.
- Once mounted, tighten the screws by reaching in through the front of the mail sorter.
Contact Us
Phone: 1-800-295-5510Web: uline.com
[xyz-ips snippet=”download-snippet”]