![]()
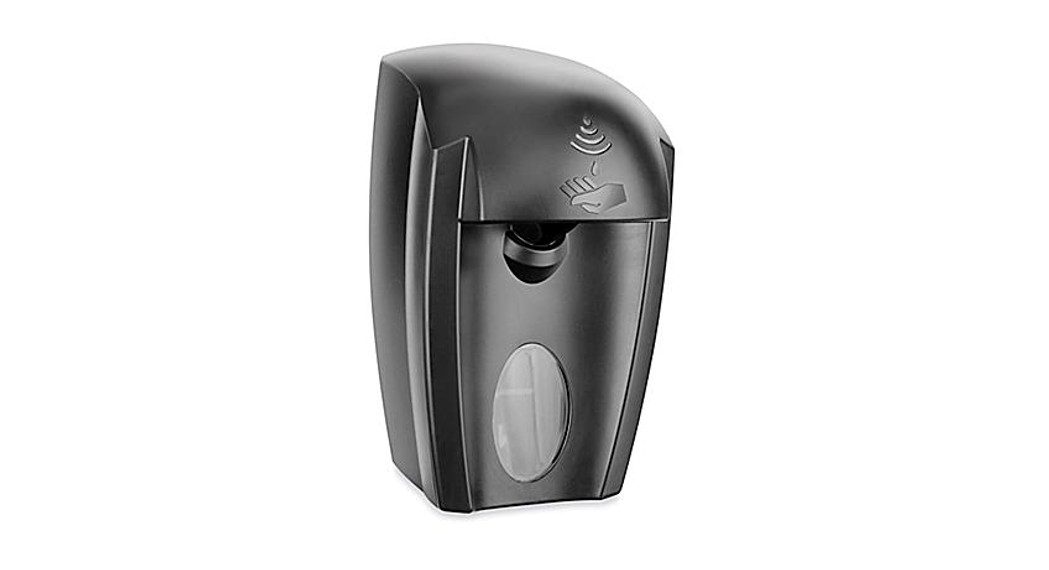
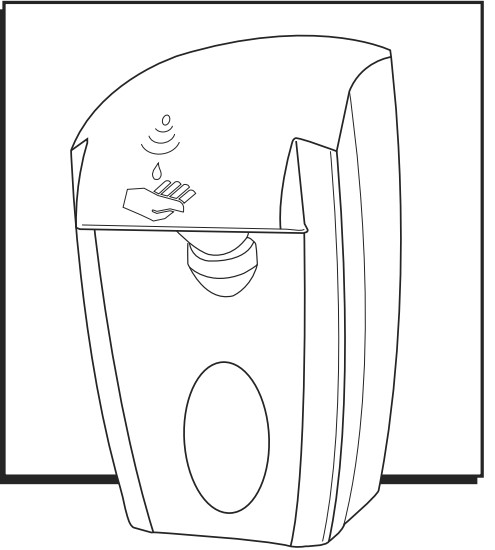
H-3415 AUTO FOAMING SOAP DISPENSER1-800-295-5510uline.com
TOOLS NEEDED

INSTALLATION
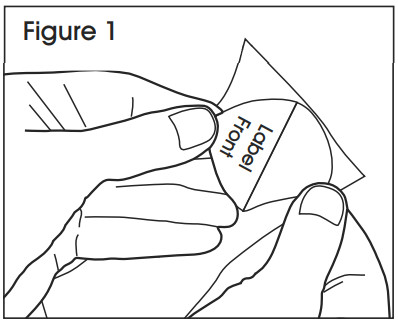
APPLYING DISPENSER LABEL
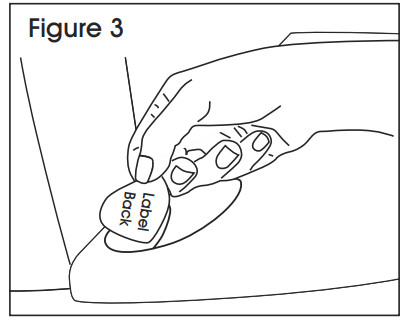
- Peel label from backing. The adhesive is on the FRONT of the label. (See Figure 1)

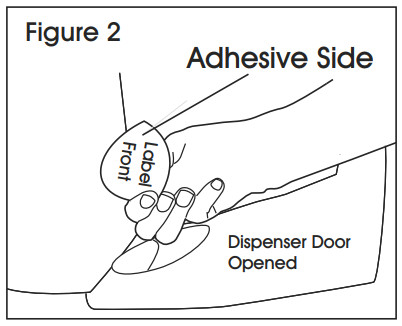
- Open dispenser. Place label sticky side down on the INSIDE of the clear oval window. (See Figures 2-3)
- Close front of the dispenser. (See Figure 4)

MOUNTING INSTRUCTIONS
For most applications, tape mounting is adequate. For porous, textured or wallpapered surfaces, screw mounting or a combination of screw and tape mounting is recommended.
TAPE MOUNTING
- Important! The dispenser opens to the front. For ideal placement, the dispenser should be mounted 3″ above any countertop, fixture or obstruction, and 2″ below any cabinet, fixture or obstruction. (See Figure 5)
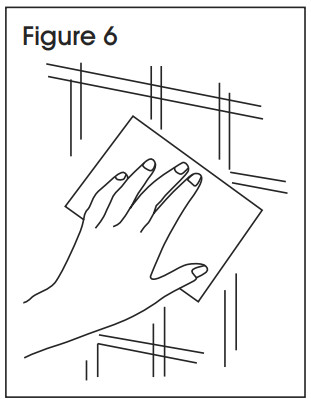
- Clean the mounting surface thoroughly using any type of general-purpose cleaner and a paper towel. (See Figure 6)NOTE: Be certain the surface is completely dry before proceeding.
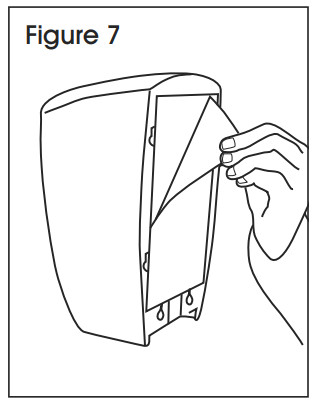
- Remove the protective backing from the tape pad on the back of the dispenser. Make certain that the mounting surface is clean and dry. Carefully position the dispenser to the desired location and press firmly to the surface for 30 seconds. (See Figure 7)
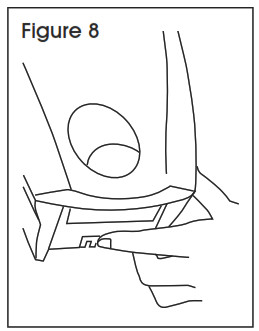
- Open the dispenser by pushing up on the release latch. The latch is on the bottom back edge of the dispenser in the center. (See Figure 8)NOTE: See “Keyed Locking Option” if you would like to convert your dispenser to a keyed system.
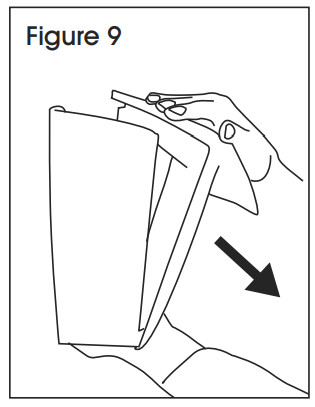
- While pushing the release latch, open the dispenser by placing your other hand on the top, and guiding the front cover forward. Apply pressure from inside the dispenser over the taped area. (See Figures 9-10) NOTE: Allow dispenser to remain empty for a minimum of 8 hours before loading.


SCREW MOUNTING
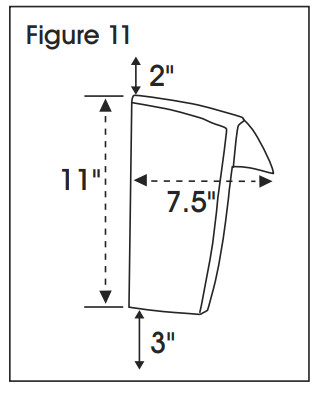
- Important! The dispenser opens to the front. For ideal placement, the dispenser should be mounted 3″ above any countertop, fixture or obstruction, and 2″ below any cabinet, fixture or obstruction. (See Figure 11)
- Clean the mounting surface thoroughly using any type of general-purpose cleaner and a paper towel. (See Figure 12) NOTE: Be certain the surface is completely dry before proceeding.
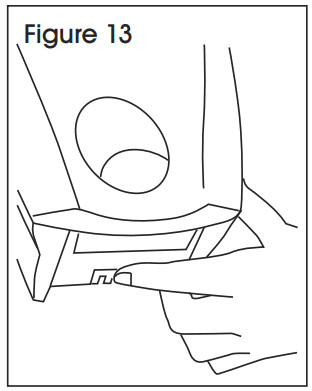
- Open the dispenser by pushing up on the release latch. The latch is on the bottom back edge of the dispenser in the center. (See Figure 13)NOTE: See “Keyed Locking Option” if you would like to convert your dispenser to a keyed system.
- While pushing the release latch, open the dispenser by placing your other hand on the top, and guiding the front cover forward. (See Figure 14)
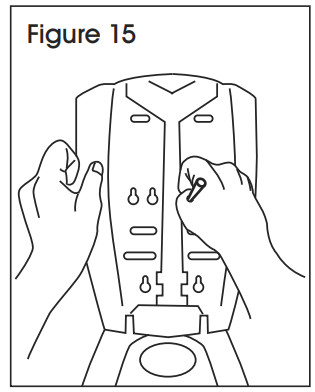
- Hold the dispenser against the wall in the proper position and mark the appropriate slots. Drill holes in marked slots. Attach the dispenser to the wall with the wall anchors and screws provided. You may choose to remove a portion of the protective backing from the tape to help hold the dispenser in position as you complete the installation. (See Figure 15)


KEYED LOCKING OPTION
For added security, your new foam dispensing system has a KEYED locking option.
![]() NOTE: The dispenser has been shipped to you in the manual, NO KEY REQUIRED mode. If you wish to convert your dispenser to the KEYED locking mode, please follow the instructions. The conversion can be completed before or after the installation.
NOTE: The dispenser has been shipped to you in the manual, NO KEY REQUIRED mode. If you wish to convert your dispenser to the KEYED locking mode, please follow the instructions. The conversion can be completed before or after the installation.
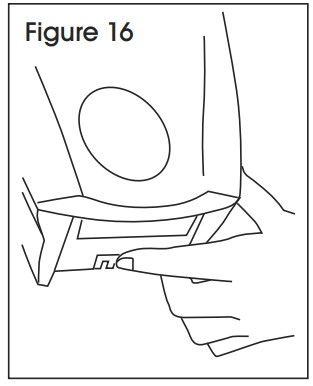
- Open the dispenser by pushing up on the release latch. The latch is on the bottom back edge of the dispenser in the center. While pushing the release latch, open by placing your other hand on the top, and guiding the front cover forward. (See Figure 16)
- From the INSIDE of the dispenser, insert the key into the back of the dispenser in the key slot and push until the latch piece is ejected from the bottom of the dispenser. (See Figure 17)
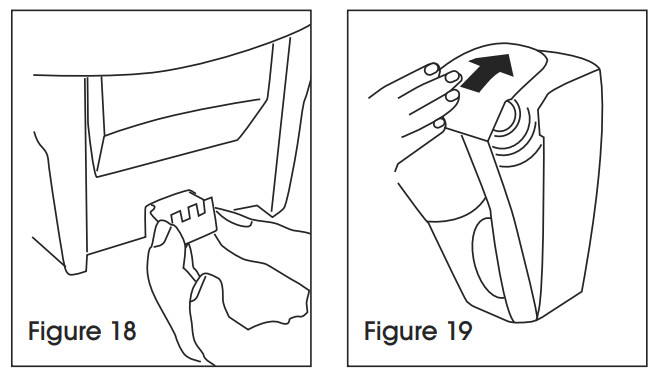
- Re-install the latch piece in the bottom of the dispenser with the SLOTTED SIDE AWAY from the Figure 17 wall and toward the front of the dispenser. Push the latch piece into the dispenser until it snaps into place. (See Figure 18)
- To close the dispenser, place your hand on top or front of the dispenser below the push pad, and push up on the cover until it is latched. (See Figure 19) NOTE: DO NOT CLOSE BY PUSHING ON THE PUSH PAD!
- To OPEN, insert key into slots of the release latch on the bottom of the dispenser and push the key up. (See Figure 20) Place your other hand on top and guide the front cover forward. (See Figure 21)


![]() NOTE: The dispenser can be converted back to the NO KEY REQUIRED mode. Complete steps #2 and #3 and insert the latch piece with the SLOTTED SIDE TOWARD the wall.
NOTE: The dispenser can be converted back to the NO KEY REQUIRED mode. Complete steps #2 and #3 and insert the latch piece with the SLOTTED SIDE TOWARD the wall.
LOADING THE DISPENSER
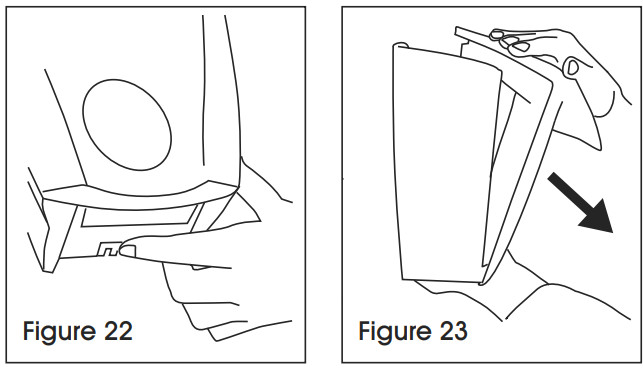
- Open by pushing up on the release latch (use key if you have converted to the keyed locking mode). The latch is on the bottom back edge in the center. (See Figure 22) While pushing the release latch, open by placing your other hand on the top, and guide the front cover forward. (See Figure 23)
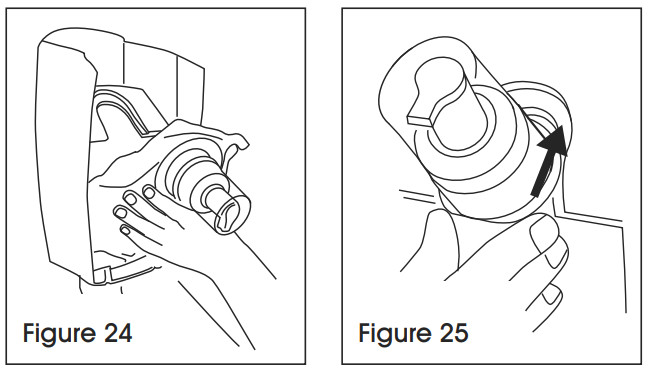
- Hold bag with label towards back. Load bottom of bag into the dispenser. (See Figure 24) Slide the bag collar over the guide and push. Be certain the bag collar is completely inserted in the collar guide. (See Figure 25)
- Remove the protective overcap from the pump. (See Figure 26) To close the dispenser, place your hand on top or front of the dispenser below the push pad, and push up on the cover until it is latched. (See Figure 27)
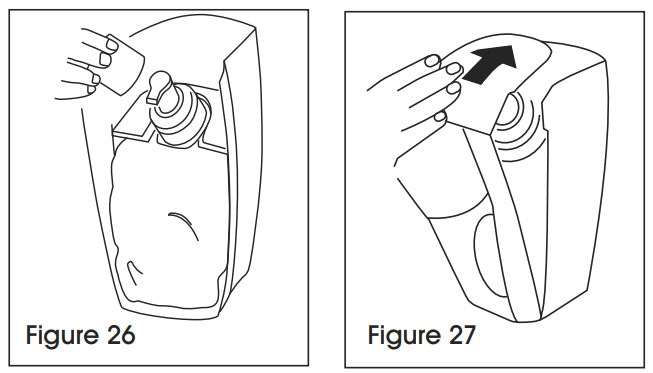
![]() NOTE: DO NOT CLOSE BY PUSHING ON THE PUSH PAD!
NOTE: DO NOT CLOSE BY PUSHING ON THE PUSH PAD!
MAINTENANCE
CHANGING THE BATTERIES
- 6 AA batteries required
- No screwdriver needed
![]() NOTE: Batteries need changing when sensor light flashes RED.
NOTE: Batteries need changing when sensor light flashes RED.
- Open the dispenser by pushing up on the release latch (use key if you have converted to the keyed locking mode). The latch is on the bottom back edge in the center. (See Figure 28)
- While pushing the release latch, open the dispenser by placing your other hand on the top, and guide the front cover forward. (See Figure 29)
- Flip up the cover of the battery compartment in the upper right side. (See Figure 30)
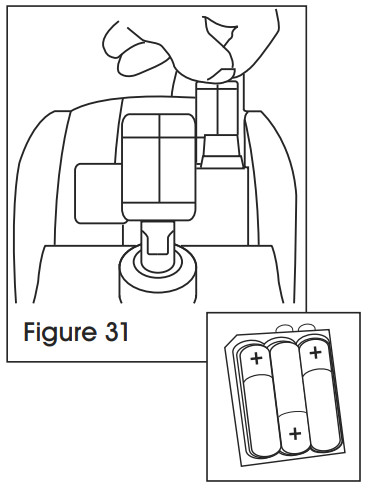
- Unhook battery terminals and remove the battery pack. Replace all 6 AA batteries with new batteries. (See Figure 31)
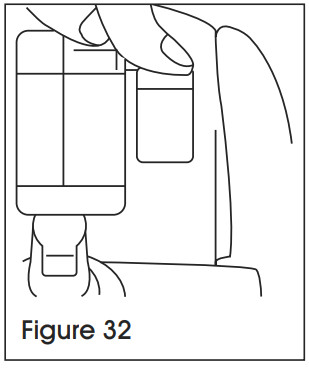
- Return battery pack to space and attach battery terminals. (See Figure 32)
- Close dispenser. (See Figure 33)


![]()
1-800-295-5510uline.com
[xyz-ips snippet=”download-snippet”]