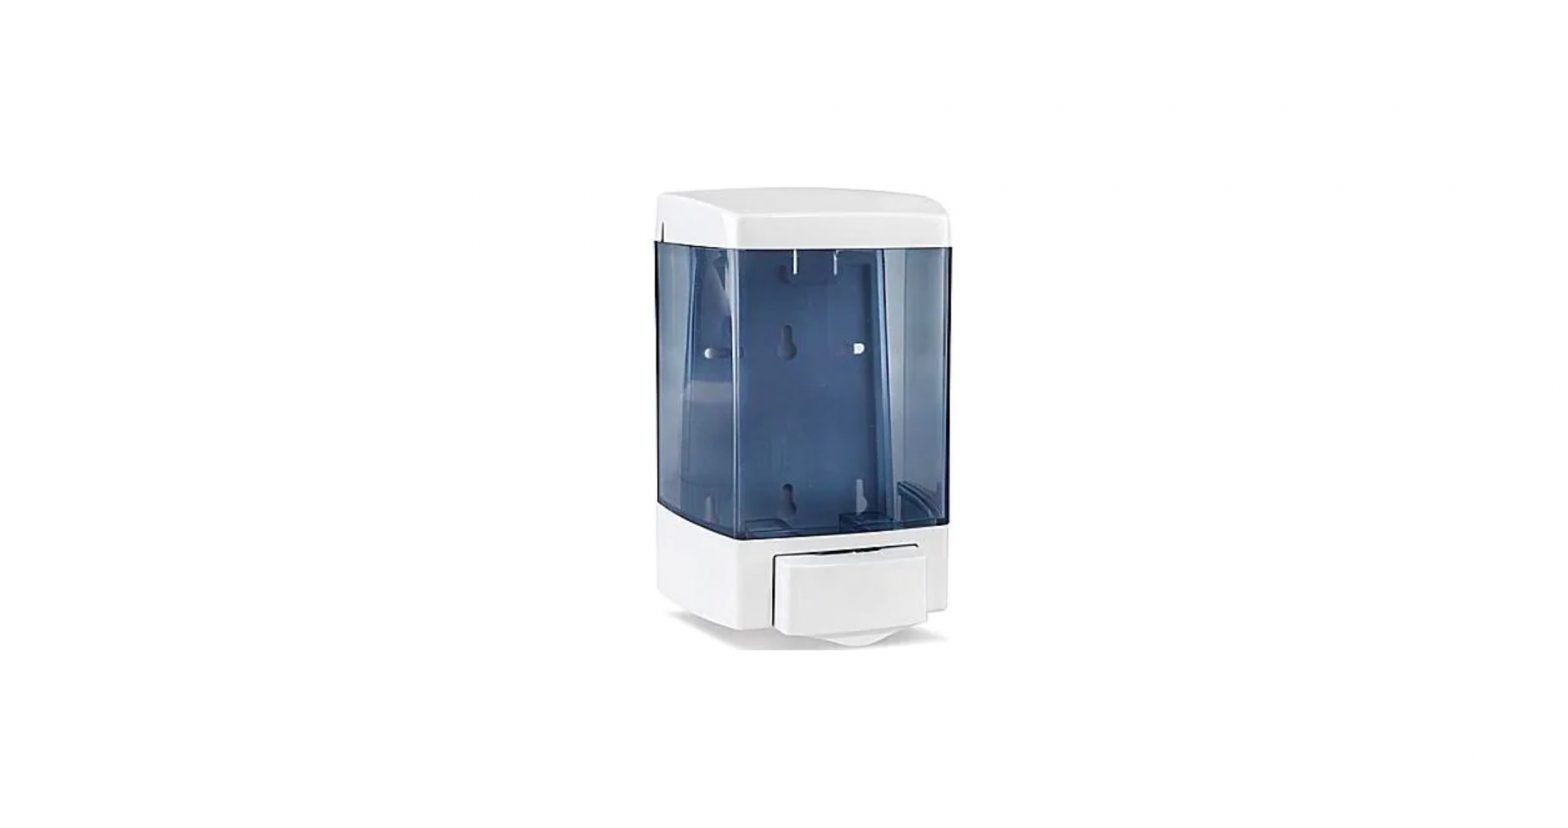
ULINE H-3476 Bulk Soap Dispensers Installation Guide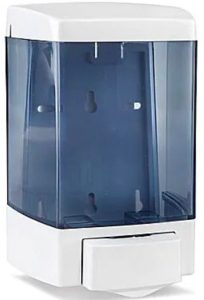
INSTALLATION
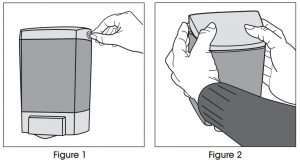
OPENING THE DISPENSER
- To open the dispenser lid, insert key into slot at back, right side of lid and push in on key. (See Figure 1)
- Back lid will pop off. (See Figure 2)

GENERAL MOUNTING INSTRUCTIONS
- Use the included tape on glazed tile, painted metal or unpainted metal walls. Tape will not perform satisfactorily if wall surface is porous like brick or wood.
- On all other wall surfaces, use screws and anchors (not included) or other appropriate hardware based on surface type.
- Locate dispenser above a sink or counter. Recommend never locating where spillage can fall on floor creating hazardous conditions.
- Installer will be held responsible for proper installation.
- To be in compliance with ADA regulations, the dispenser should be mounted no more than 48″ from the ground.
MOUNTING WITH DOUBLE-SIDED TAPE
- Thoroughly clean wall surface and let dry completely. For silicone build-up, use a pumicetype cleaner or grout cleaner to clean the surface.
- Peel off paper from back of tape (supplied). Press dispenser firmly to the wall and hold for at least 30 seconds to make sure tape has completely adhered to the wall. (See Figure 3)
- Wait 24 hours before filling with soap to ensure that the tape has completely adhered to the wall before adding weight.
MOUNTING WITH SCREWS AND ANCHORS (NOT INCLUDED)
- Remove lid (as described previously). Push latch out and detach dispenser from back plate. (See Figure 4)
- Using the back plate as a template, mark hole locations on wall.
- Drill 3/16″ diameter holes for anchors and screws or other hardware. Attach dispenser to back plate and replace lid.

FILLING
FILLING INSTRUCTIONS
CAUTION! For dispenser to work properly, use foam soap only for foaming soap dispensers and liquid soap only for liquid soap dispensers. Foam soap dispensers handle foam soaps from 0-14 centipoise (cps).
- Remove lid (as described previously).
- Fill with appropriate soap and replace lid.
- Priming the dispenser will take 6-10 strokes.
DISCLAIMER: Inappropriate soap use may result in ineffective dispenser operation or clogging. Soap containing any type of scrubbers will cause the dispenser to leak or eventually fail.
MAINTENANCE
MAINTENANCE INSTRUCTIONS
It is important to clean and maintain the dispenser on a regular, scheduled basis. Failure to do so can result in dispenser malfunction.
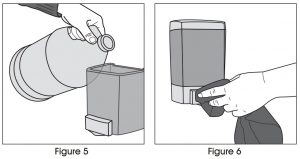
- Open dispenser. Flush tank and pump mechanism with warm water to remove residue and contaminate. Refill with new soap and replace lid. (See Figure 5)
- Cleaning all touch-points on dispenser with a disinfectant should be part of a regular cleaning schedule. (See Figure 6)
- Periodically give the dispenser an overall cleaning. All internal and external parts should be cleaned thoroughly.
![]() CAUTION! Never use abrasive cleaners when cleaning soap dispensers.
CAUTION! Never use abrasive cleaners when cleaning soap dispensers.
contact: 1-800-295-5510Website: uline.com
References
[xyz-ips snippet=”download-snippet”]