ULINE H-3542 Rubbermaid Continuous Air Freshener Dispenser Installation Guide
TOOLS NEEDED
- Phillips Screwdriver

- Drill
- 3 or 6mm Drill Bit (Depends on mounting method)
- Hammer


PARTS
- Wall Anchor x 2
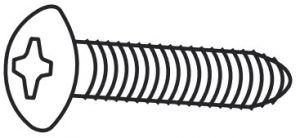
- Screw x 2
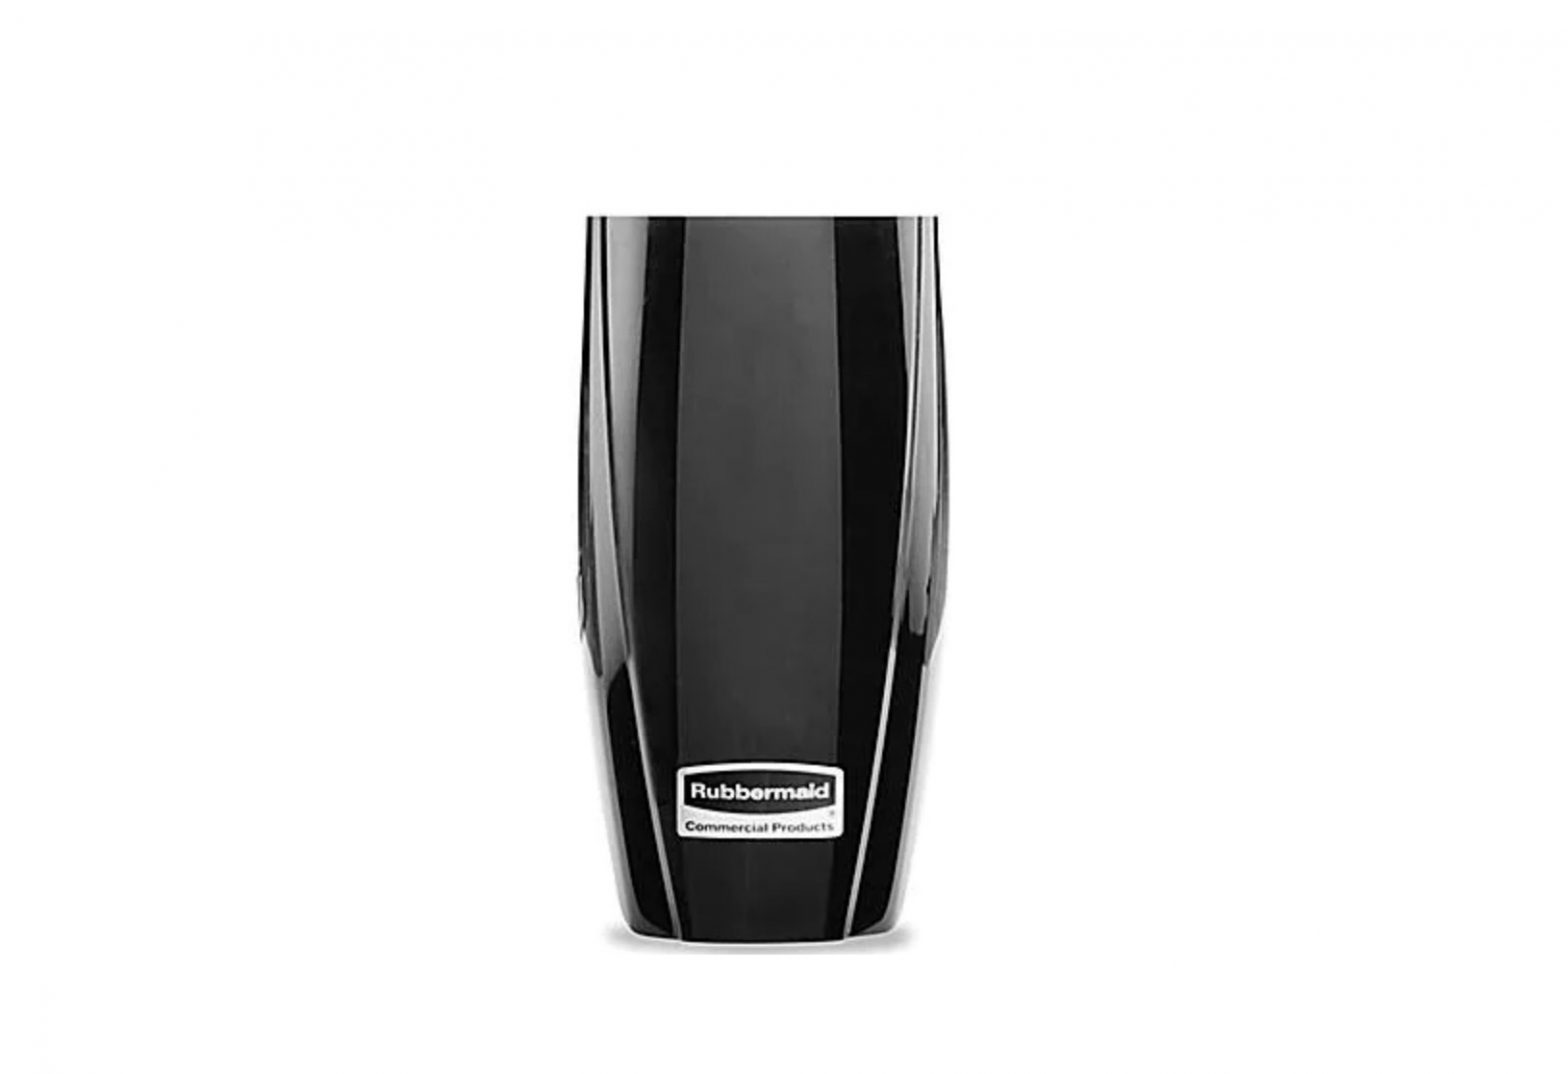
- Dispenser x 1
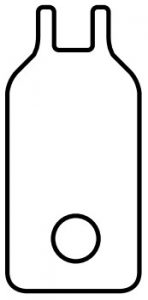
- Dispenser Key x 1

MOUNTING
Position dispenser where moving air will disperse fragrance and neutralizer throughout the entire area, approximately 3-6′ from entrance. Recommended mounting height is 6′ from the floor.
NOTE: This product is designed for commercial restrooms and is effective in areas approximately 20 x 30′ with a ceiling height of 10′ (1-4 stall restrooms, up to 6,000 cubic feet).
MOUNTING WITH ADHESIVE STRIP
- Peel one side of adhesive strip and adhere to the rear side of the dispenser. (See Figure 1)
- Peel other side of adhesive strip and adhere to wall at desired location. (See Figure 1)

MOUNTING WITH SCREWS
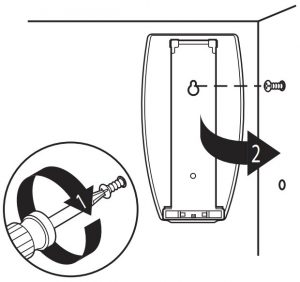
- Unlock dispenser cover by inserting prongs of key into two white square holes in bottom of dispenser. (See Figure 2)
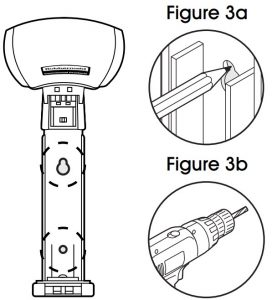
- Hold the opened dispenser to the wall and mark screw holes with a pen or pencil. Only mark top portion of the top hole. (See Figure 3a)
- Using a 3mm drill bit, drill holes into wall at marked locations. (See Figure 3b)
- Screw top screw in about halfway and stop. Guide screw through top hole in dispenser and let dispenser drop down so screw sits in the narrow part of the top hole. (See Figure 4)
- Finish screwing in top screw and then screw in bottom screw completely. (See Figure 5)


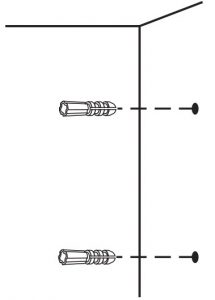
MOUNTING WITH SCREWS AND WALL ANCHORS
- Unlock dispenser cover by inserting prongs of key into two white square holes in bottom of dispenser. (See Figure 2)
- Hold the opened dispenser to the wall and mark screw holes with a pen or pencil. Only mark top portion of the top hole. (See Figure 3a)
- Using a 6mm drill bit, drill holes into wall at marked locations. (See Figure 3b)
- Insert wall anchors into drilled holes. Use a hammer if necessary. (See Figure 6)
- Screw top screw in about halfway and stop. Guide screw through top hole in dispenser and let dispenser drop down so screw sits in the narrow part of the top hole. (See Figure 4)
- Finish screwing in top screw and then screw in bottom screw completely. (See Figure 5)
LOADING
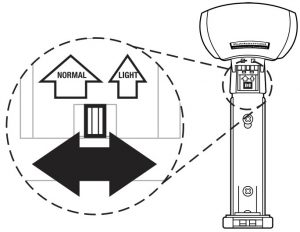
- With dispenser open, set dispenser setting to “Light” or “Normal.” Use “Light” for a 1-2 stall restroom and “Normal” for a 3-4 stall restroom. (See Figure 7)
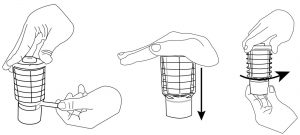
- Remove pull strap completely from refill cartridge. (See Figure 8)NOTE: Keep refill upright after opening.
- Depress cage into base by pushing down and twisting, eliminating space previously filled by pull strap. (See Figure 8)
- Insert refill into dispenser and close cover. (See Figure 9)

Contact: 1-800-295-5510Website: uline.com
[xyz-ips snippet=”download-snippet”]