
ULINE H-3760 H-Unit Slatwall Gondola Display User Guide
TOOLS NEEDED
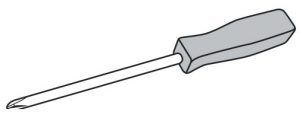
- Phillips Screwdriver R

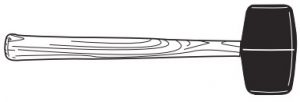
- Rubber Mallet (Optional)
PARTS
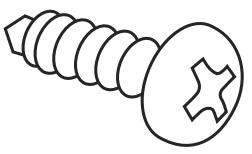
- Confirmat Screw x 8
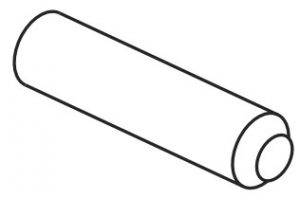
- Camlock Pin x 21
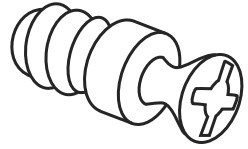
- Pan Head Screw x 24
- Caster x 6
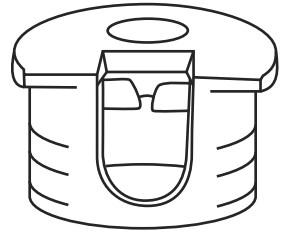
- Camlock x 21
- Dowel Pin x 4
- Screw Cap x 8
- Kick Base Top x 1
- Short Kick Base Board x 2
- Unfinished Kick Base Board x 1
- Center Panel x 2
- Long Kick Base Board x 2
- Wing Panel x 2


ASSEMBLY
KICK BASE ASSEMBLY
- Set kick base top on a protective surface with the underside facing up.
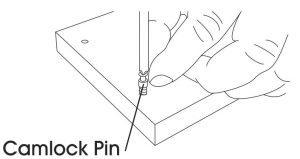
- Using a screwdriver, install camlock pins into predrilled holes in the kick base boards and the underside of the base top. (See Figure 1)
- Install camlocks into kick base boards by tapping them into position with the rubber mallet. (See Figure 2)NOTE: Ensure the opening of the camlock is facing outward, and that the camlock is fully seated into position.
- Match kick base boards so that each corner has camlock pins set into the camlocks of the adjacent board. Boards of the same length should be parallel to each other. The shortest, unfinished board should be placed in the center. (See Figures 3 and 4)
- Insert screwdriver into camlock and turn clockwise to lock. Repeat for all camlocks. (See Figure 5)NOTE: Tilt screwdriver at an angle while twisting to better lock the camlocks.
 NOTE: Ensure the opening of the camlock is facing outward, and that the camlock is fully seated into position.
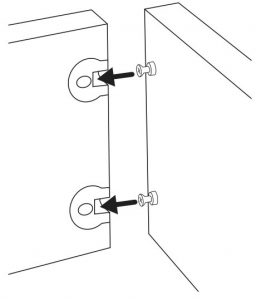

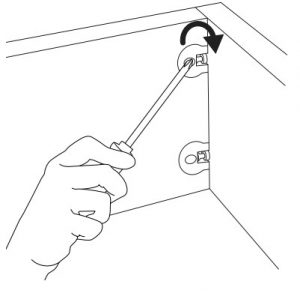 NOTE: Tilt screwdriver at an angle while twisting to better lock the camlocks.
CASTERS INSTALLATION (OPTIONAL)
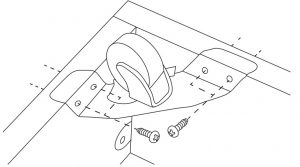
- Position casters into the four outer corners and twointo the center corners, with one caster on either side of the center kick base board. (See Figure 6)
- To attach casters, screw four pan head screws percaster through holes in caster and into the predrilled holes inside the kick base boards. (See Figure 7)

CENTER AND WING PANEL INSTALLATION
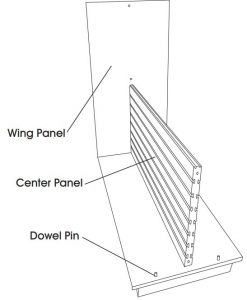
- Flip the kick base right side up.
- Set the four dowel pins into the predrilled holes on the base top.NOTE: Two people are recommended for steps 3 through 6.
- Set one wing panel onto two of the dowel pins. (See Figure 8)
- Set one center panel onto the base top and attach to wing panel by screwing confirmat screws through pre drilled holes. Tighten screws with Phillips screwdriver. (See Figure 8)
- Set the second tier of the center panel on top of the first panel and secure to wing panel the same as step 4.
- Set second wing panel onto dowel pins and secure to center panels by screwing confirm at screws through pre drilled holes. Tighten screws with Phillips screwdriver. (See Figure 9)
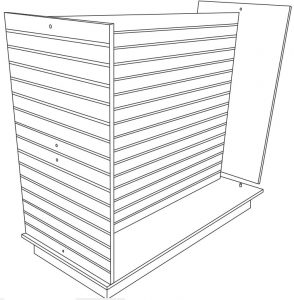
- To cover the exposed screw heads, peel the decorative screw caps to expose the sticky back, and carefully center and cover the screw heads.NOTE: A black magic marker can be used to touch up any dings or nicks to the kick base boards. Clean with soft rags and water.
Contact: 1-800-295-5510 Website: uline.com
References
[xyz-ips snippet=”download-snippet”]