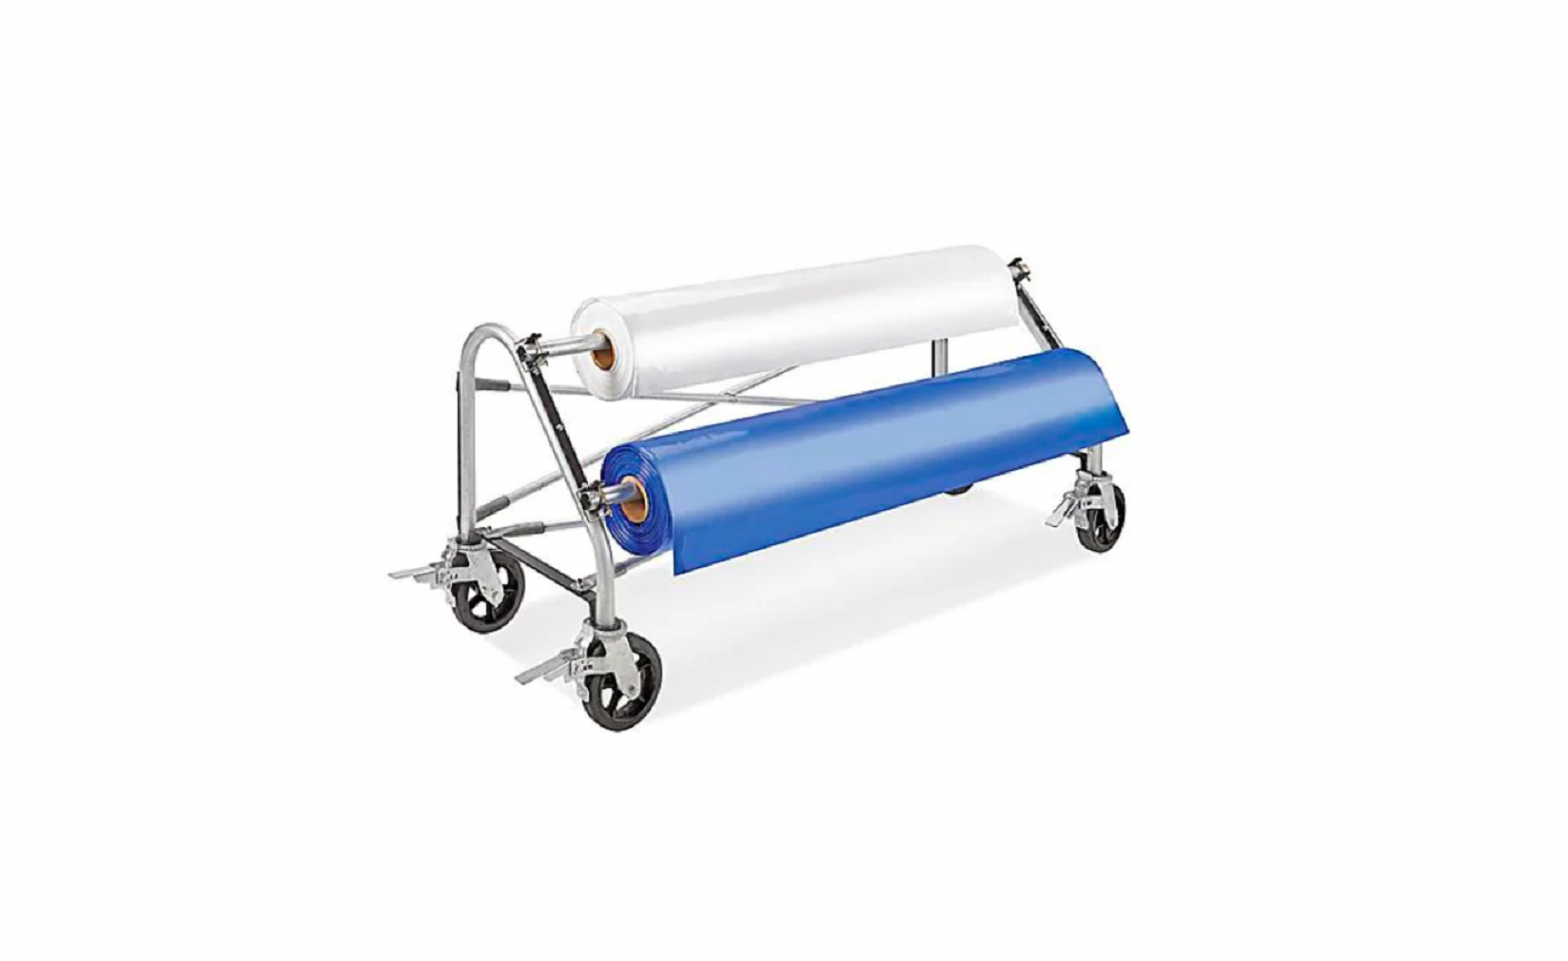
ULINE H-5121 Marine Shrink Cart Installation Guide
TOOLS NEEDED
3/8″ Combination Wrench or Socket Wrench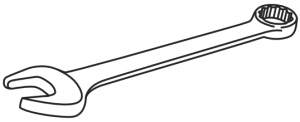 Hammer
PARTS
3/8″ Nuts x 8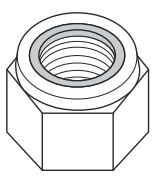 Support Pole D-clip x 4
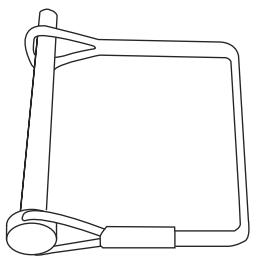 Caster/Frame x 2
 Support Poles x 2
 X-Support Poles x 2
ASSEMBLY
- Attach X-Support Pole (E) to the bottom of Caster/ Frame (C) using 3/8″ nuts (A). Tighten nuts firmly, but not completely, in order to retain flexibility. Repeat process for the other Caster/Frame (C). Note: If the holes at the end of each X-Support Pole (E) do not line up, lightly tap the ends with a hammer until holes line up. (See Figure 1)

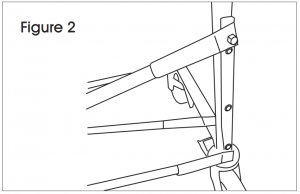
- Attach X-Support Pole (E) to the backside of the Caster/ Frame (C) using 3/8″ nuts (A). Tighten nuts firmly, but not completely, in order to retain flexibility. Repeat process for the other Caster/Frame (C). (See Figure 2)
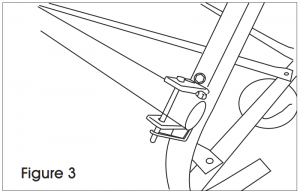
- Place Support Poles (D) in U-shape holders on front side of Caster/Frame (C). Keep Support Poles in place by inserting Support Pole D-clips (B) in the holes on the U-shape holder. To insert Support Pole D-clips (B), first open the D-clip by pulling down on the spring, put through the two holes, and then release the spring. Repeat process for both Support Poles (D). (See Figure 3)
- Double check all nuts and bolts used in assembly. Tighten each securely.

Contact Us
ULINEPhone: 1-800-295-5510Web: uline.com

[xyz-ips snippet=”download-snippet”]