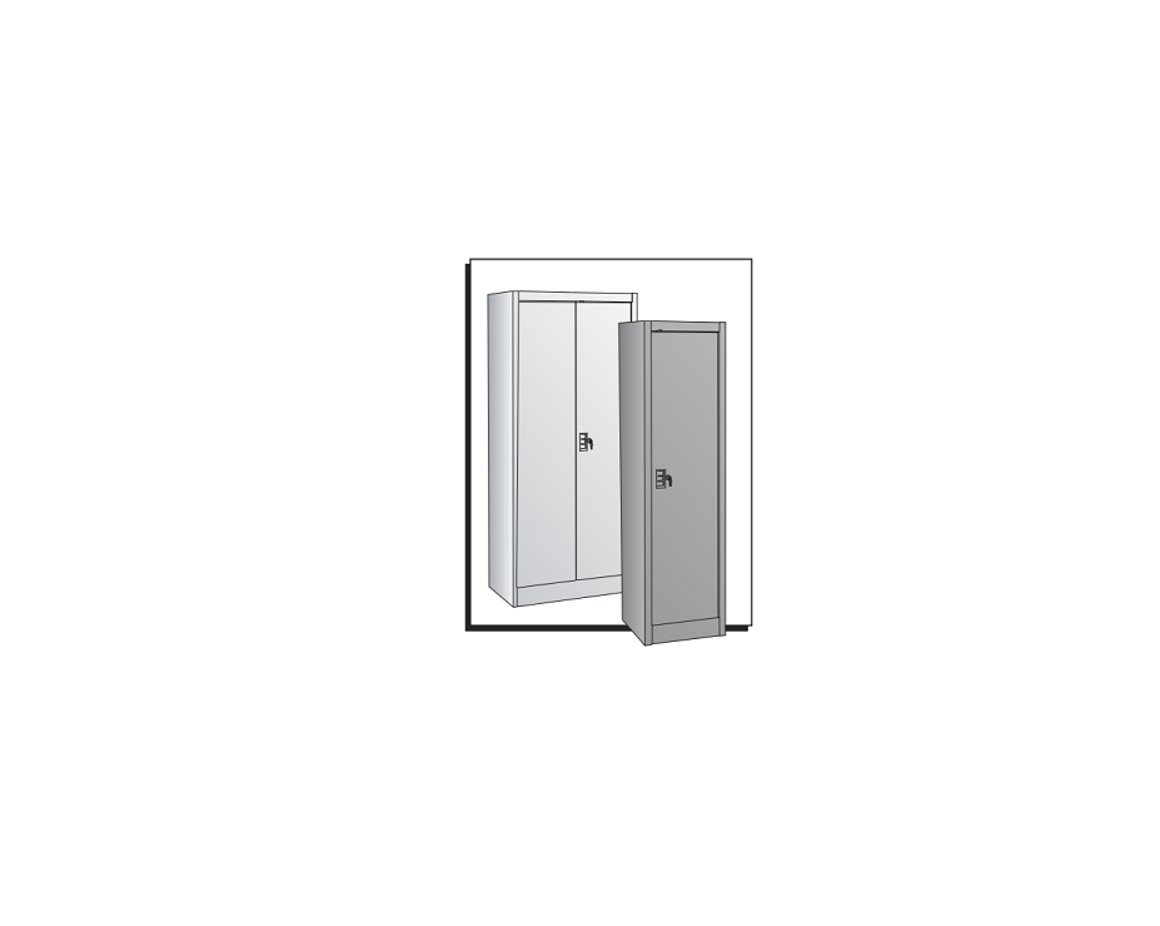
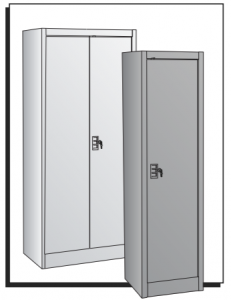
ULINE H-6318 Slim Storage Cabinet Installation Guide
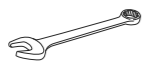
TOOL NEEDED
3/8″ Wrench
![]() CAUTION! Some parts may have sharp edges. Take care when handling various pieces to avoid injury. For your safety, wear work gloves when assembling.
CAUTION! Some parts may have sharp edges. Take care when handling various pieces to avoid injury. For your safety, wear work gloves when assembling.
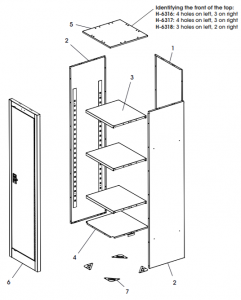
PARTS
ASSEMBLY
| # | DESCRIPTION | QTY. |
| 1 | Back | 1 |
| 2 | Side | 2 |
| 3 | Shelf | 3 |
| 4 | Bottom | 1 |
| 5 | Top | 1 |
| 6 | Door and Frame | 1 |
| 7 | Foot Plate | 4 |
| Bolt for H-6316 (Not Shown) | 54 | |
| Nut for H-6316 (Not Shown) | 54 | |
| Bolt for H-6317 and H-6318 (Not Shown) | 56 | |
| Nut for H-6317 and H-6318 (Not Shown) | 56 |
ASSEMBLY
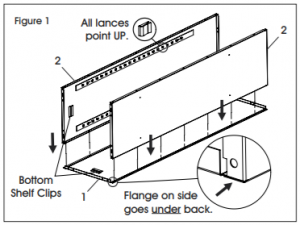
- Place back (1) on a protected The bottom shelf clip should be at the bottom of the back. (See Figure 1)
![]() NOTE: When bolting the unit together, leave bolts slightly loose until step 8, unless otherwise specified.
NOTE: When bolting the unit together, leave bolts slightly loose until step 8, unless otherwise specified.
- Bolt sides (2) to the back (1). Be sure the flanges on sides are under the back, and that all shelf lances point (See Figure 1)
- Insert shelves (3) at your desired levels in order to keep the sides (2) together before installing the (See Figure 2) NOTE: In order to place the shelves, you must first tilt the shelf slightly to the left or right before inserting into the unit.
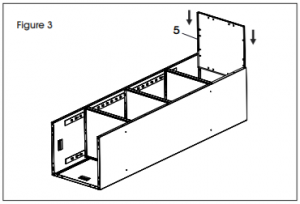
- Slide top (5) inside the Make sure flanges of sides (2) and back (1) go outside the top of the cabinet. Bolt to back and sides. (See Figure 3)
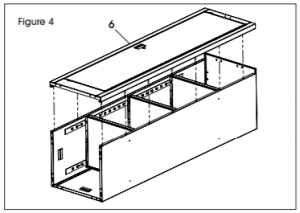
- Bolt door and frame (6) to top (5) and sides (2). (See Figure 4)
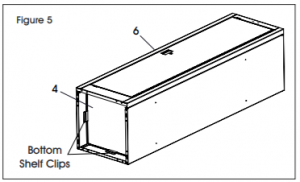
- Insert bottom (4) from the inside of the cabinet, until it seats on the side and rear bottom shelf clips. Bolt bottom to the door and frame (6). (See Figure 5)
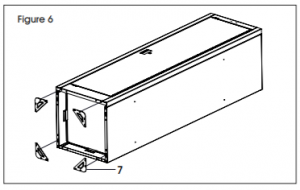
- Bolt foot plates (7) into bottom of (See Figure 6)NOTE: The side of the foot plate with the indent should attach to the cabinet bottom.
- Set the unit upright and tighten all nuts and bolts around the entire unit.

Read More About This Manual & Download PDF:
References
[xyz-ips snippet=”download-snippet”]