
ULINE H-6486 Grab Bar Fastener Installation Guide
TOOL NEEDED
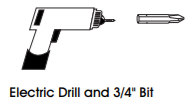
OPTIONAL TOOL

OPTIONAL TOOL
Designed to accommodate wall substrates up to 11⁄8″ thick. Grab bar fasteners exceed building codes for grab bars in the following wall substrates:
- 5/8″ drywall that is painted or wallpapered
- 1/2″ or 5/8″ drywall with tub surrounds
- 1/2″ or 5/8″ drywall with tile, marble or stone
- 1/2″ or 5/8″ drywall with any panel types including fiberglass, faux, marble, acrylic and plastics
- Multiple layers of drywall
- Most wall panels, all masonry type boards, with or without decorative panels
Do not use in ceilings. Never install any fastener into wet or deteriorating walls. Structural blocking must be used in plain 1/2″ drywall when attempting to meet commercial building codes.
![]() NOTE: For maximum safety and to meet ADA requirements, grab bars should be installed horizontally, 33 to 36″ from the floor.
NOTE: For maximum safety and to meet ADA requirements, grab bars should be installed horizontally, 33 to 36″ from the floor.
BEFORE INSTALLING
Verify the length of the grab bar by measuring from the outside of one flange to inside of the other. Mark center hole of grab bar location on flange. (See Figure 1)
 To ensure adequate clearance, a stud finder should be used to verify there are no studs within the area where the fastener will be installed. Minimum 1″ clearance needed from center for each fastener installation.
INSTALLATION
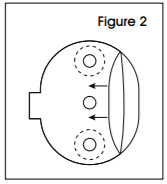
- Peel the 1/4″ liner (scored) off the tape and fold up until properly (See Figure 2)
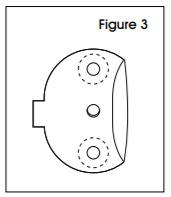
- Determine location of grab bar, mark length on the wall, remove center hole and place tape with the center hole over Stick tape to wall and remove the remaining liner. (See Figure 3)
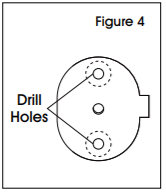
- Using tape as a template, drill out two 3/4″ (See Figure 4)NOTE: For fast installation, use H-6486-BIT drill bit for ceramic tile.
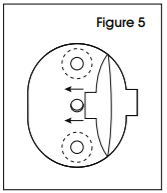
- Once holes are drilled, remove tape (See Figure 5)
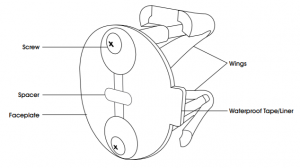
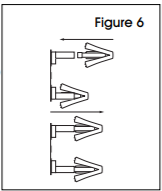
- Insert the wings into the faceplate and tap the top of the wings (the tube will then be interlocked). Extend the wings to full (See Figure 6)
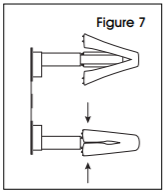
- While keeping the faceplate extended, compress and insert the wings into the drilled (See Figure 7)NOTE: Do not compress wings if faceplate is not extended.
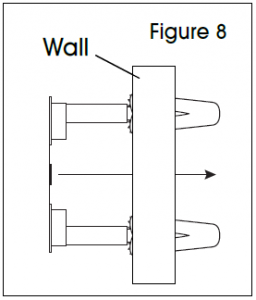
- Push wings assembly into the wall so that the wings are flush with the wall (See Figure 8)
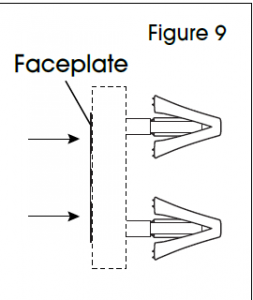
- Apply even pressure to the faceplate until the wings pop open in the hollow (See Figure 9)NOTE: If spacer is broken, make sure the offset holes are facing to the outer edges of the tape.
- Repeat steps 1 through 8 for the other grab bar
- Use enclosed 5″ stainless steel screws to attach grab bar flange to the fastener. Push grab bar flange towards the fastener and tighten screws. Snap on or thread on flange cover to flange. (See Figure 10)

Read More About This Manual & Download PDF:
[xyz-ips snippet=”download-snippet”]