![]()
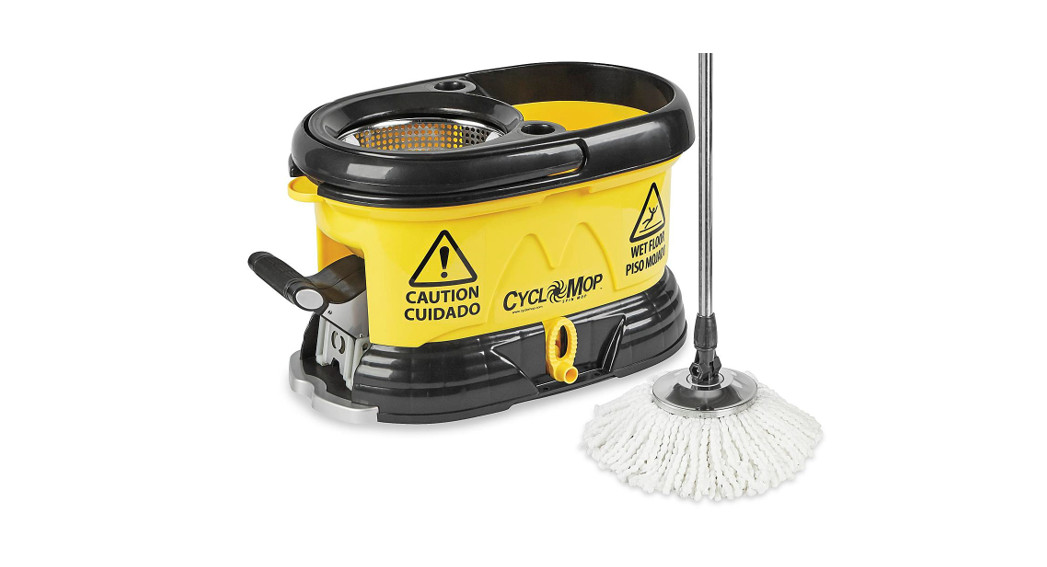
H-65261-800 -295-5510SPIN MOP SYSTEMuline.com
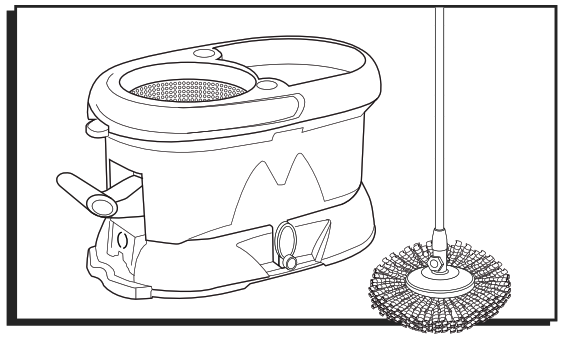
PARTS

ASSEMBLY
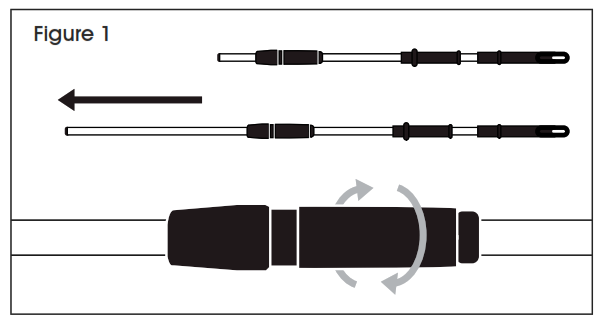
- Fully extend mop handle by turning the center section to the “on” position. After fully extending the handle, turn the center section to the “off” position. (See Figure 1)

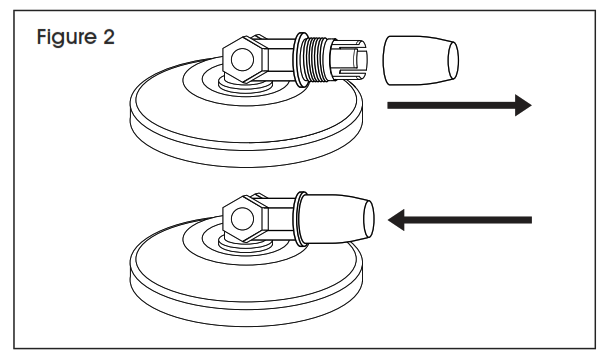
- Grip threaded collar and remove from mop head attachment. Then, put the threaded collar back on mop head attachment and loosely attach by turning threaded collar clockwise two turns. (See Figure 2)NOTE: Do not completely tighten the threaded collar.
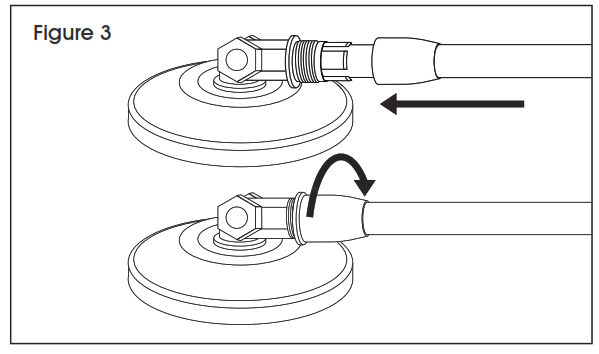
- Place mop handles into mop head attachment and tighten down threaded collar until snug. (See Figure 3)NOTE: Do not overtighten.
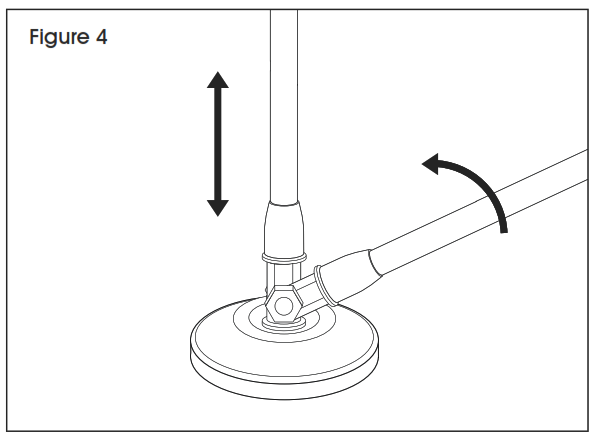
- Place foot on mop head attachment and pivot mop handle into upright position. (See Figure 4)
- Place microfiber mop head on the ground with the black ring facing up. Center mop head attachment over microfiber mop head and press down onto it. Secure microfiber mop head by pressing down with a foot on both sides of the mop head attachment. (See Figure 5)

OPERATION
FILLING BUCKET
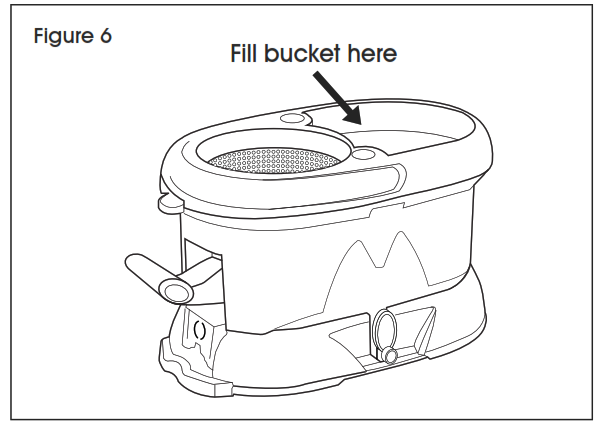
- Fill a bucket with a minimum of two gallons of water and add desired cleaning solution. (See Figure 6)
PREPARING MOP
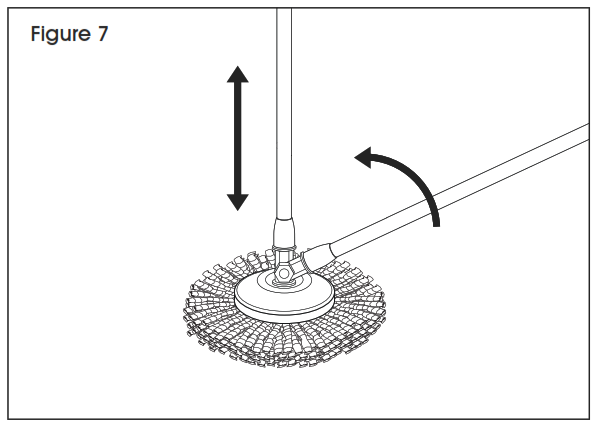
- Before wetting the mop head in a bucket, make sure the mop handle is in vertical/locked position and in “off” position. (See Figure 7)
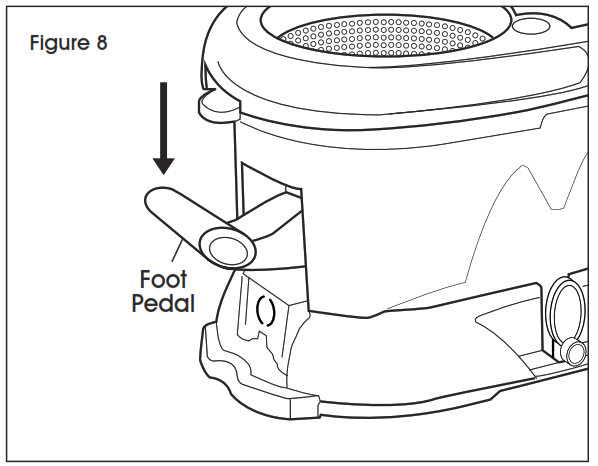
FOOT PEDAL
- This pedal is used to wet/clean mop head and also ring out the mop head. To use, pump pedal down with foot. (See Figure 8)
WETTING GEAR AND RINGING BUCKET
- Use these to wet mop and to ring wet head dry. (See Figure 9)

WETTING MOP HEAD
- Place mop over gear until it locks in place. Pump foot pedal with foot until mop is saturated. Repeat process to clean mop head. (See Figure 10)
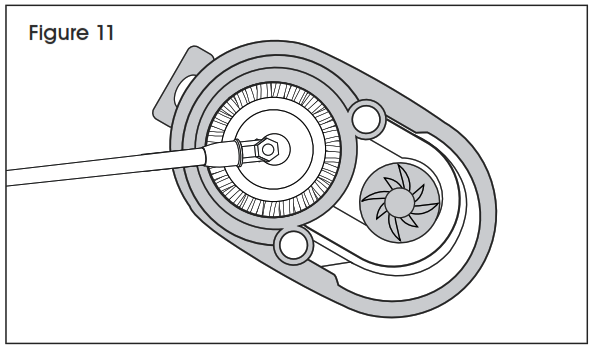
RINGING MOP OUT
- Place mop head in stainless steel basket and pump foot pedal until desired dryness is achieved. (See Figure 11) See next step for optional ringing method.
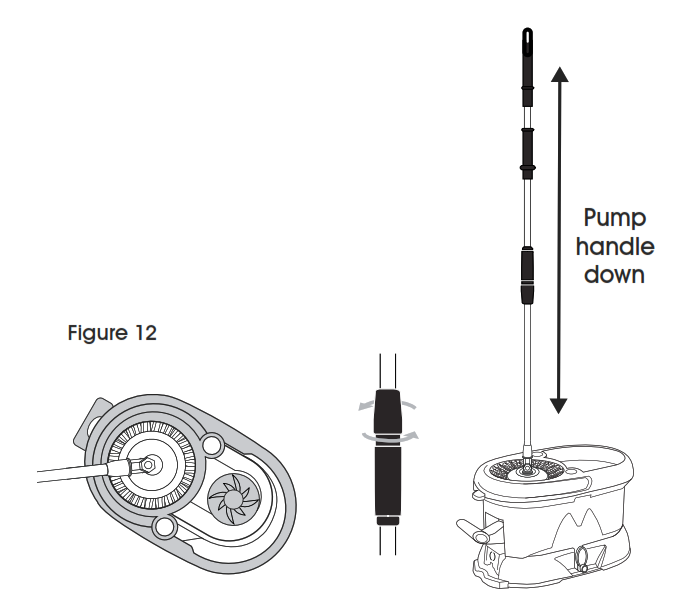
RINGING MOP OUT (OPTIONAL)
- Place mop head in a stainless steel basket. Turn mop handle to “on” position and pump handle down to begin spinning mop head. Spin to desired dryness. (See Figure 12)
MOPPING
- Place microfiber mop head flat on the floor and step on either side of the mop head attachment with the foot. Push mop handle left or right to release lock position. The mop is ready to use. (See Figure 13)

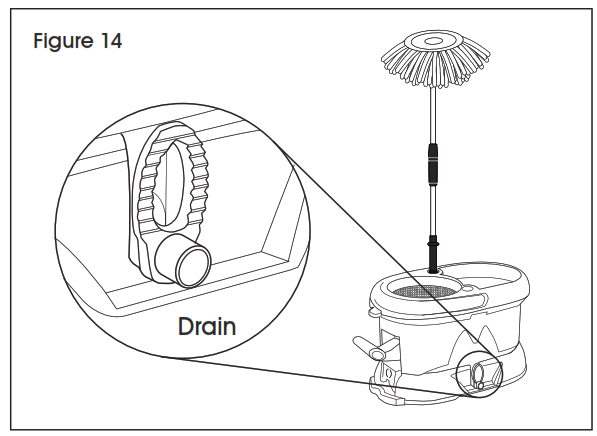
STORAGE
- Ring out the mop. Empty bucket using drain on side. Collapse mop handles and locks them. Place mop in a holder located in the bucket. (See Figure 14)
REMOVAL AND CARING OF MICROFIBER MOP HEAD
- To remove the microfiber mop head, pull it off with your hands; or while the mop is in the vertical locked position, step on the microfiber part of the mop head (not the stainless steel mop head attachment) that is perpendicular with the hinge movement, and push handle away from the body.
- Wash the microfiber mop head by hand with water and soap or place it in a washing machine with detergent.NOTE: Always allow your microfiber mop head to air dry. Do not place it in the dryer.
![]()
1-800-295-5510uline.com
[xyz-ips snippet=”download-snippet”]