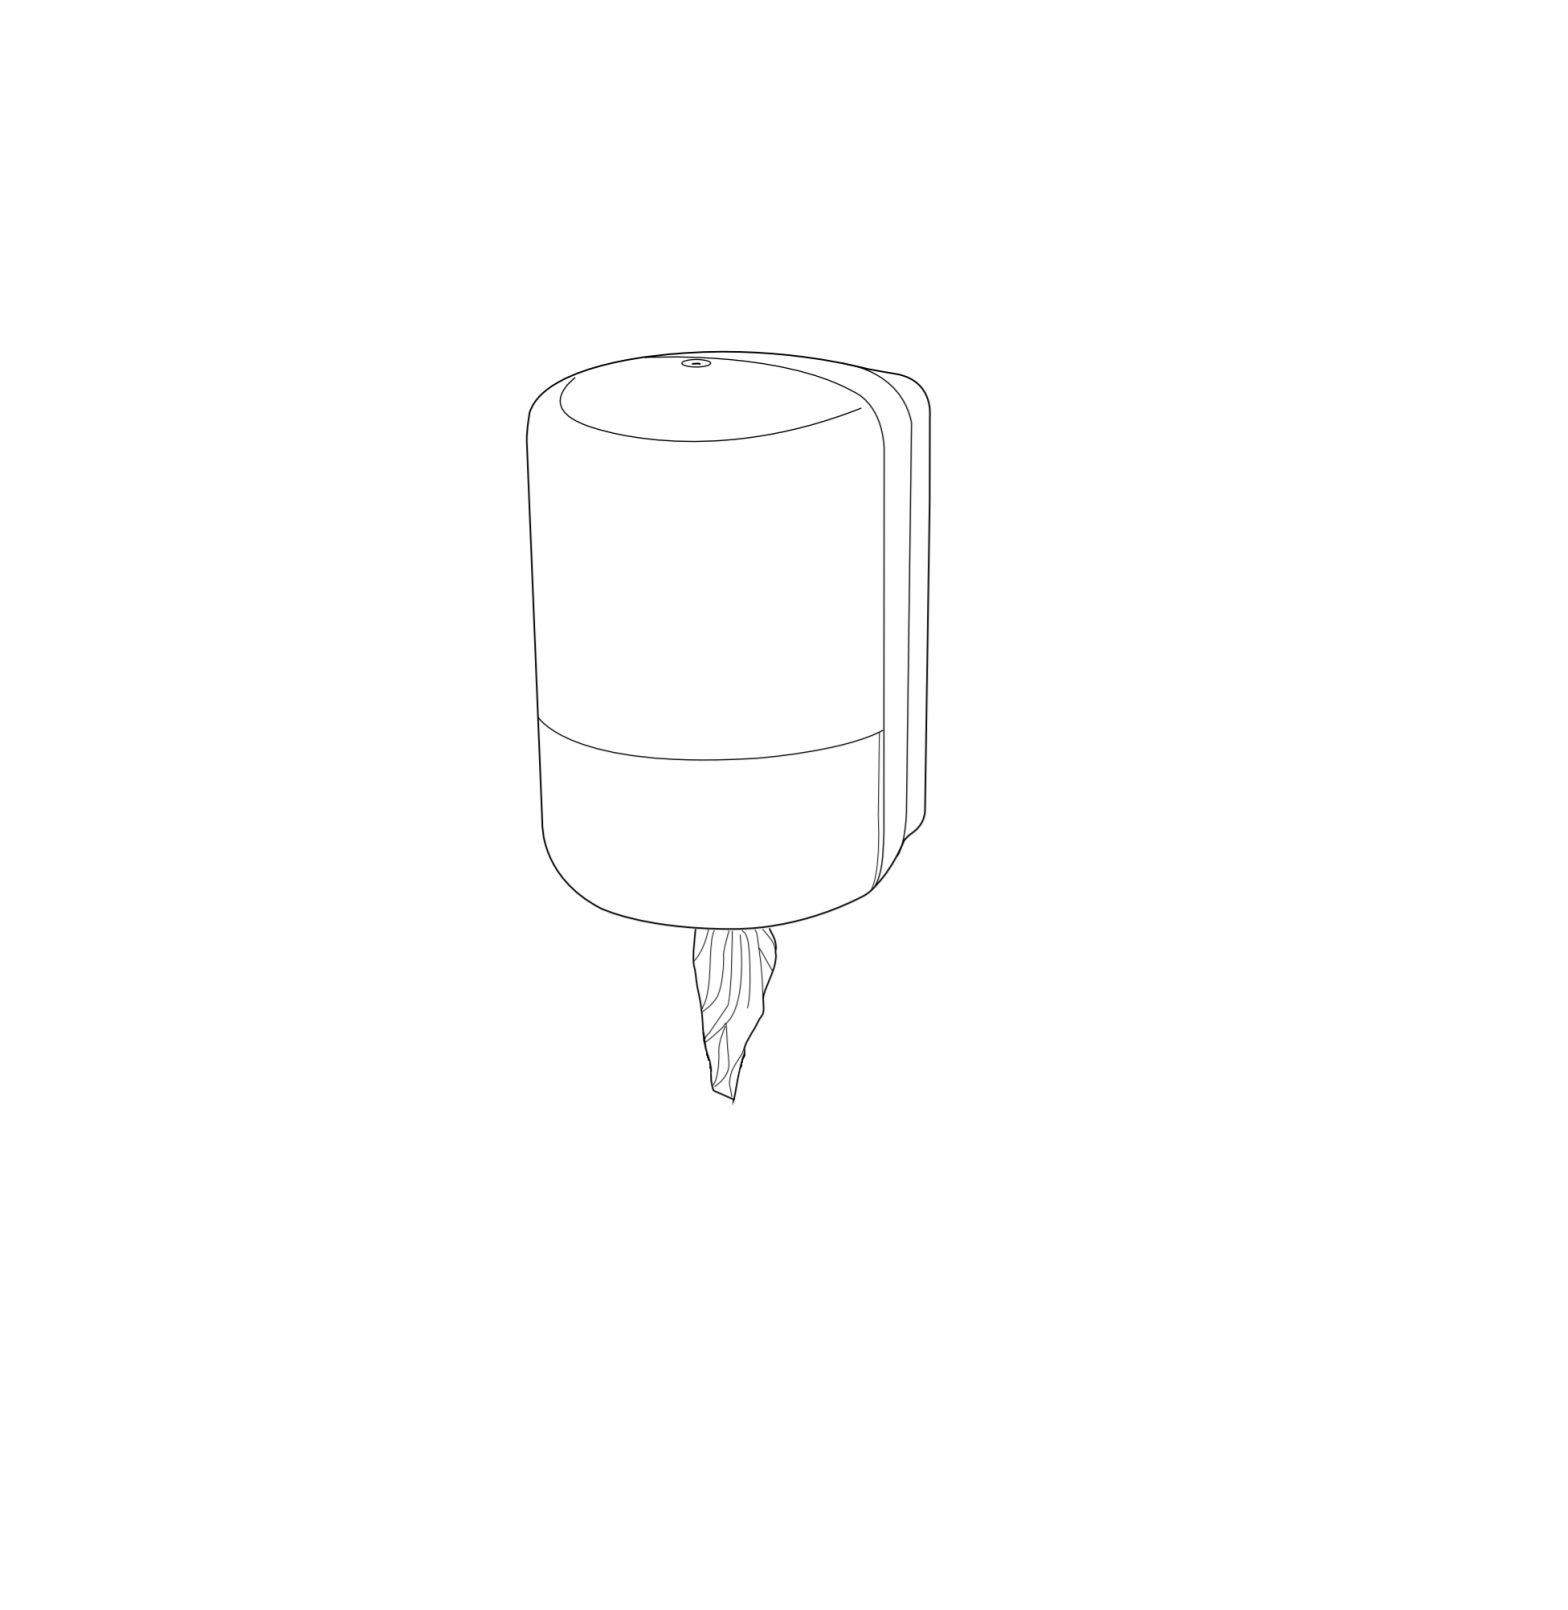
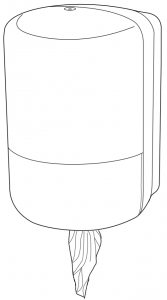
ULINE H-7544 Tork Center Pull Dispenser
TOOLS NEEDED
|
|
|
|
|
|
 Electric Drill
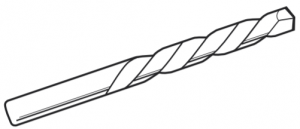 Electric Drill
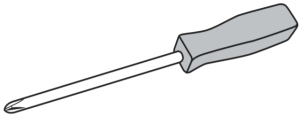 Phillips Screwdriver
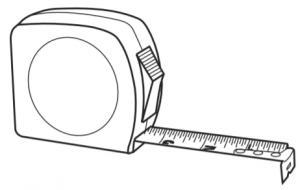 Tape Measure
 Level
LevelPARTS
|
|
|
|
|
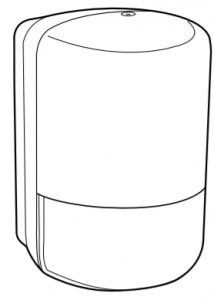 Dispenser x 1
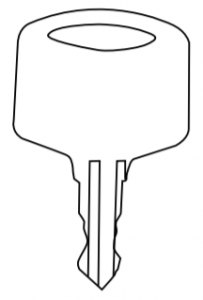 Dispenser Key x 1
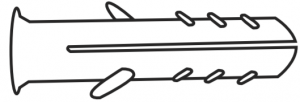 Wall Anchor x 4
USING THE KEY
- To open dispenser while keeping it locked, insert key at position A. (See Figure 1)

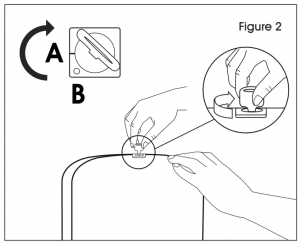
- Turn and hold key clockwise to open dispenser. (See Figure 2)NOTE: Release key back to position A after closing to lock dispenser.
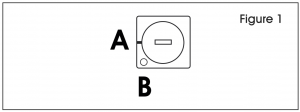
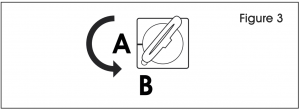
- Insert key at position A. (See Figure 1)
- Turn counterclockwise to position B. (See Figure 3)
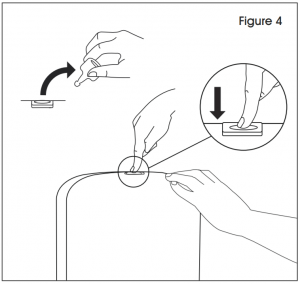
- Remove key and push in lock to open dispenser. (See Figure 4)
MOUNTING
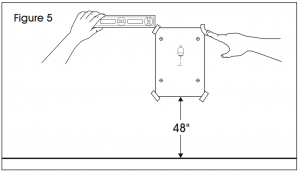
- Tape mounting template to wall at desired height and ensure that template is level. (See Figure 5)NOTE: To be ADA compliant, mount at a maximum of 48″ off the floor if forward reach is required. See ADA Guidelines on page 4.
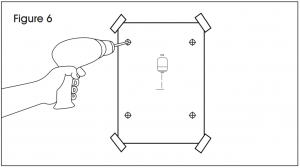
- Using a 6 mm drill bit, drill into wall about 1″ at each marked screw location on template. (See Figure 6)
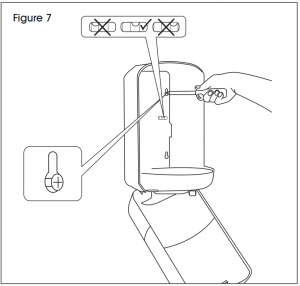
- Remove template from wall. Insert wall anchors (if necessary) into four predrilled holes. Hold dispenser up to wall so holes in wall and dispenser match up. Insert screws into circular base of top two holes but do not tighten completely. (See Figure 7)
- Drop dispenser down so screws slide up into narrow slots and tighten screws completely. (See Figure 8)
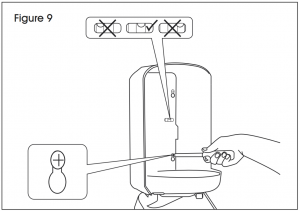
- Ensure the dispenser is level by looking at the level bar on the inside of the dispenser. If level, screw in last two screws into bottom two holes. (See Figure 9)

LOADING
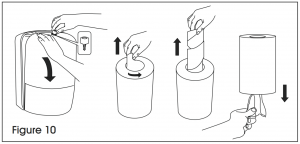
- Remove core from center of roll. Find end of cardboard, peel corner up and pull straight up. First sheet of paper will be attached to core. Tear sheet off and dispose of core. (See Figure 10)
- Place roll on top of towel tray inside dispenser. Angle the bottom of the roll and feed first sheet into oval hole in tray. Push towel down between rollers of dispensing assembly. (See Figure 11)
- Seat roll on tray, ensuring towel stays between rollers of dispensing assembly. (See Figure 11)
- Close dispenser cover. (See Figure 12)
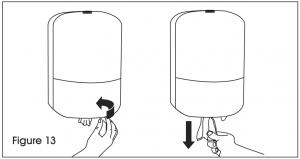
- Advance paper tail through dispensing assembly by turning knob on bottom right of dispenser in a clockwise motion. (See Figure 13)


MAINTENANCE
The dispenser should be cleaned any time there is heavy paper dust buildup inside of it.
![]() NOTE: If paper dust buildup is not a problem, approximately every year is a good frequency for cleanings.The following is the recommended procedure for cleanings:
NOTE: If paper dust buildup is not a problem, approximately every year is a good frequency for cleanings.The following is the recommended procedure for cleanings:
- Open the dispenser and remove the roll of paper. Clear all paper from the dispenser assembly.
- Clean out any paper dust. This can be done by vacuuming, blowing out with can of compressed air (wearing safety glasses) or wiping out with a damp cloth.
- Clean cover with a gentle cloth and an all-purpose cleaner that is safe for plastics. It is not recommended that paper be used to clean that surface of the dispenser as it may scratch the high-gloss surface.
ADA GUIDELINES
RECOMMENDED MOUNTING HEIGHT(ADA GUIDELINES)
CONTROLS AND DISPENSERSIf controls, dispensers, receptacles or other equipment are provided, then at least one of each should comply with an accessible route and should comply with ADA Guidelines below.
HEIGHTThe highest operable part of controls, dispensers, receptacles and other operable equipment should be placed within at least one of the reach ranges specified in Figures 14-17.
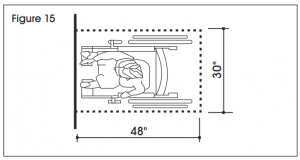
FORWARD REACHIf the clear floor space only allows forward approach to an object, the maximum high forward reach allowed should be 48″. (See Figures 14-15)
HIGH FORWARD REACH LIMIT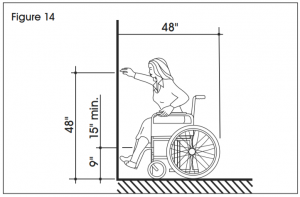
SIDE REACHIf the clear floor space allows parallel approach by a person in a wheelchair, the maximum high side reach allowed should be 54″ and the low side should be no less than 9″ above the floor. (See Figures 16-17)
CLEAR FLOOR SPACE – PARALLEL APPROACH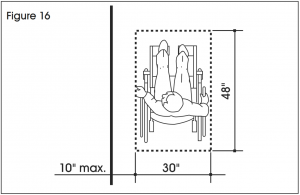
HIGH AND LOW SIDE REACH LIMITS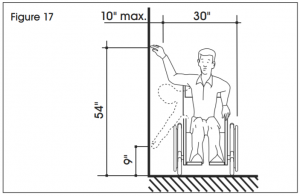
![]() NOTE: The dispenser should be mounted away from an accessible route and at the required reach height (for parallel or side reach) in order to comply with ADA guidelines.
NOTE: The dispenser should be mounted away from an accessible route and at the required reach height (for parallel or side reach) in order to comply with ADA guidelines.

1-800-295-5510www.uline.com
[xyz-ips snippet=”download-snippet”]