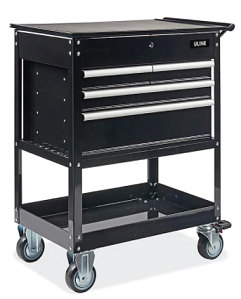
ULINE H-8520 4-Drawer Tool Cart User Guide
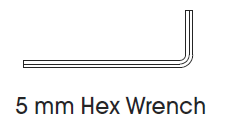
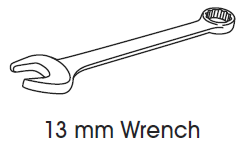
TOOLS NEEDED
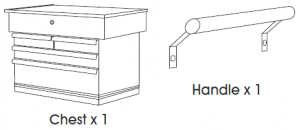
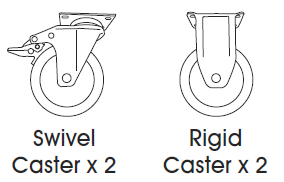
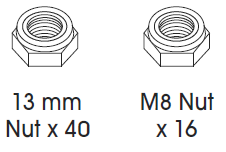
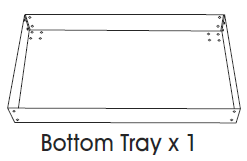
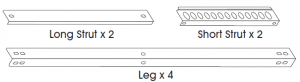
PARTS


SAFETY
 CAUTION! Only open one drawer at a time to keep cart from tipping over.
- Close chest lid and lock drawers before
- Do not stand on the cart or climb on Doing so may result in injury.
- Do not place the cart on truck bed or any other moving
- Lock swivel casters to keep car
- Do not Push to move.
- Lubricate the top and bottom channels of the drawer slides at least twice a year.
ASSEMBLY
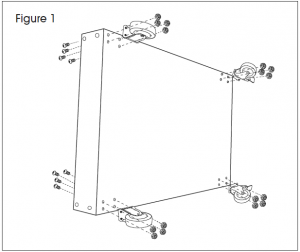
ATTACH CASTERS
- Place bottom tray on (See Figure 1)
- Align caster with holes on bottom
- Attach caster to the bottom of tray with four M8 hex head bolts and four M8 Ensure the bolt heads are inside the tray. Use hex wrench to tighten, but don’t fully secure until all casters are attached.
- Repeat Step 3 for the remaining
![]() NOTE: Install rigid casters on one end of bottom tray and swivel casters with brakes on the opposite end.
NOTE: Install rigid casters on one end of bottom tray and swivel casters with brakes on the opposite end.
- Completely tighten all
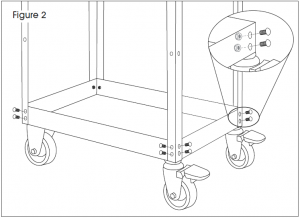
ATTACH LEGS
- Place the bottom tray (with casters) Lock the swivel casters. (See Figure 2)
- Attach leg to the outside of tray with four 5/16 x 1/2″ bolts and four 13 mm
NOTE: Position leg so two holes near middle are closer to bottom tray.
NOTE: Ensure that bolt heads face outward.
- Repeat Step 2 for the remaining three
- Completely tighten all
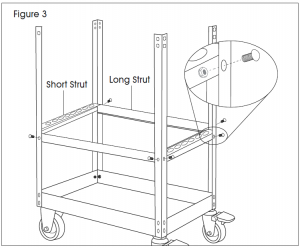
ATTACH STRUTS
- Attach long strut to the inside of the legs with two 5/16 x 1/2″ bolts and two 13 mm (See Figure 3)
NOTE: Ensure that the strut lip faces inward and downward.
- Repeat Step 1 for the second long
- Attach short strut to the inside of the legs with two 5/16 x 1/2″ bolts and two 13 mm
NOTE: Ensure that the strut lip faces inward and holes face upward.
- Repeat Step 3 for the second short
- Completely tighten all bolts.
ATTACH CHEST
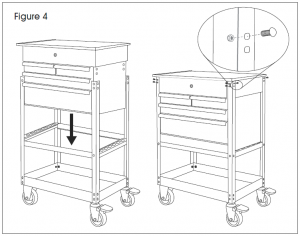
- Place chest inside Make sure that holes at the top of the legs align with holes on chest. (See Figure 4)
- Choose which side to install On the side without the handle, thread four 5/16 x 1/2″ bolts and four 13 mm nuts to each corner. On the side where handle will be installed, only thread two 5/16 x 1/2″ bolts and two 13 mm nuts on top, leaving the bottom holes open.
ATTACH HANDLE
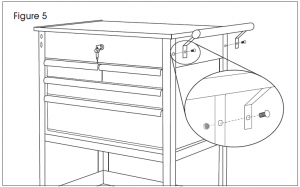
- Align handle with remaining open holes from last (See Figure 5)
- Attach handle with the two 5/16 x 5/8″ bolts and two 13 mm Tighten nuts from inside the chest.
Read More About This Manual & Download PDF:
[xyz-ips snippet=”download-snippet”]