![]() H-99INDUSTRIAL AUTOMATICTAPE DISPENSER
H-99INDUSTRIAL AUTOMATICTAPE DISPENSER
 NOTES
NOTES
 NOTES
NOTESFEATURES
 FEATURES
- If using the automatic feed, when one piece of tape is removed, the unit will automatically feed and cut the next piece at the preset length.
- The tape length is easily seen on the LED display, and the operation is simple. Press the CM key or MM key to set the length. (Setting limit 20mm to 999mm.)
- If a piece of long tape is needed, press the ADVANCE key for the desired length, then press a CUT key to cut.
- The blade unit can be removed and replaced easily. (Tape jamming is also easily fixed by removing the blade unit.)
PARTS AND FUNCTIONS
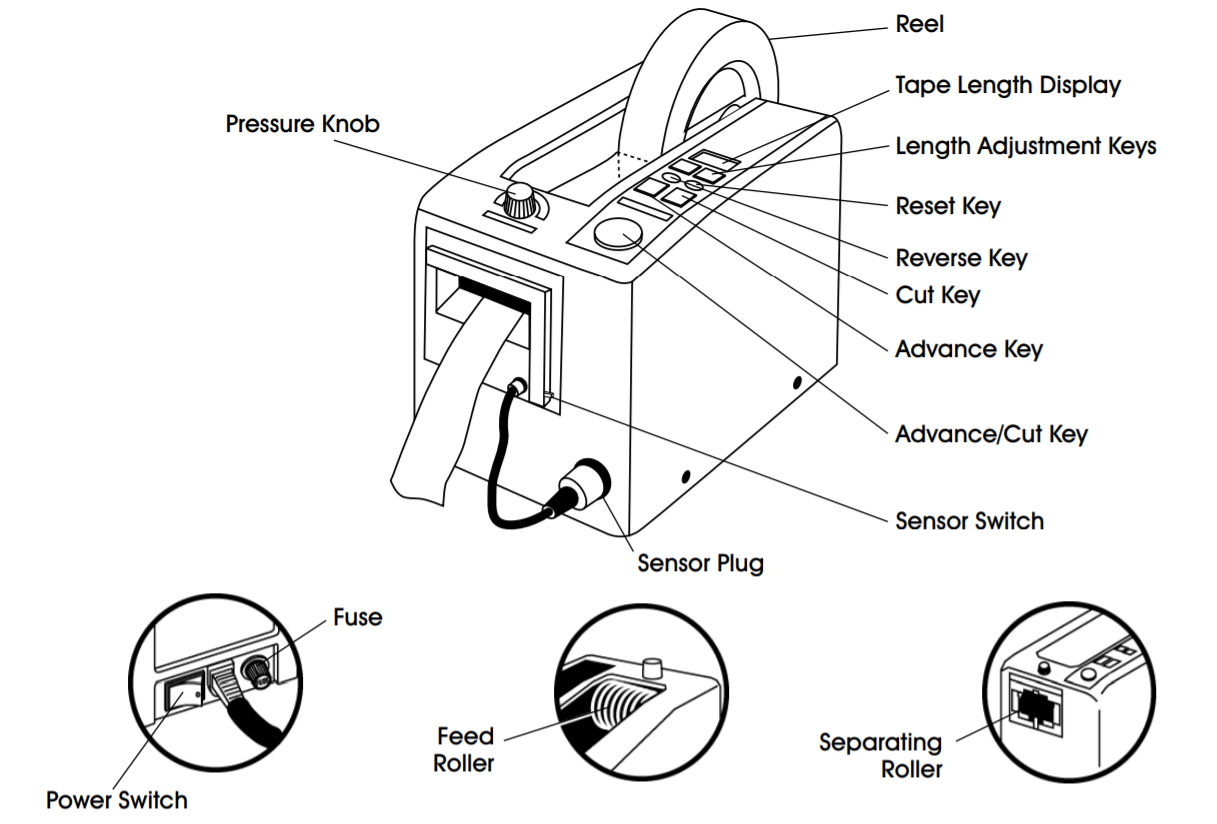
CONTROLS
 |
POWER SWITCHPress to turn the power ON or OFF. |  |
REVERSE KEYFeed Roller reverses. Use this key to change the tape. |
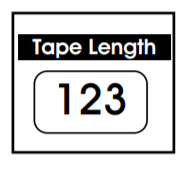 |
TAPE LENGTH DISPLAYThe last digit indicates millimeters and the first two digits centimeters. |  |
RESET KEYThe length display is reset to 20mm. This key can be used as an emergency stop. |
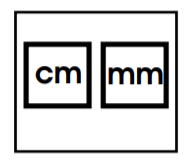 |
LENGTH ADJUSTMENT KEYSPress the MM key to set tape length in mm. Press the CM key to set tape length in CM. | 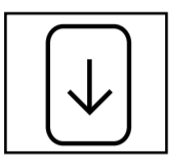 |
ADVANCE KEYSPress the MM key to set tape length in mm. Press the CM key to set tape length in CM. |
 |
ADVANCE/CUT KEY
Feeds tape to the preset length and cuts automatically. |
 |
CUT KEYFeeds tape to the preset length and cuts automatically. |
 |
PRESSURE KNOBAdjusts top roller to change pressure on tape. |
OPERATION
USING AUTOMATIC FEED
- Plugin the power cord and turn the unit on.
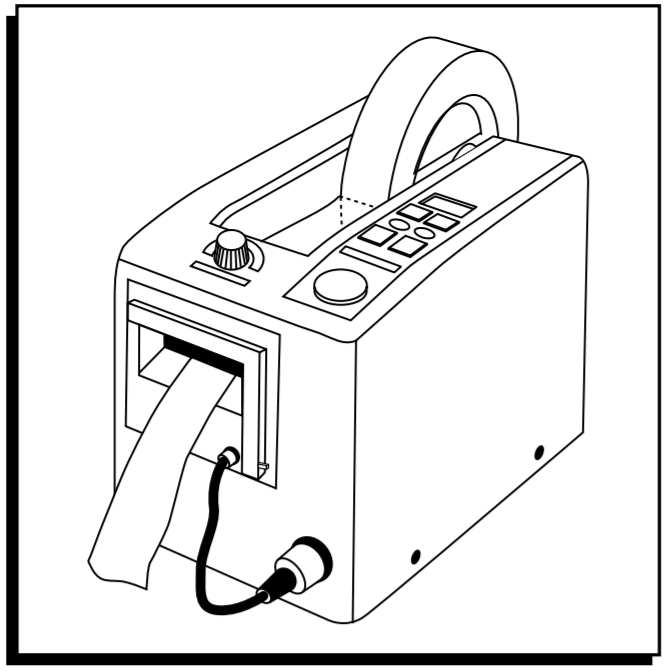
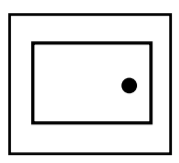
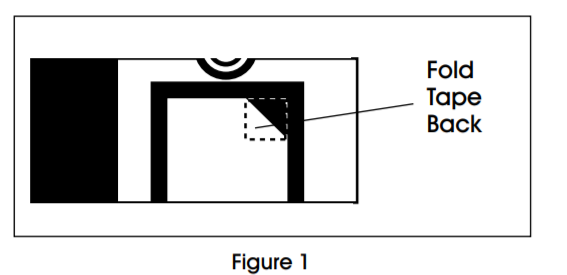
- Set tape on the center of the reel and stick the end of the tape onto the metal feed roller. Press ADVANCE key until tape feeds through cutting unit. If the tape will not feed through the cutter, fold corners of the tape to form a triangle shape and re-feed. (See Figure 1)
- Press the CUT key to cut the tape.
- Set the tape length. Press the MM key to set a length of 0-9mm. Press CM key to set length of 20-990mm.
- Set PRESSURE knob. If tape curls or slips, increase pressure. If tape creases, decrease pressure.
- Turn sensor switch ON. The tape will be fed to set length and cut. When the piece of tape is removed from the machine, another piece will be fed and cut. (Turn sensor switches OFF when not in use.)
USING ADVANCE/CUT KEYWith AUTO SENSOR switch OFF, press ADVANCE/CUT key. The tape will be fed to set length and cut.USING ADVANCE KEYPress ADVANCE key until desired tape length has been fed. (This key overrides the preset length.) Press CUT to cut tape.CHANGING TAPEPress the REVERSE key. The feed roller will rewind the tape away from the cutter area. Remove the tape manually.IN THE CASE OF TAPE JAMPress the REVERSE key to remove the tape from the cutter area. Rewind and replace the tape on the roller. Also, remove the cutter unit to verify no tape is stuck on the roller or cutter.
TO REPLACE CUTTER UNIT
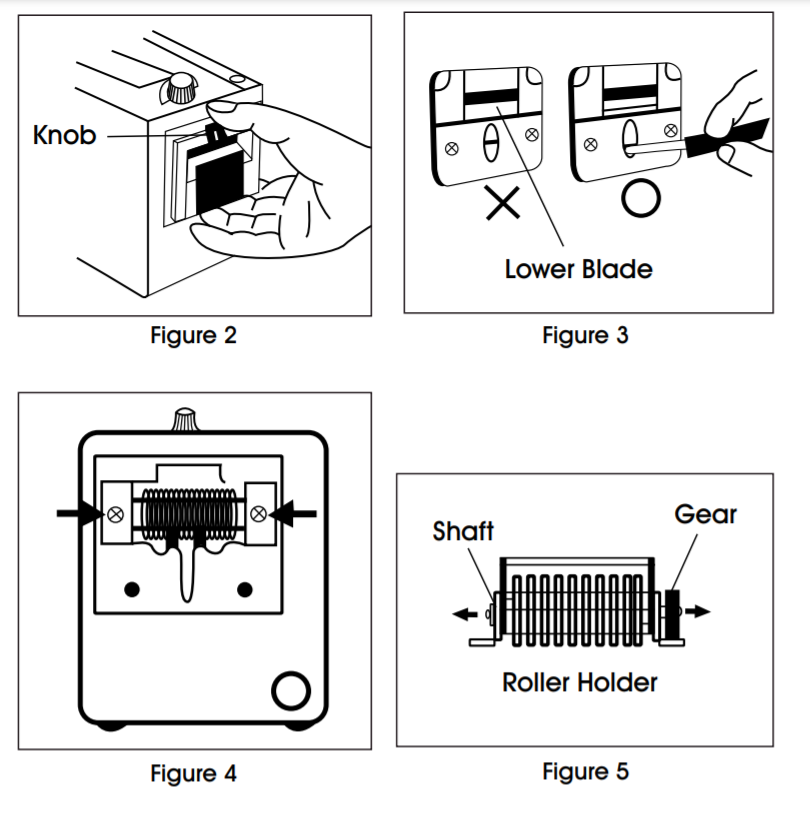
- Turn off the sensor and power before removing the cutter unit. Pull sensor plug out, then pull cutter unit forward while pressing the knob on the top of the unit. (See Figure 2)
- To replace blades, remove the two screws inside the head. The blade can then be lifted out and replaced. Before remounting the cutter unit to the frame, the lower blade must be bottomed out. If it is not completely down, use a screwdriver to lower it. (See Figure 3)
- Remount the cutter unit by aligning the bottom of the unit then pushing in the top.
REPLACING THE SEPARATING ROLLER
- Turn off the sensor and power before removing the separating roller. Remove the cutter unit, then remove the two screws. (See Figure 4)
- To remove the roller holder, grip the rubber ring in the center of the separating roller and pull. Then remove the screws on the left and right of the roller holder and pull off the shaft and gear. (See Figure 5)
SETTING MEMORIES
- Press and hold the M key until the LED display flashes.
- Using the CM and MM keys, set the desired length for the first cut.a. The MM key controls the millimeter setting (1 digit).b. The CM key controls the centimeter setting (2 digits). (Ex: 125 mm=12 cm and 5mm.)c. Press the M key to record memory. (The display will then flash “999”.)
- Set additional lengths as shown in #2. (If only two lengths are needed, record “999” as last length “999” length will not be memorized.)
- After lengths are set, the display will flash “0” Press the MM key to switch between “0” and “5”.· On “0”, the machine will feed and cut the first set length until the M key is pressed, then it will feed the second length until the M key is pressed, and so on.· On “5”, the machine will feed and cut the recorded lengths in series.
- When set correctly, press and hold the M key until the display stops flashing. The first preset length will be shown on the display and the unit is ready to use.
- Programmed tape lengths will be fed and cut in order when using either the sensor unit automatic feed and cut or the ADVANCE/CUT button.
- If the RESET (20) key is pressed, all of the memory will be erased.
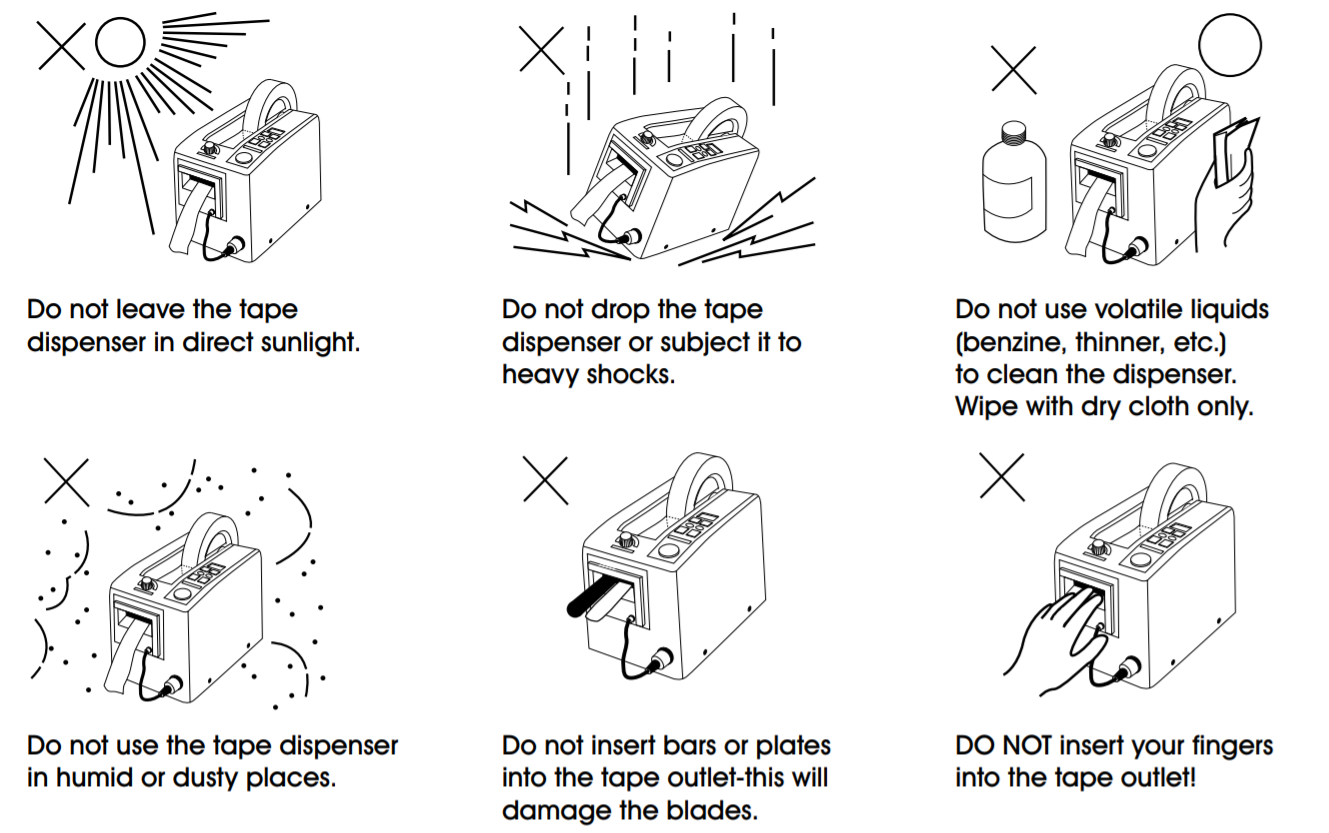
PRECAUTIONS
- Set the tape properly as described in these instructions. (If the end of the tape is folded when the tape is set, the tape may jam at the tape outlet.)
- This machine will cut virtually any type of pressure-sensitive tape (cloth, aluminum, filament, etc.). If the tape is thicker than .05″ or thinner than .03″, test for compatibility.
- Because of tape differences (elasticity, stickiness, etc.), some tapes may not cut at the set length. If this occurs, adjust the set length accordingly.
- If tape sticks to the blade, remove the cutter unit, clean it with alcohol, and apply silicone oil to the blade.
- To reduce jamming, remove the tape from the machine when not in use.
SPECIFICATIONS
| MODEL | ZCM1000 |
| Display | 3-Digit LED |
| Applicable Tape Width | .28″-2″ (7-50mm) |
| Core Diameter | 3″ (Optional) 1″, 1.25″, 1.5″ |
| Tape Length Set Limit | .79-39″ (20-999mm) ± .040″ |
| Memory Settings | 1 |
| Drive | DC Motor for Tape Feed and Tape Cut |
| Power Consumption | 18W |
| Power (AC) | 117V 50/60Hz or 220V 50/60Hz |
| Ambient Temperature | 41-104°F (5-40°C) |
| Ambient Humidity | Less than 80% RH |
| Dimensions | 5.4 x 8.6 x 6″ (14 x 22 x 15 cm) |
| Weight | 5.3 lb (2.4 kg) |
TROUBLESHOOTING
When problems occur, carry out the following procedures. If the tape dispenser does not operate normally after following the troubleshooting procedures, contact your supplier.
| OPERATING ISSUE | RECOMMENDATIONS |
| The motor does not drive. | Check that the power cord is plugged in.Check that the power switch is turned on. |
| Tape does not cut. | Make sure the cutter unit is set properly and clean. |
| LED does not light. | Check that the power cord is plugged in.Check that the power switch is turned on. |
| Tape does not feed. | Check if the tape is jammed at the roller or in the cutter unit.Check that the tape is set properly. |
| Auto feed does not work. | Check that the sensor plug is plugged in.Check that the sensor switch of the cutter unit is on.Check that the sensor part of the cutter unit is not stained. |
| Tape feeding does not stop. | Check that the tape is centered. If not, set the tape at the center of the feed roller so that the sensor will see the tape. |
PREVENTIVE MAINTENANCE
- Weekly Remove cutting head and clean, and look for missing roller rings. Replace as needed.
- MonthlyRemove blade spring and blades to inspect cutter liners. Place one drop of silicone oil on each liner, or replace if worn. Inspect feed roller and blade for tape fragments or adhesive buildup. Clean with alcohol.
![]() 1-800-295-5510uline.com
1-800-295-5510uline.com
[xyz-ips snippet=”download-snippet”]