![]()
HOWARD LEIGHT® EARPLUG FITTING GUIDE
1-800-295-5510uline.com
GENERAL INFORMATION
![]() NOTE: Read and follow all earplug fitting instructions prior to usage.
NOTE: Read and follow all earplug fitting instructions prior to usage.
SELECTIONAvoid overprotection in minimal noise environments. In selecting the best earplug for your situation, consider noise levels and your need to communicate with co-workers or to hear warning signals on the job.
MAINTENANCE
- Prior to wearing, inspect earplugs for dirt, damage, or hardness. Discard immediately if compromised.
- For proper hygiene, discard single-use earplugs after use.
- With proper maintenance, multiple-use earplugs can last for 2-4 weeks. Clean with mild soap and water and store in a case when not in use.
- Clean and replace pods on banded earplugs regularly.
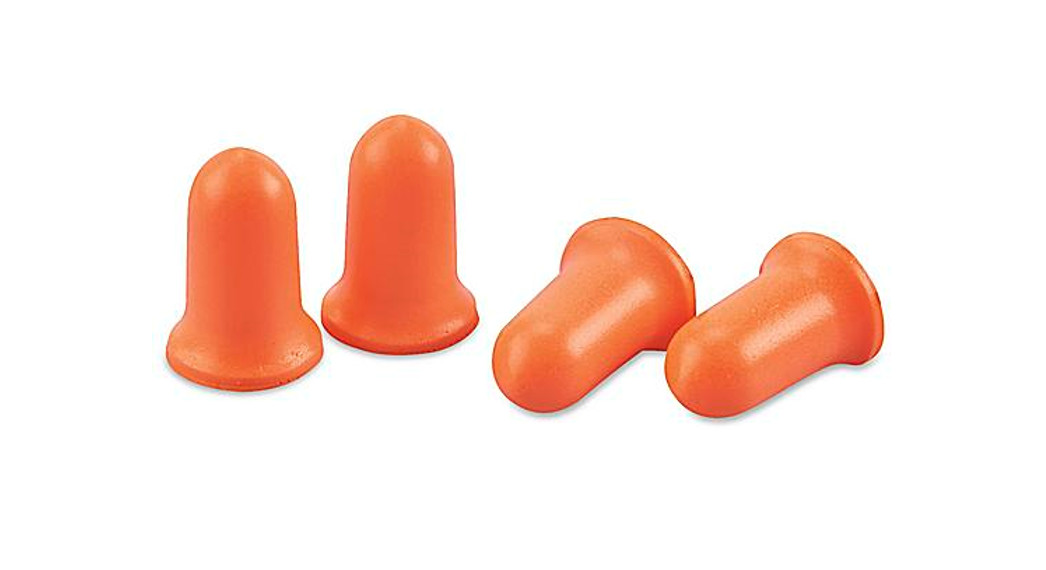
NO-ROLL FOAM
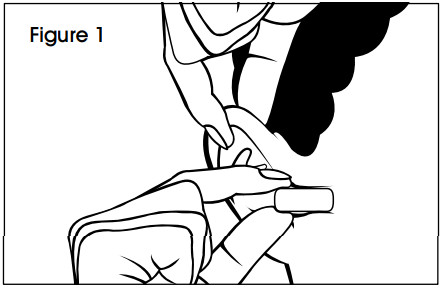
- Reach over your head with a free hand, pull your ear up and back, and insert the earplug well inside the ear canal. (See Figure 1)

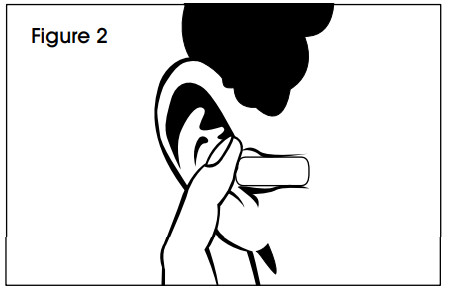
- Earplugs should be inserted as shown in Figure 2. Stop pushing earplug when your finger touches your ear. (See Figure 2)
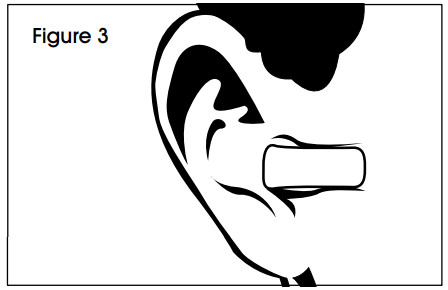
- If properly fitted, the end of the earplugs should not be visible to someone looking at you from the front. (See Figure 3)
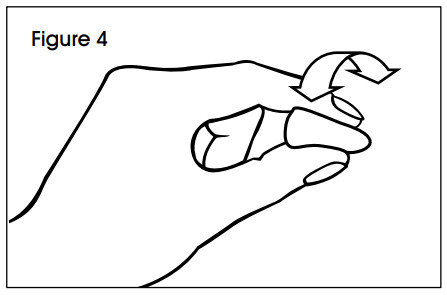
ROLL-DOWN FOAM
- With clean hands, roll the entire earplug into the narrowest possible cylinder. (See Figure 4)
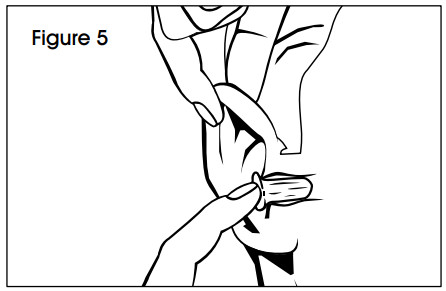
- Reach over your head with a free hand, pull your ear up and back, and insert the earplug well inside the ear canal. (See Figure 5)
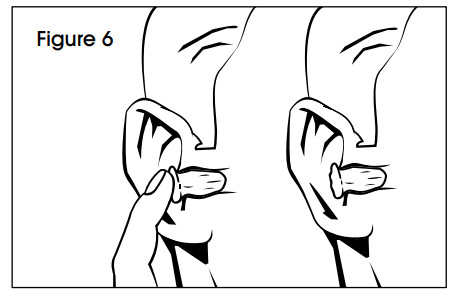
- Hold for 30 to 40 seconds, until the earplug fully expands in your ear canal. If properly fitted, the end of the earplugs should not be visible to someone looking at you from the front. (See Figure 6)
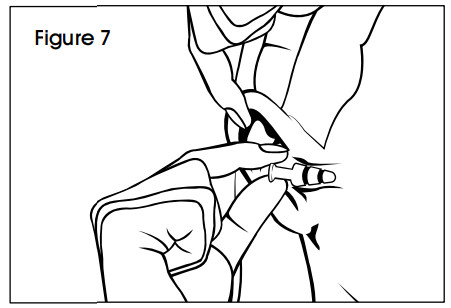
MULTIPLE-USE
- While holding the stem, reach a hand over your head and pull ear up and back. (See Figure 7)
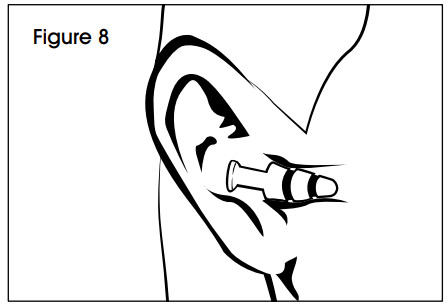
- Insert the earplug so all flanges are well inside your ear canal. (See Figure 8)
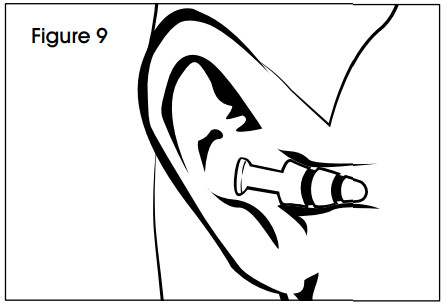
- If properly fitted, the tip of the earplug stem may be visible to someone looking at you from the front. (See Figure 9)
BANDED
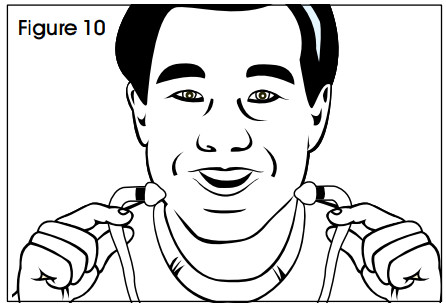
- Position band under your chin. Use your hands to press the ear pods well into the ear canal using an inward motion. (See Figure 10)
- Protection levels are improved by pulling the ear up and back when fitting. (See Figure 11)
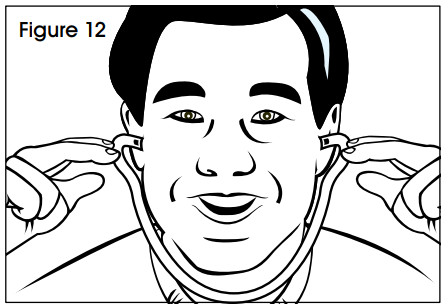
- In a noisy environment, lightly press the band inward with your fingertips. You should not notice a significant difference in noise level. (See Figure 12)

ADDITIONAL INFORMATION
PROPER FITIf either or both earplugs do not seem to be fitted properly, remove the earplug and reinsert. (See Figure 13)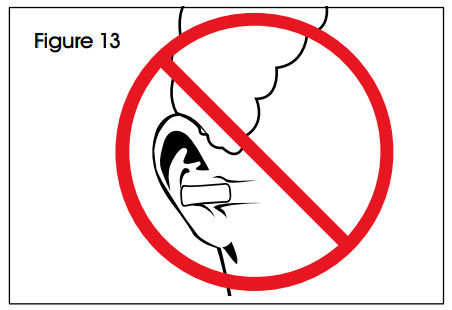 REMOVALGently twist earplug while slowly pulling in an outward motion to remove. (See Figure 14)

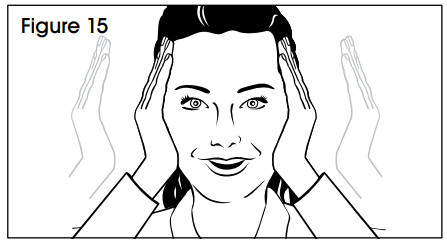
ACOUSTICAL CHECKIn a noisy environment, with earplugs inserted, cup hands over ears and release. Earplugs should block enough noise so that covering your ears with your hands should not result in a significant noise difference. (See Figure 15)
![]() 1-800-295-5510uline.com
1-800-295-5510uline.com
0521 IS-7902
[xyz-ips snippet=”download-snippet”]